Module 2 - Lab 1 : User Management
Table of Contents
Expand to access the In-page navigation
Objective(-s):
- Create a new User Group with Administrator.
- Add a User to the User Group.
- Change the UMASK.
- Configure the Group Quotas.
- Enroll the SSH Public Key.
Create a new User Group with Administrator.
2.1.1
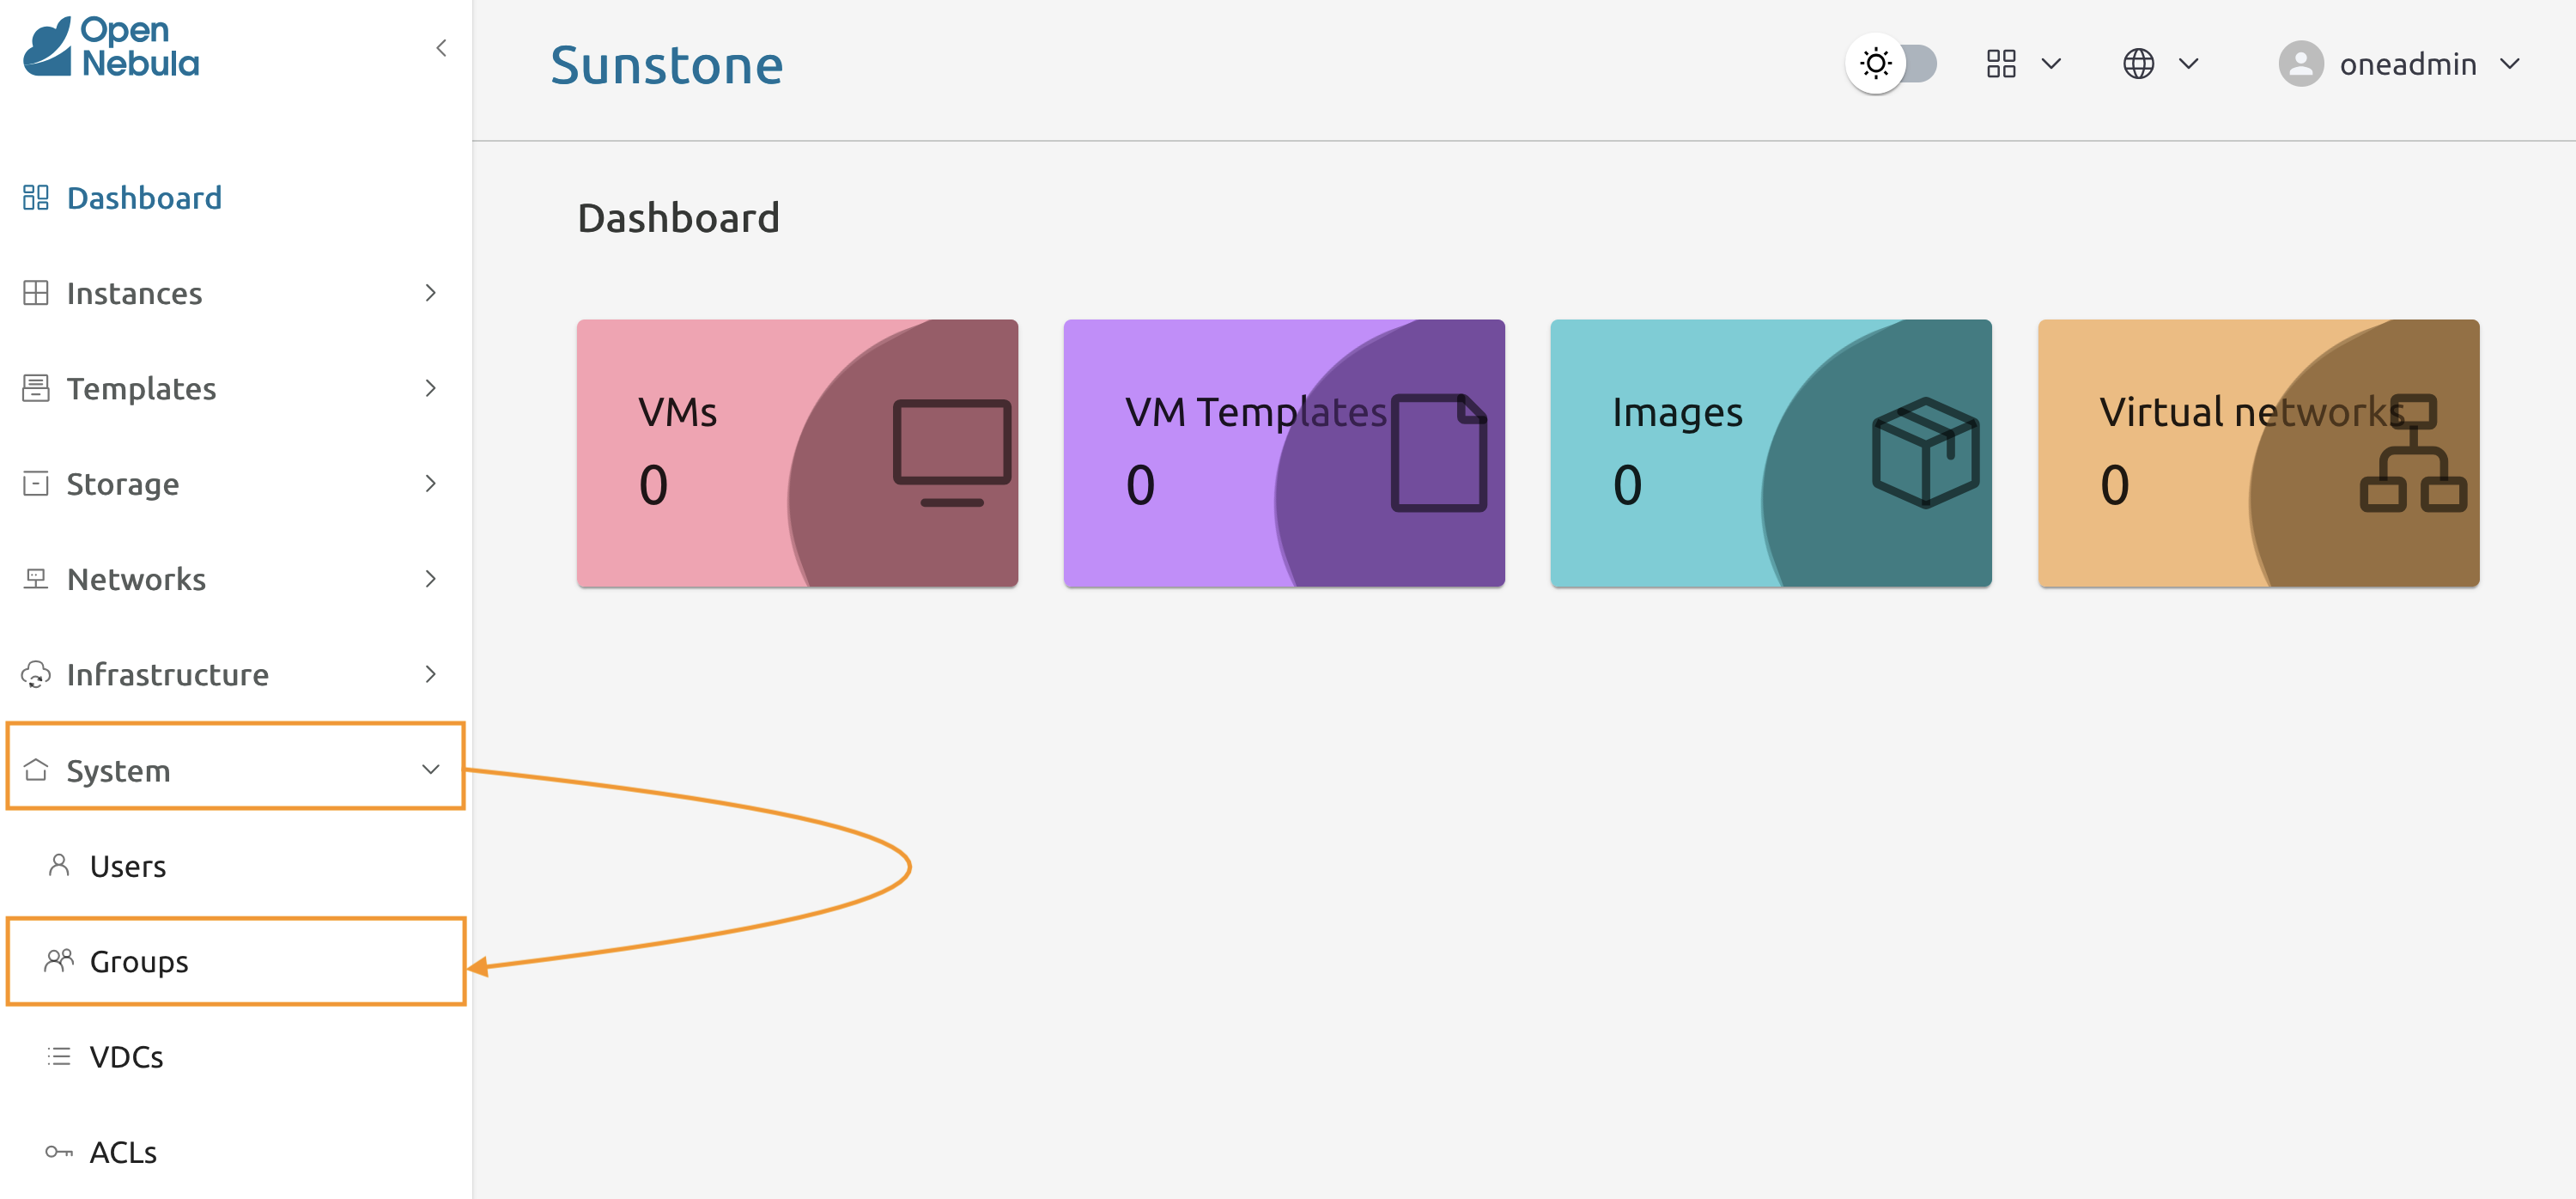
Navigate to System -> Groups to access the Groups Management screen.
2.1.2
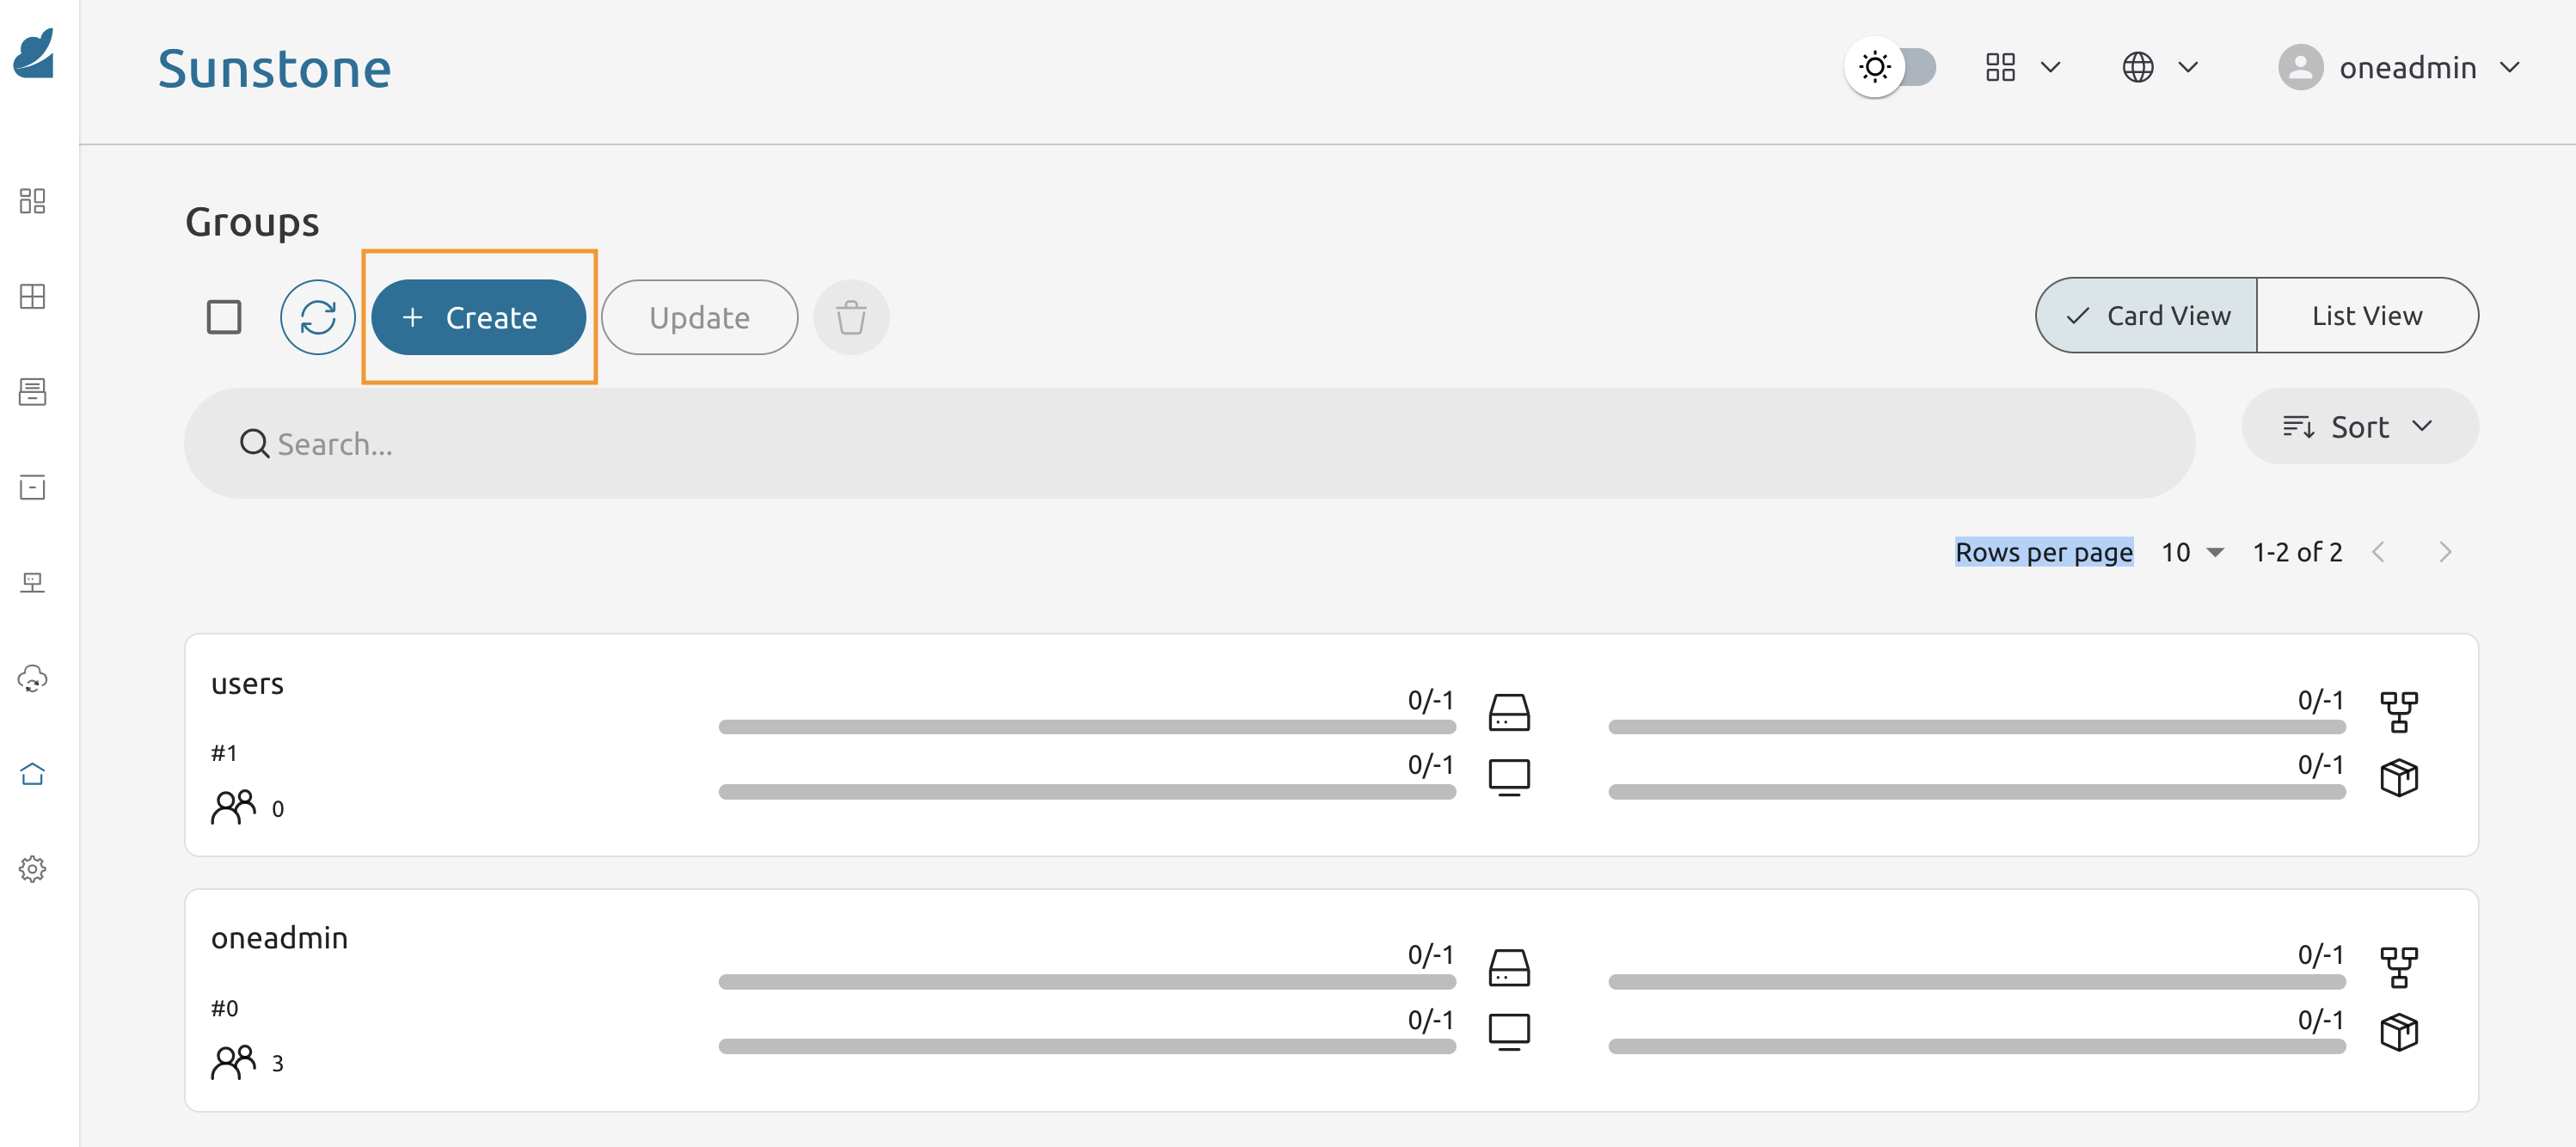
From the Groups screen press Create to start the wizard.
2.1.3
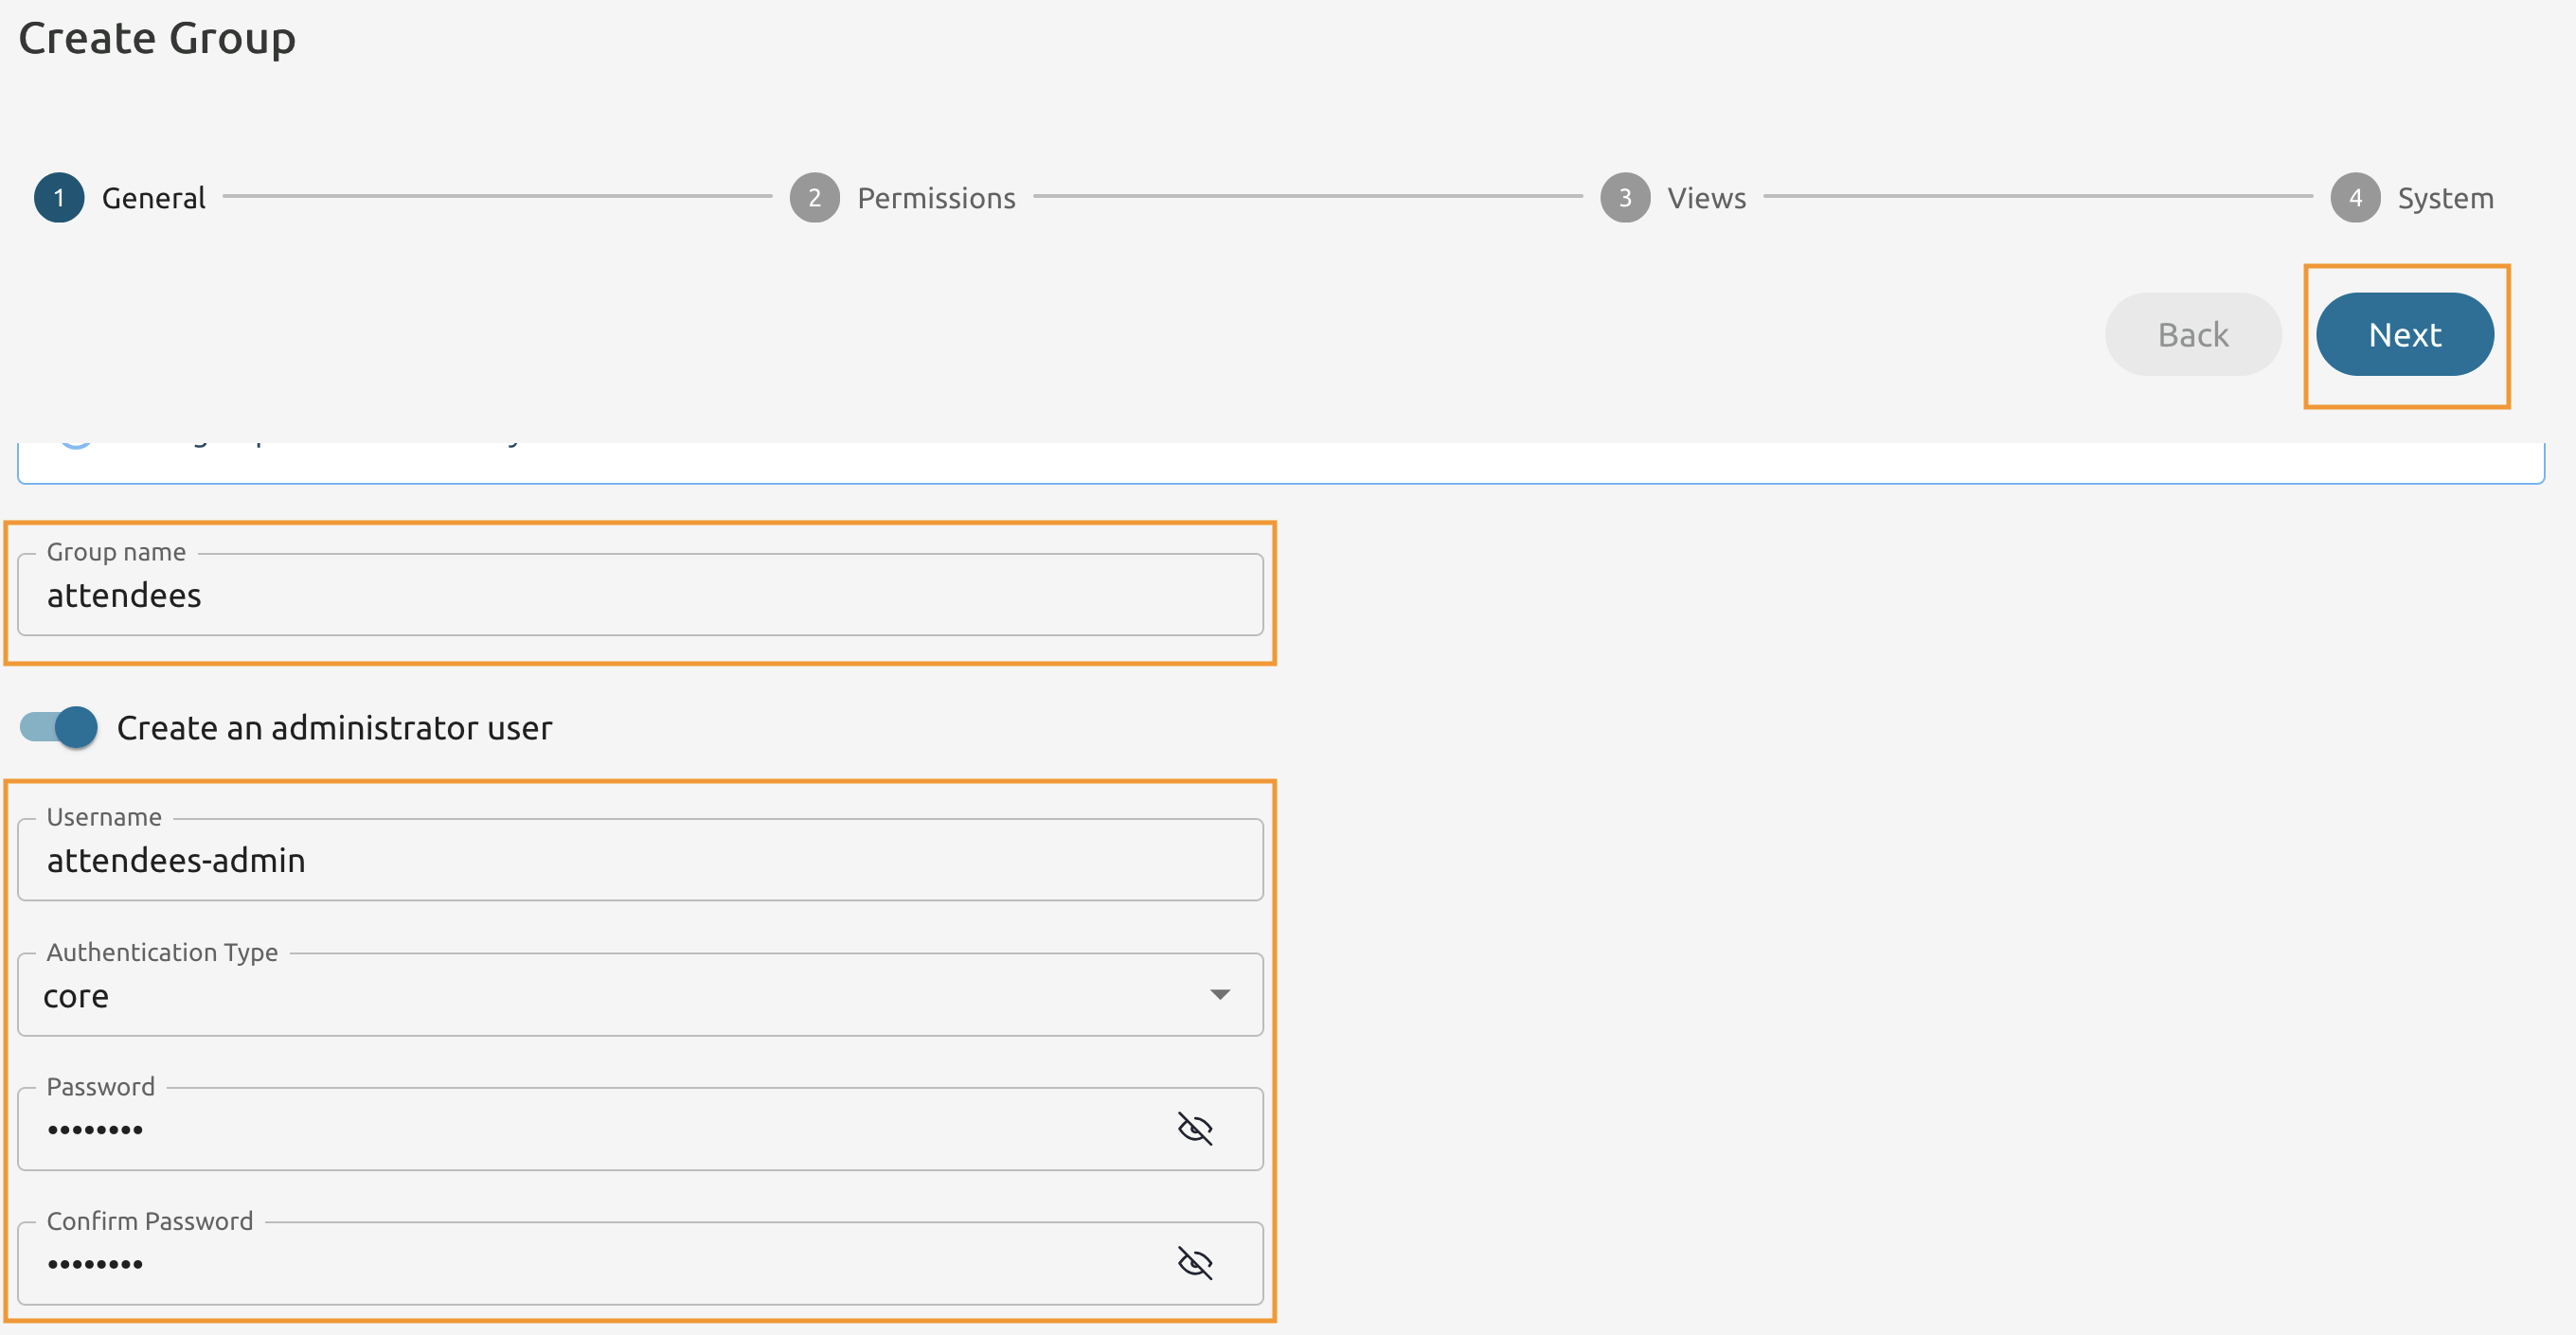
Name the group attendees.
Add an administrator user with the name attendees-admin.
Set Authentication Type to core.
Choose the password you wish and press Next.
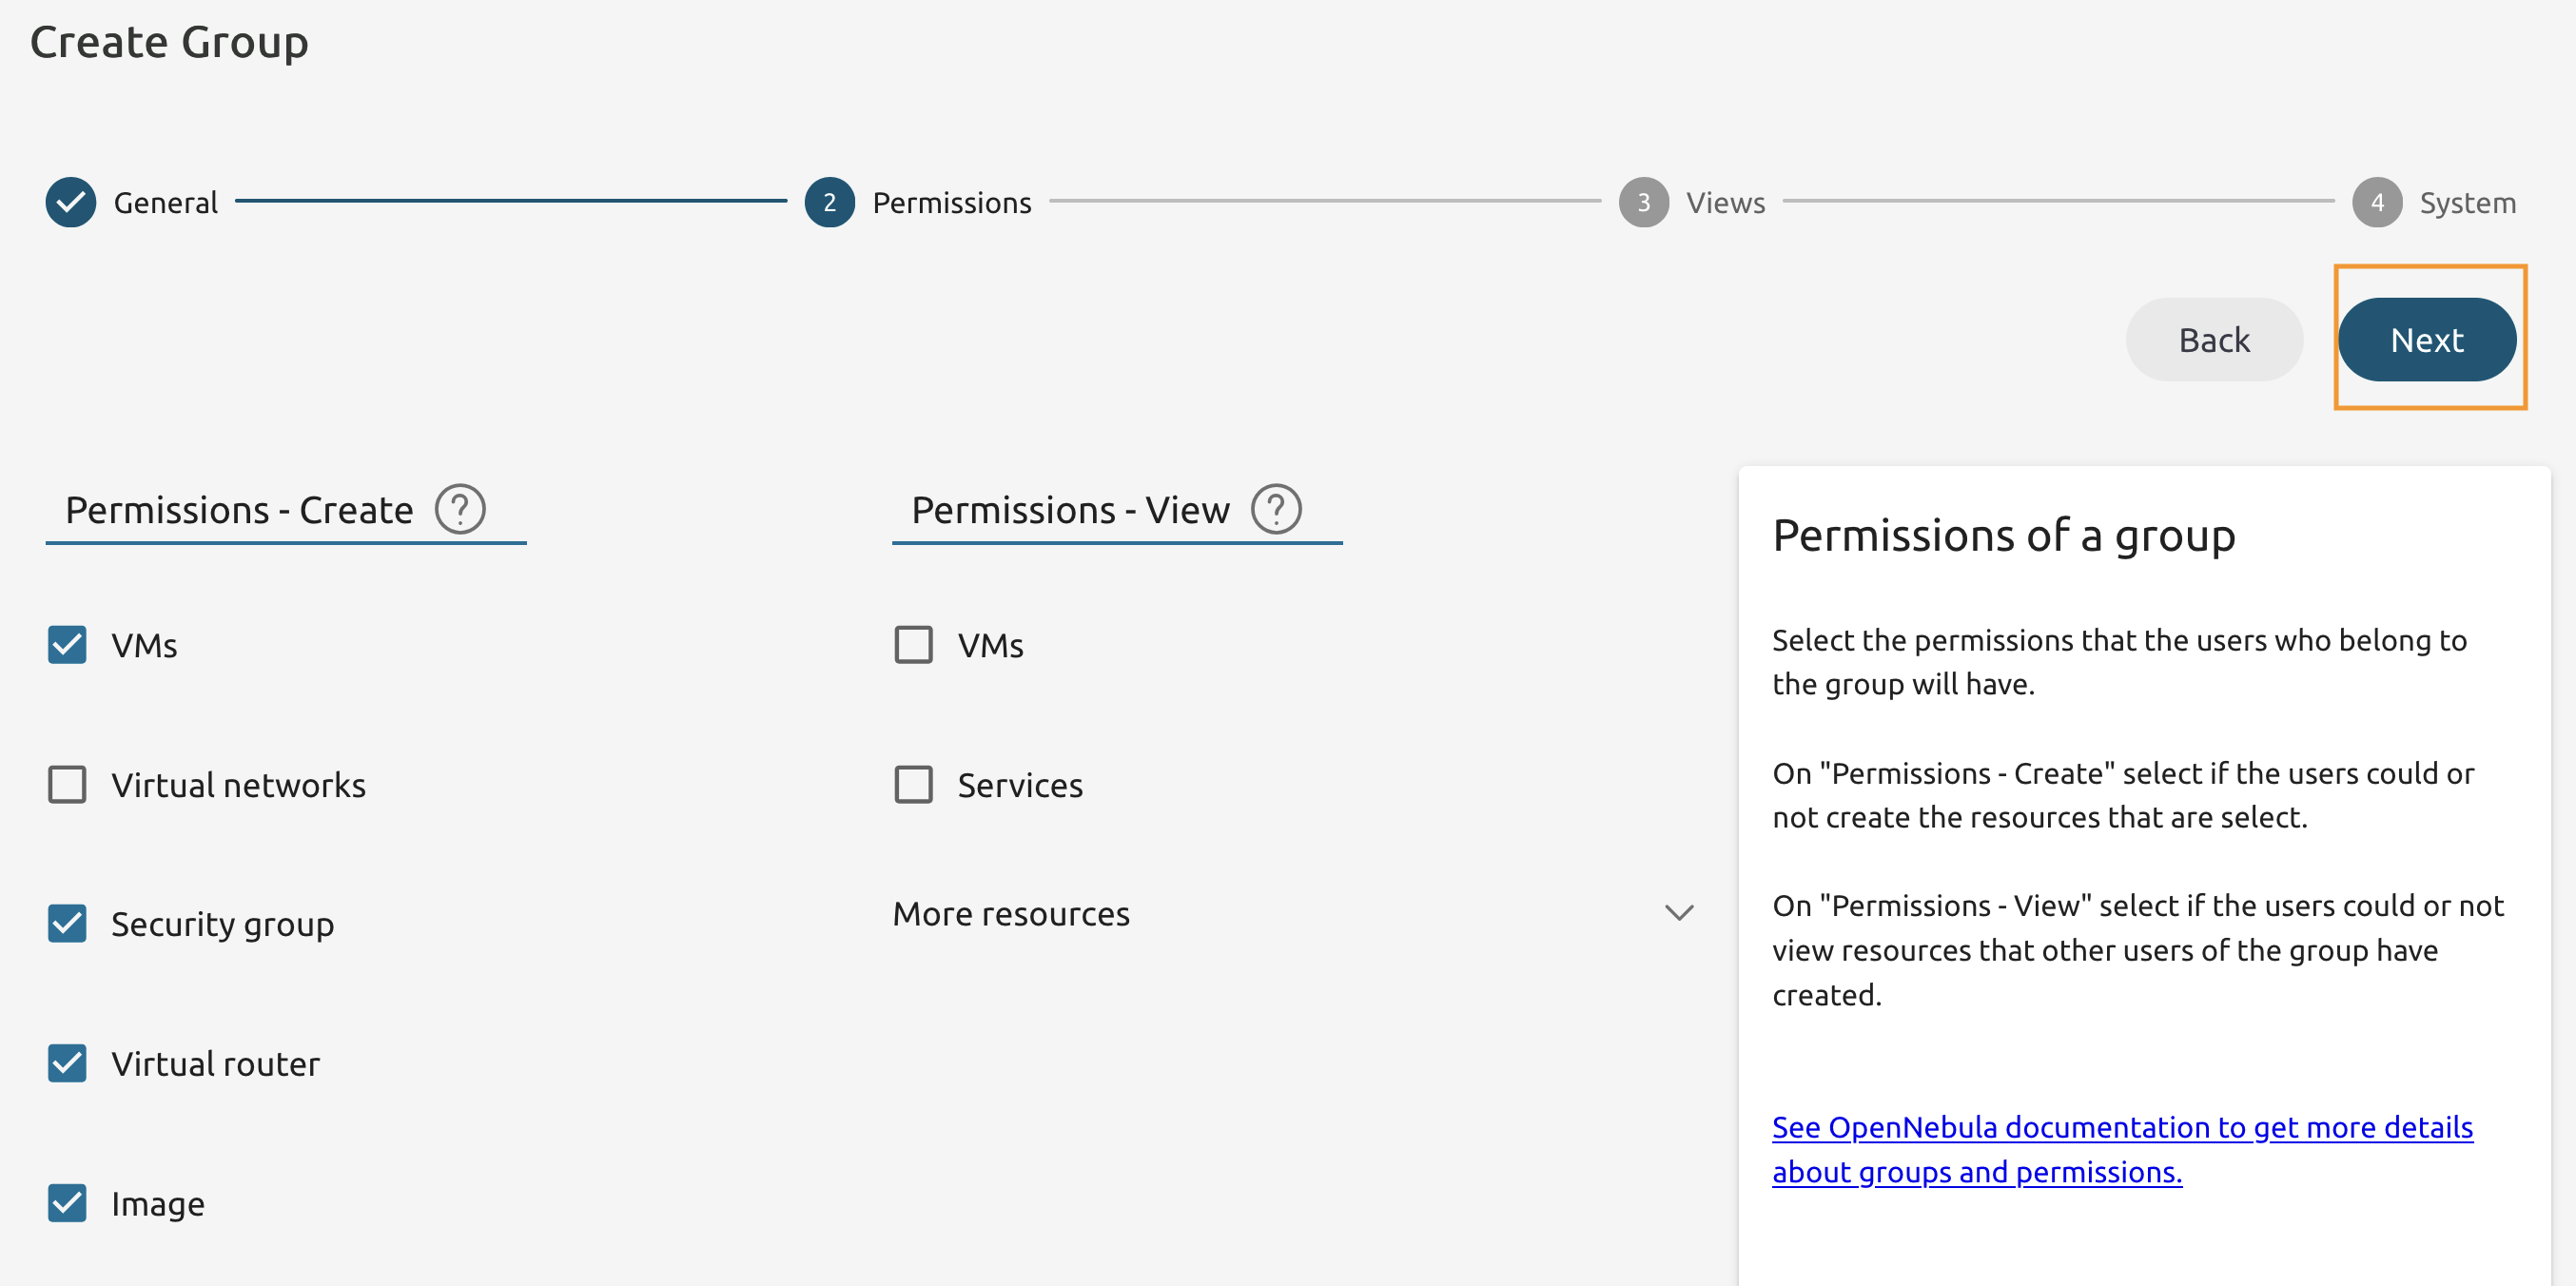
2.1.4
Leave Permissions as is and press Next.
2.1.5
Set the User view as a Default view.
Also enable the User view and press Next.

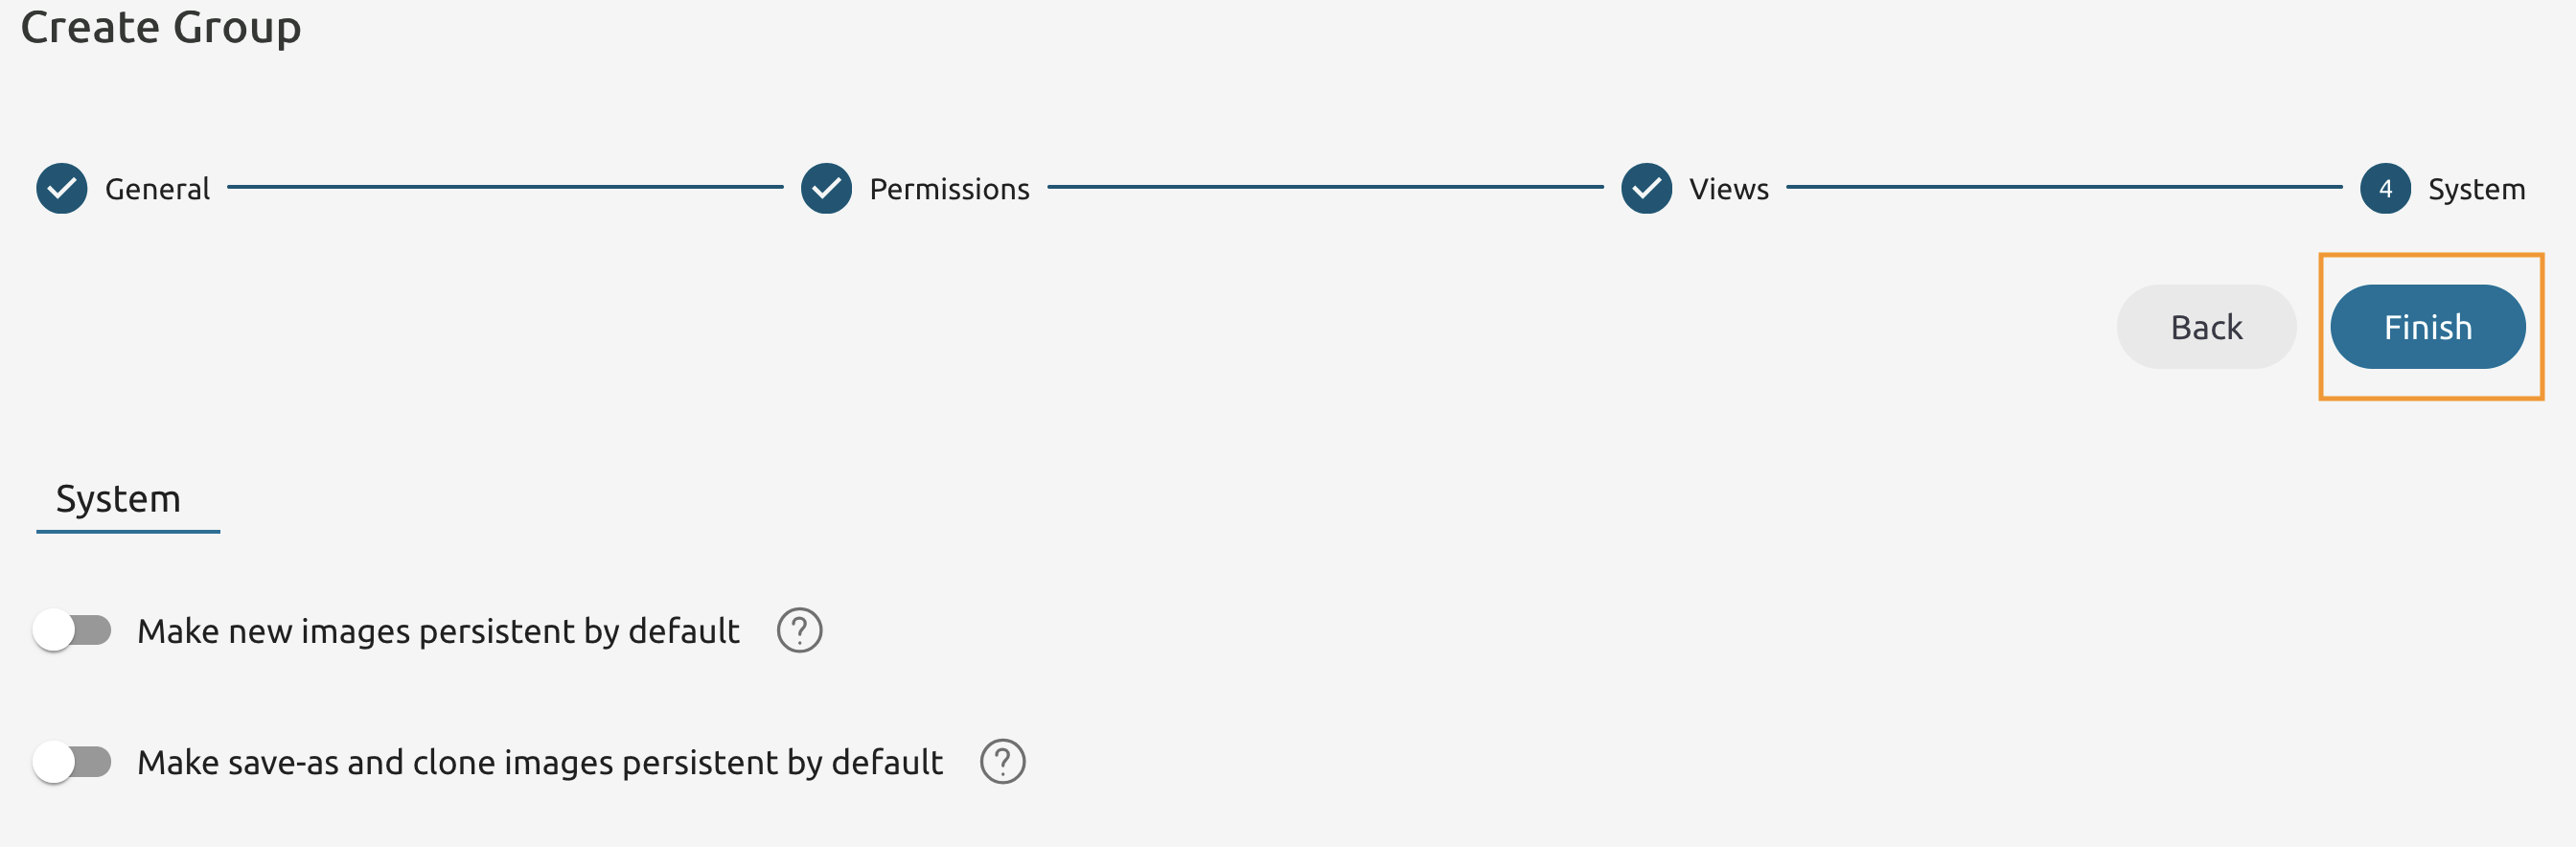
2.1.6
Leave the System tab as is and press Finish.
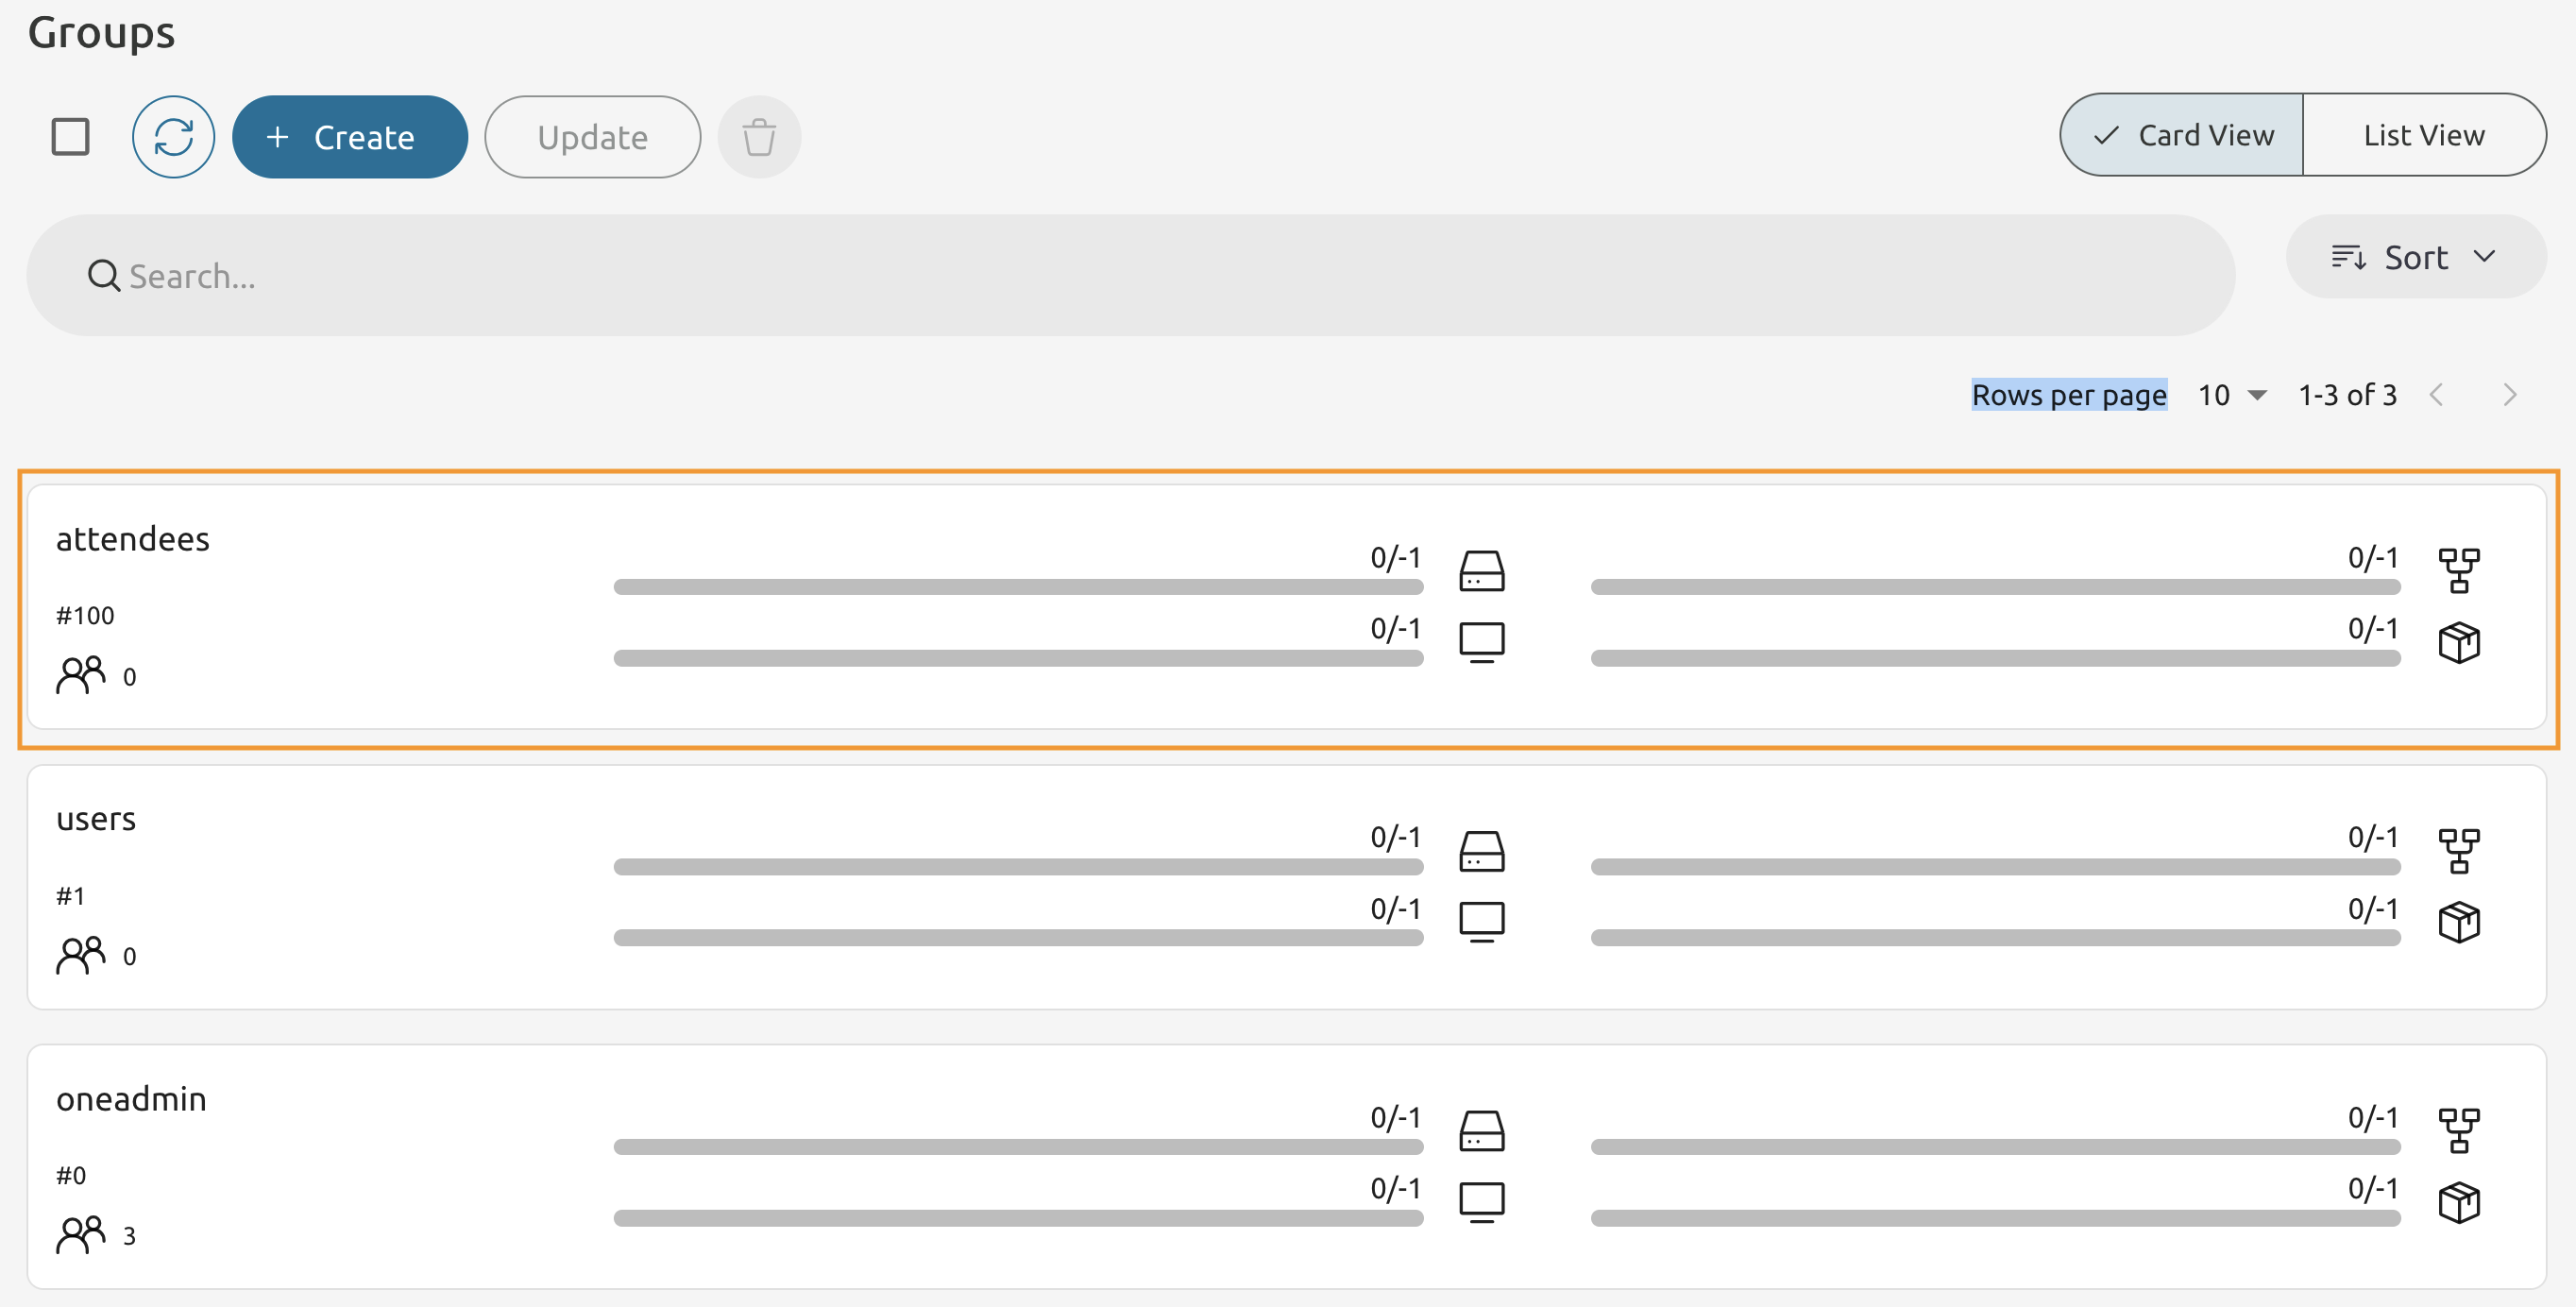
2.1.7
You should see the newly created group added to the list of groups.
Note the Group ID (#100), this may be a different ID in your environment!
Add a User to the User Group.
2.1.8
Switch to the Node 1’s Command Line.
Use oneuser to list current users and make sure attendees-admin is listed.
oneuser list

ID NAME               ENAB GROUP    AUTH            VMS            MEMORY        CPU
3 attendees-admin    yes  attendee core        0 /   -      0M /       -  0.0 /   -
2 one                yes  oneadmin core        0 /   -      0M /       -  0.0 /   -
1 serveradmin        yes  oneadmin server_c    0 /   -      0M /       -  0.0 /   -
0 oneadmin           yes  oneadmin core              -                 -          -
2.1.9
Create a new user with the name attendee-user adn add to the newly created group. Note that your Group’s ID might be different!
oneuser create 'attendee-user' 'Pa$$w0rd' --group 100
ID: 4
List users and verify that the new user has been created.
oneuser list

ID NAME                 ENAB GROUP    AUTH            VMS            MEMORY        CPU
4 attendee-user         yes  attendee core        0 /   -      0M /       -  0.0 /   -
3 attendees-admin       yes  attendee core        0 /   -      0M /       -  0.0 /   -
2 one                   yes  oneadmin core        0 /   -      0M /       -  0.0 /   -
1 serveradmin           yes  oneadmin server_c    0 /   -      0M /       -  0.0 /   -
0 oneadmin              yes  oneadmin core              -                 -          -


# Change the UMASK.


## 2.1.10

Still in the Command Line of the Node 1 - change the umask for the **attendee-user**.

```console
oneuser umask 4 137
Verify that the umask was set to the correct one.
oneuser show 4

USER 4 INFORMATION
ID              : 4
NAME            : attendee-user
GROUP           : attendees
PASSWORD        : 97c94ebe5d767a353b77f3c0ce2d429741f2e8c99473c3c150e2faa3d14c9da6
AUTH_DRIVER     : core
ENABLED         : Yes
....
UMASK="137"
....
Configure the Group Quotas.
2.1.11
Switch to Sunstone’s Groups tab.
Select the attendees user group and go to the Quota tab.
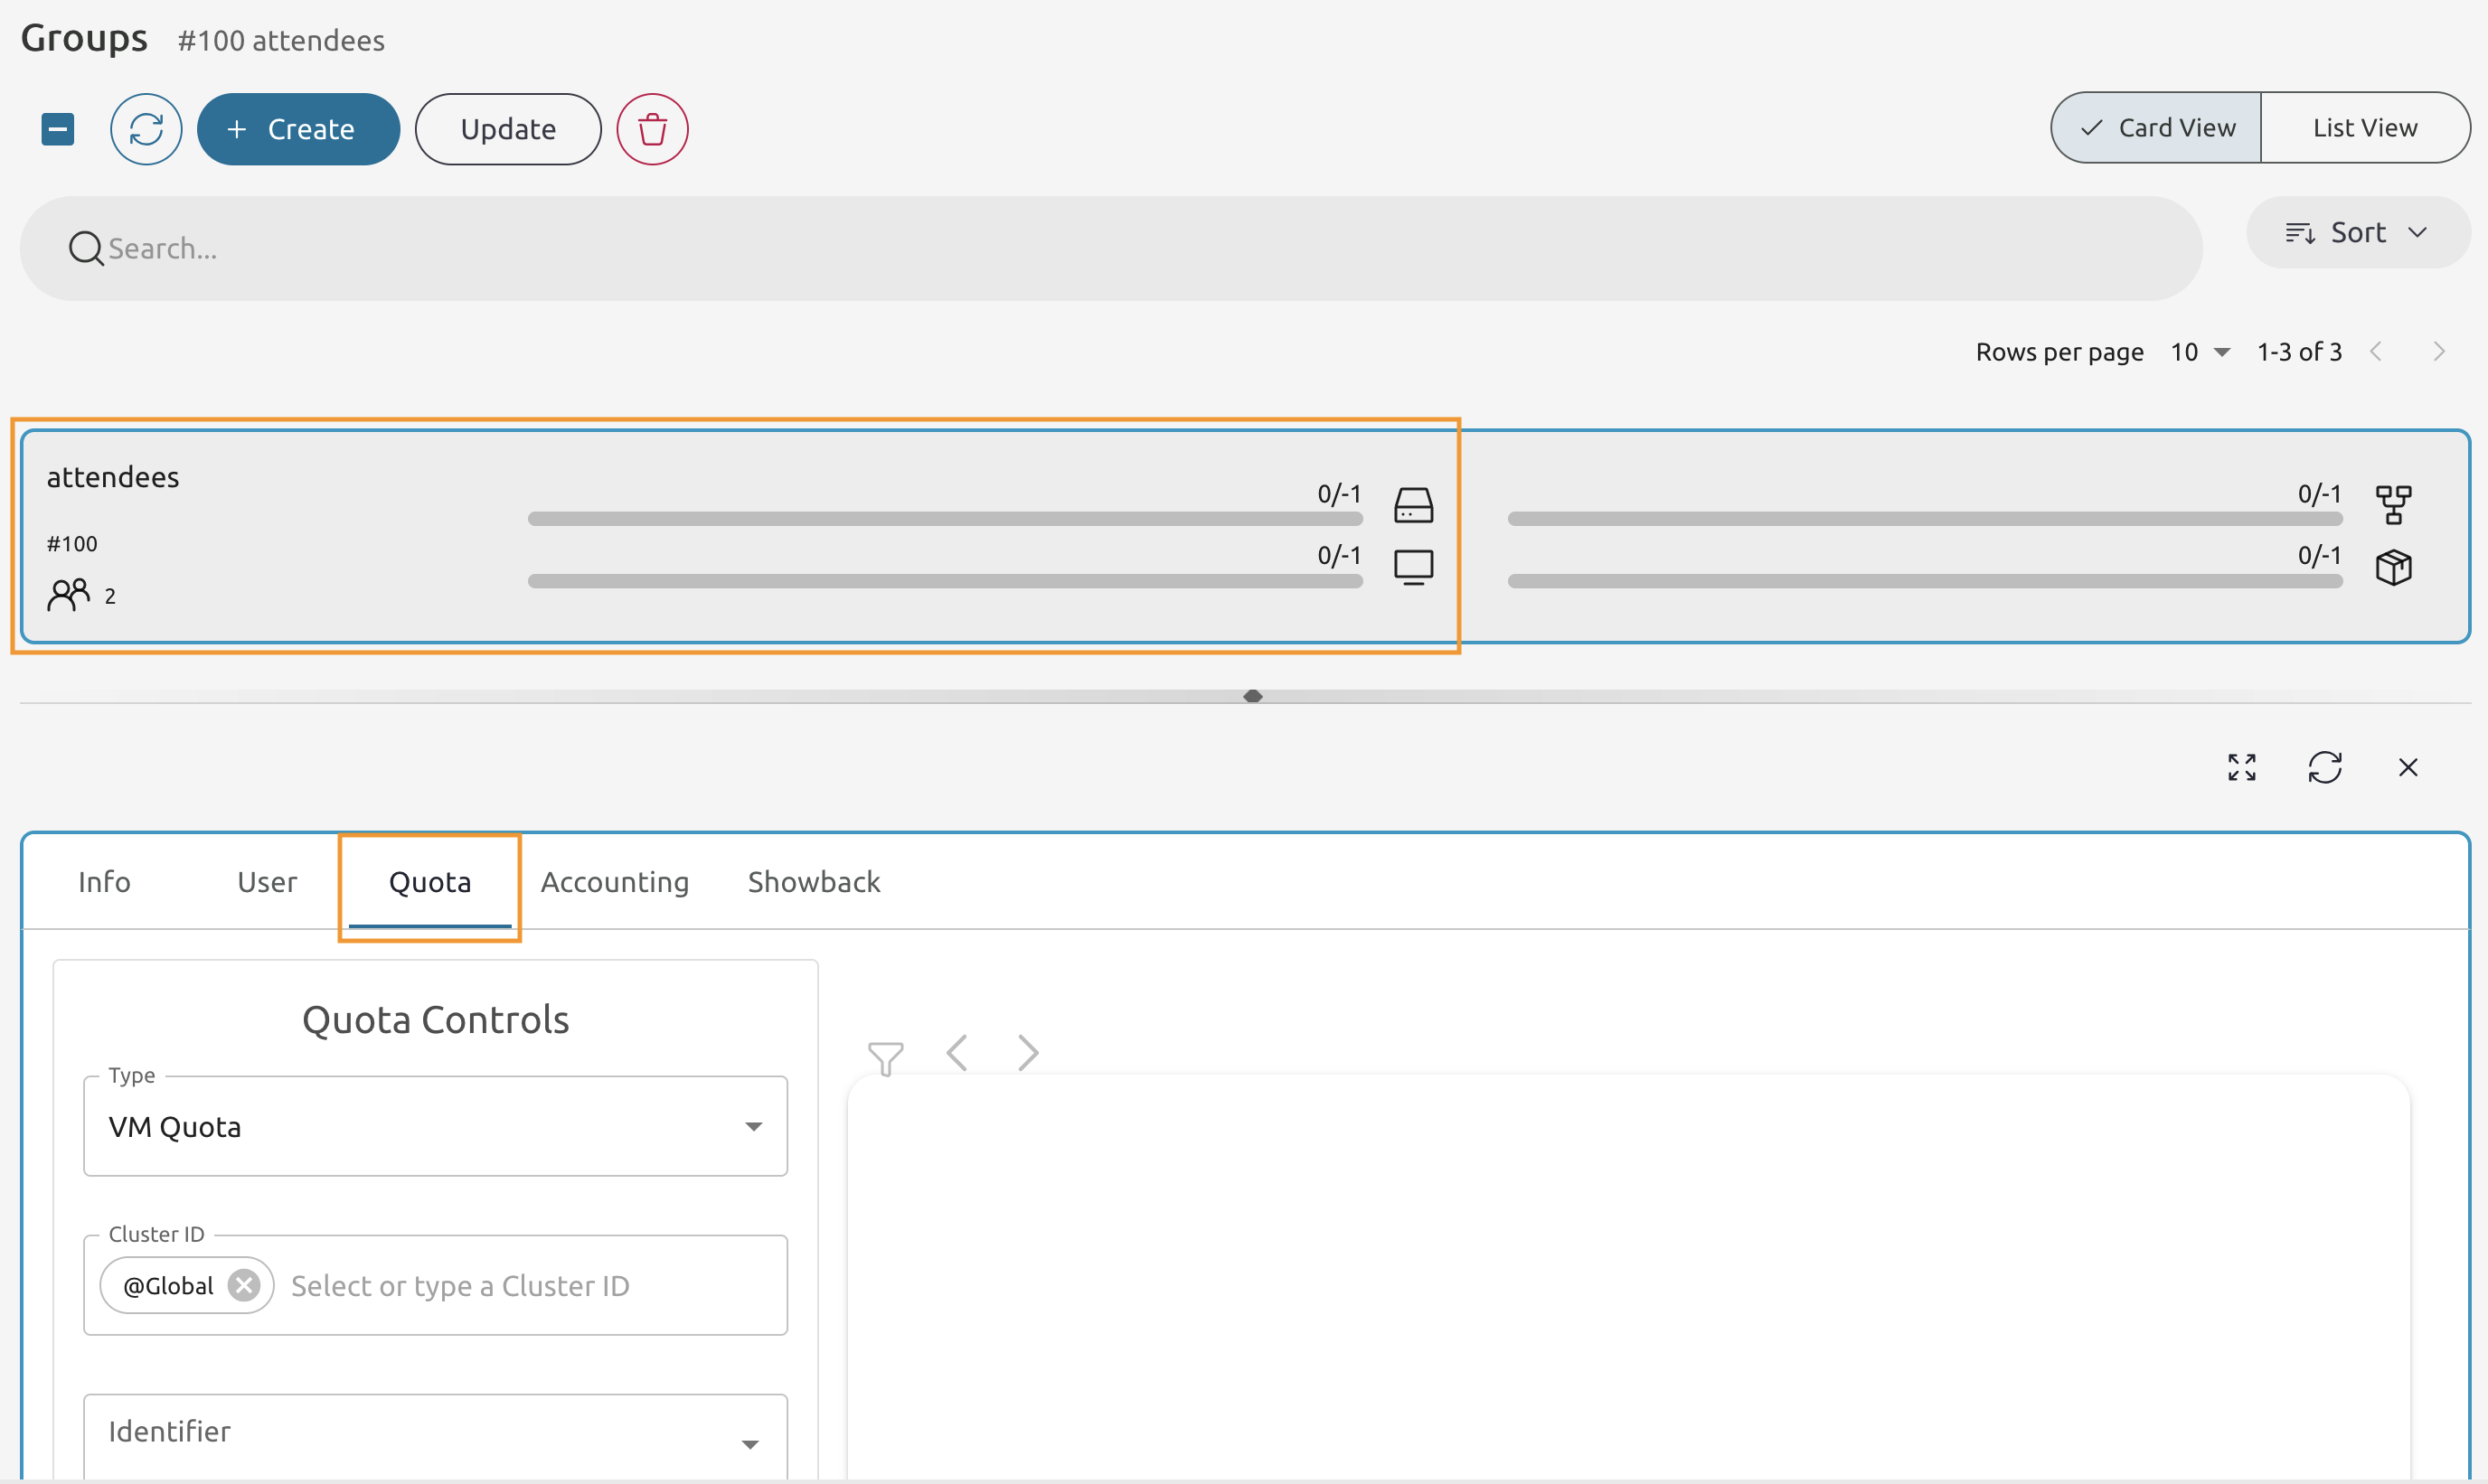
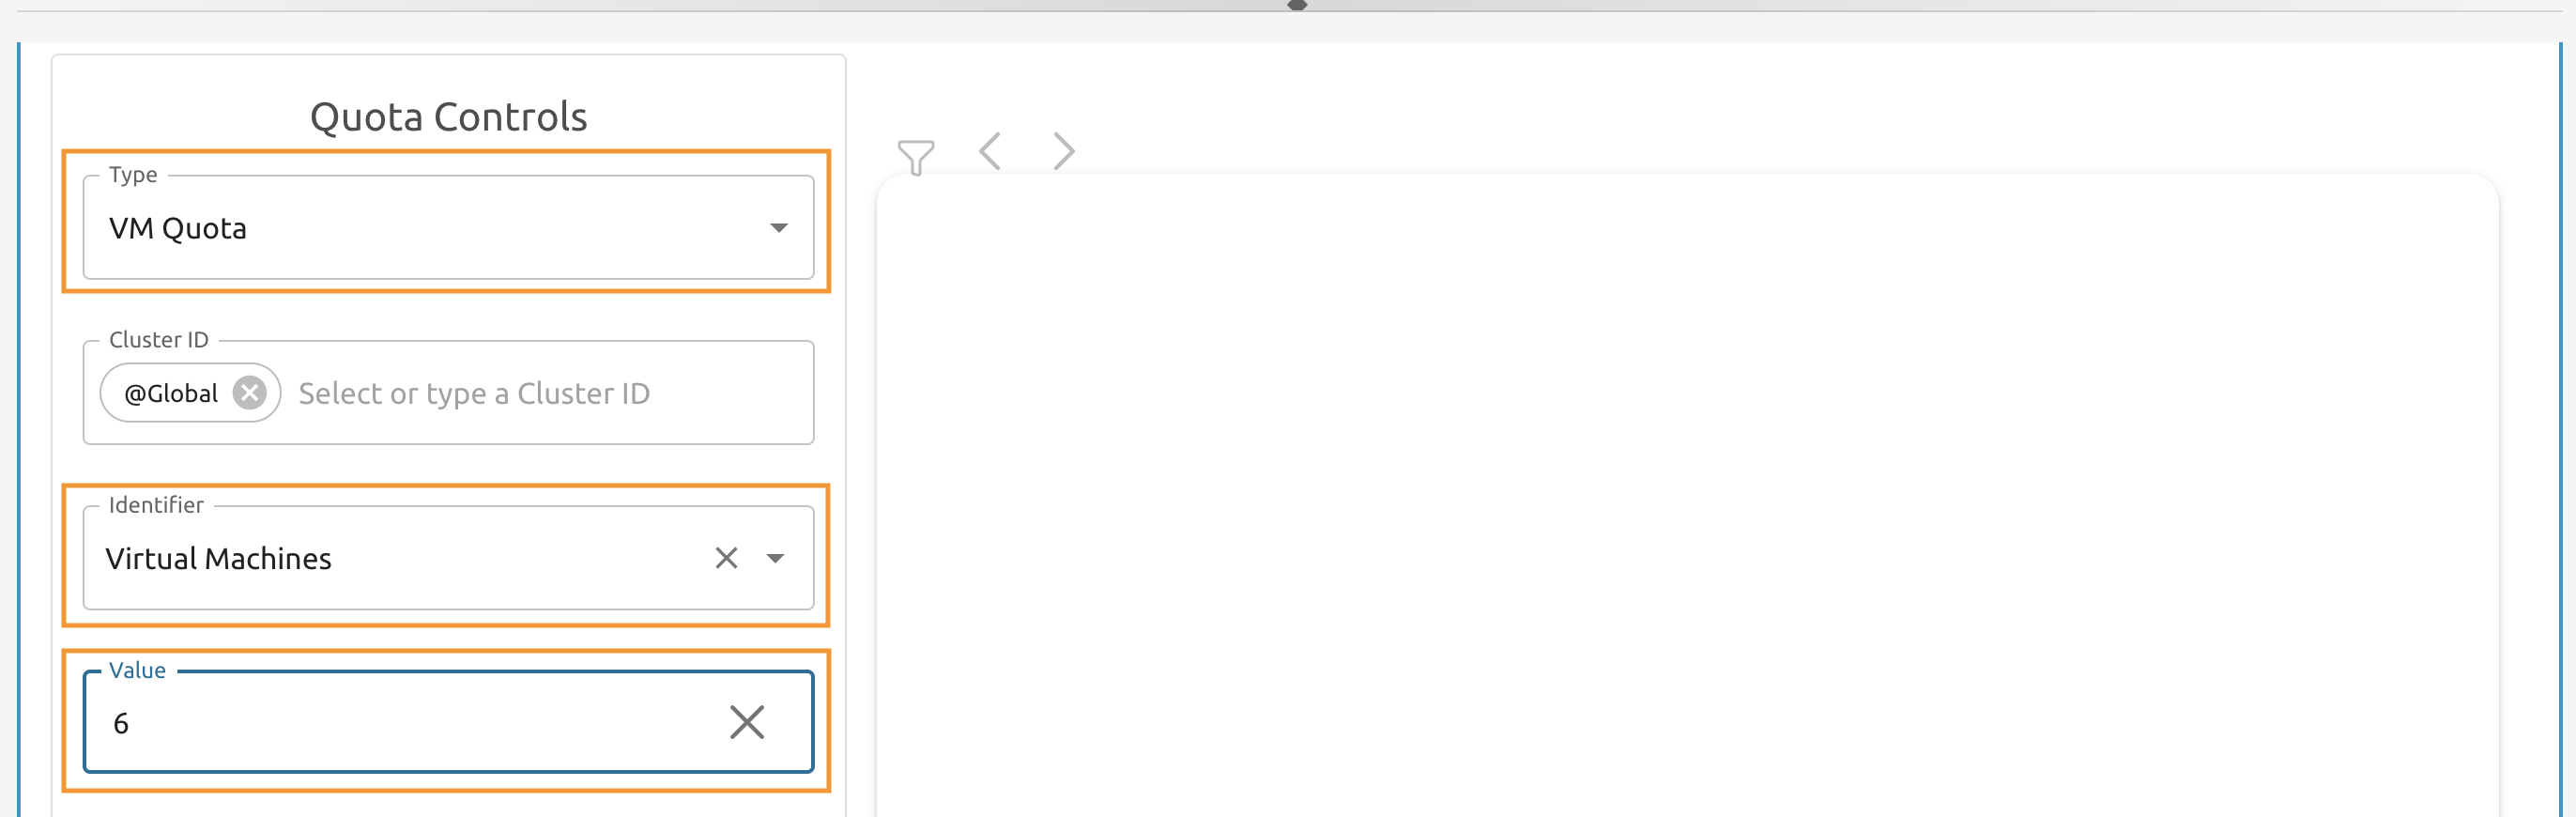
2.1.12
Set the Type to VM Quota and the Identifier to Virtual Machines.
The Value should be set to 6.
Press the Apply button to add a Quota.
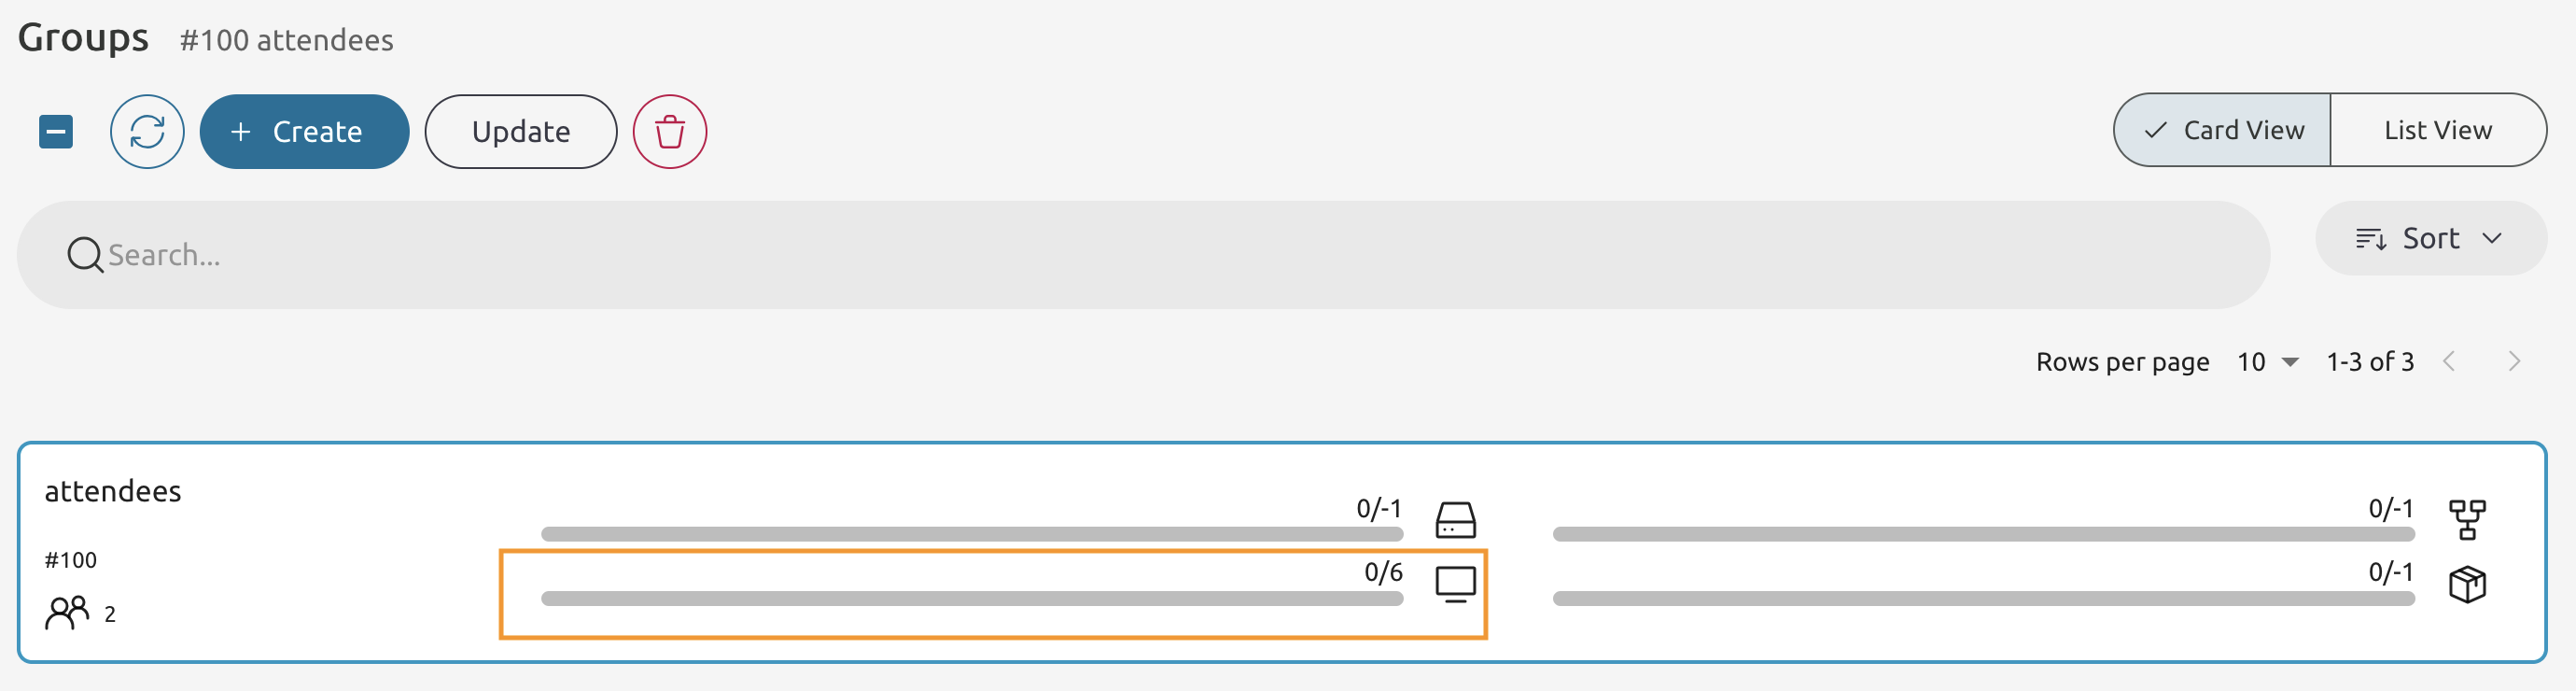
2.1.13
If the quota has been applied - you supposed to see the value different from the -1.
Enroll the SSH Public and Private keys.
2.1.14
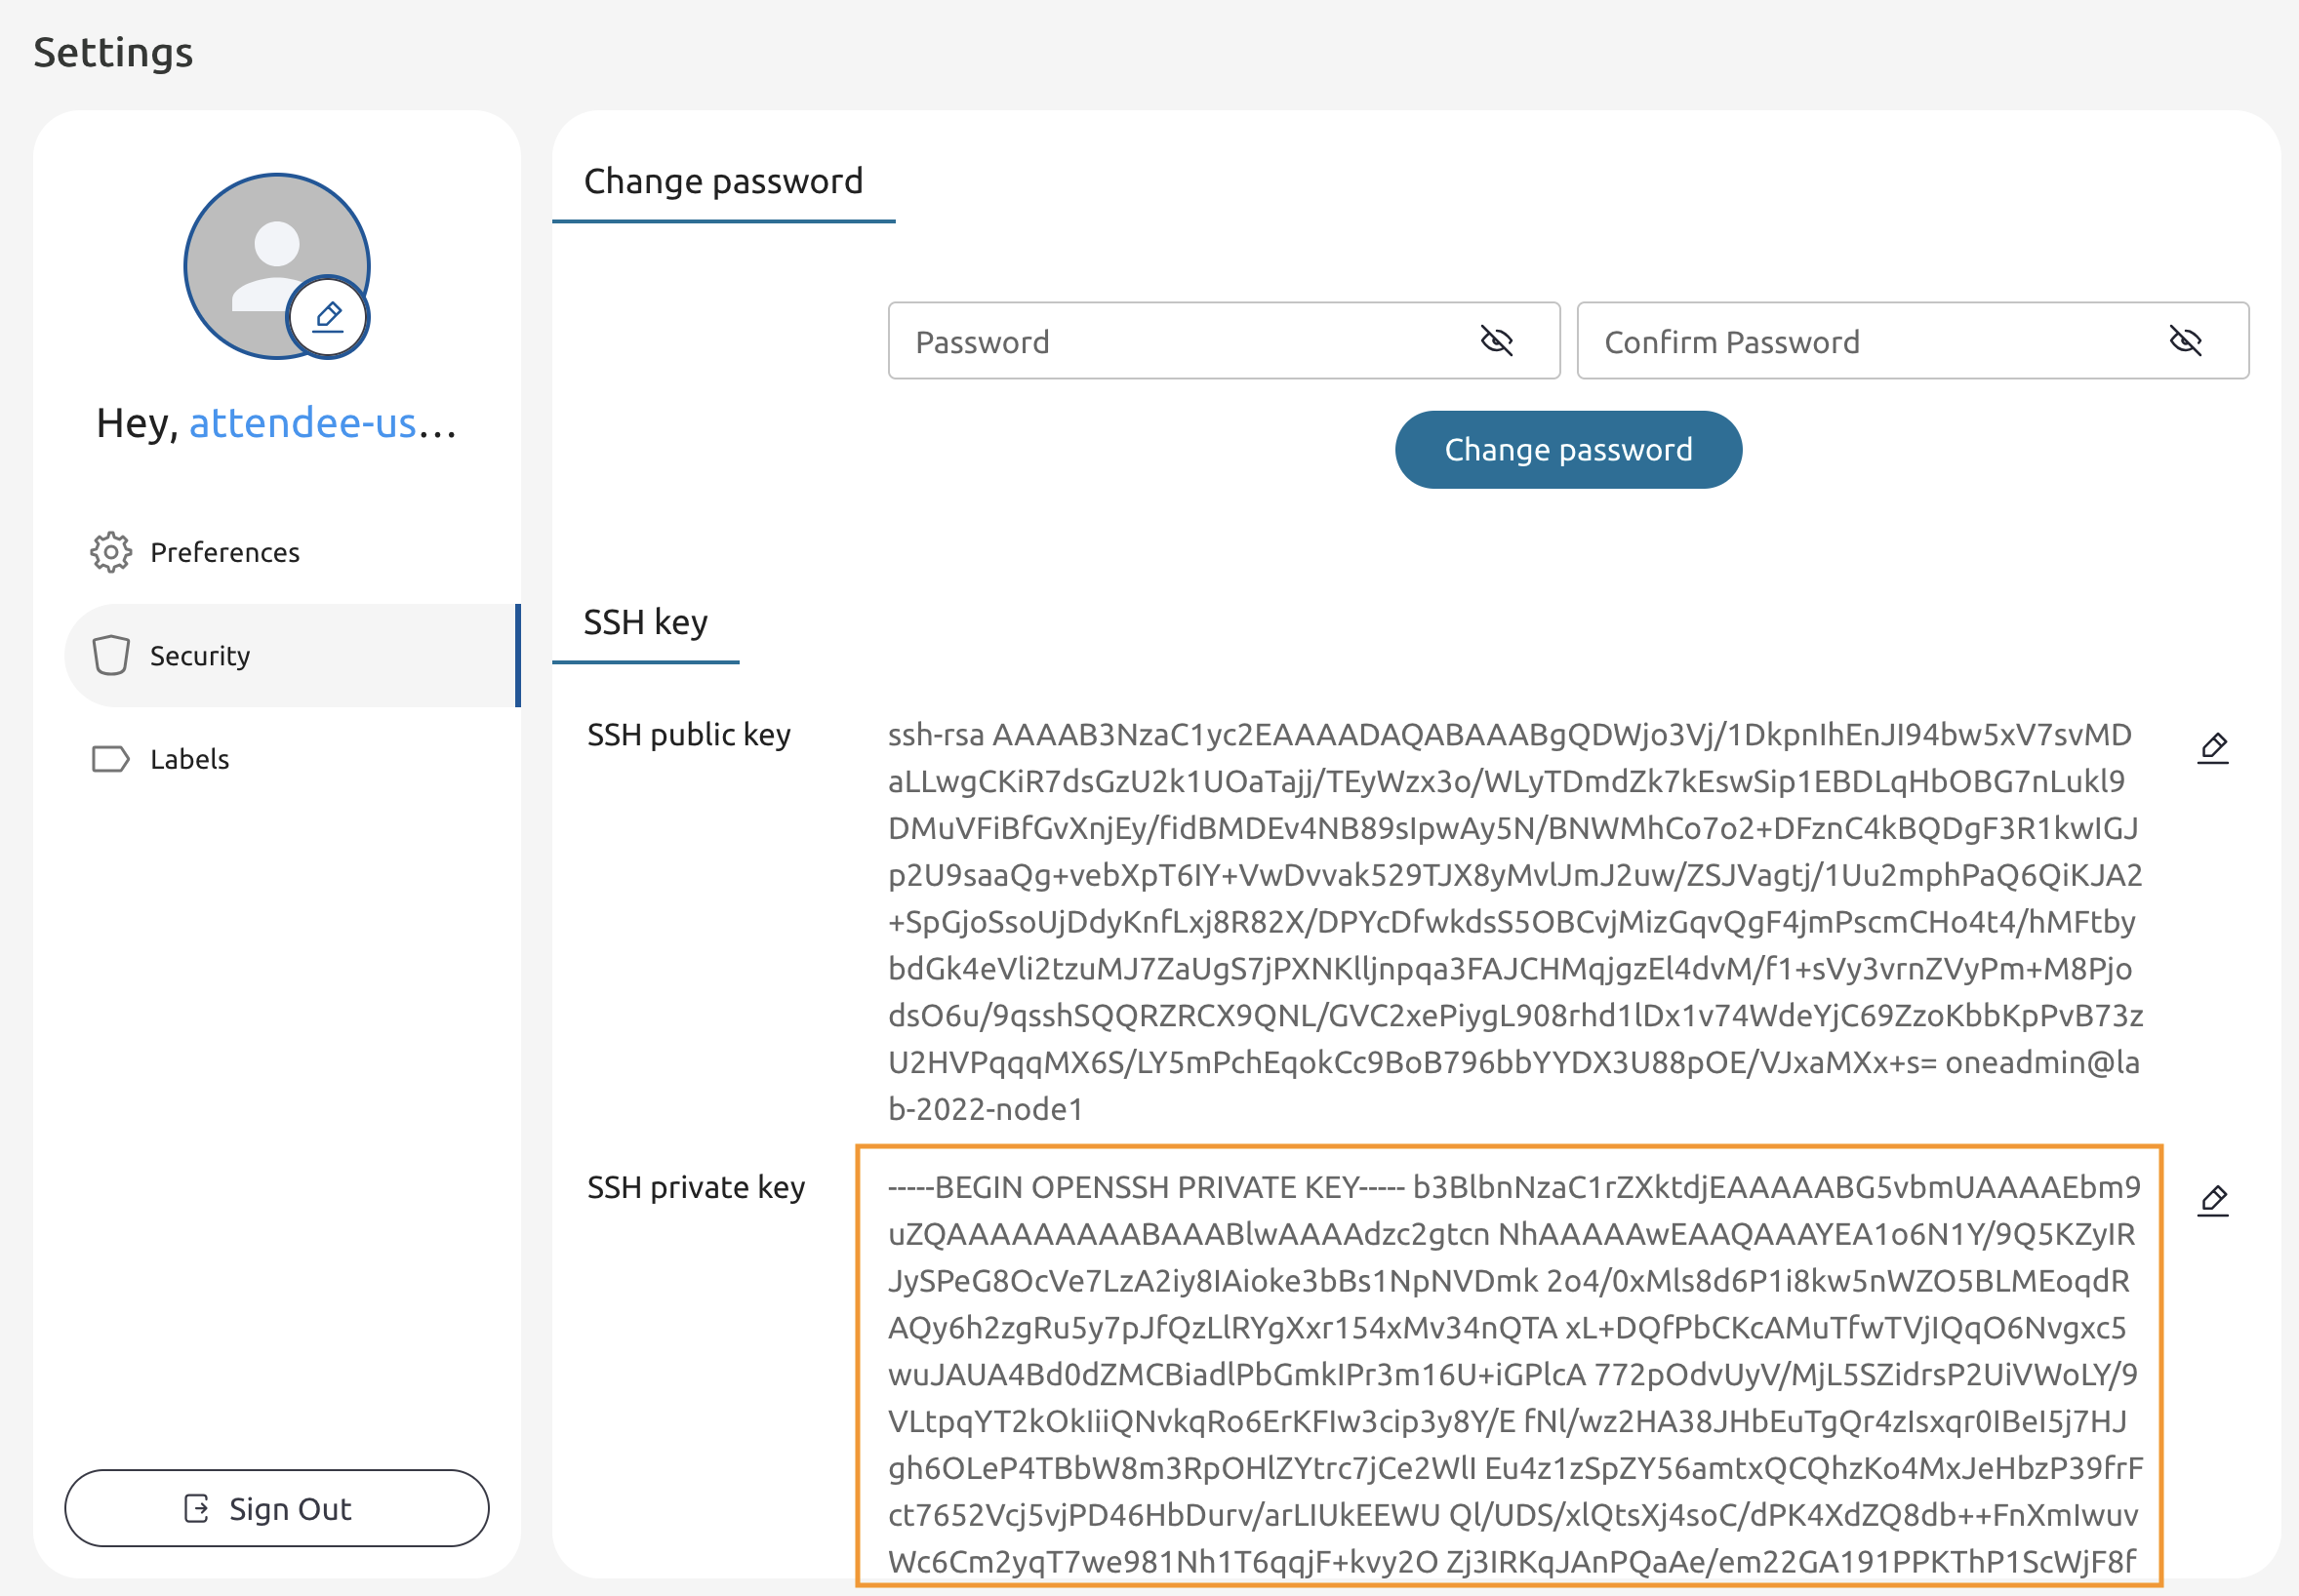
Owners of the VMs can connect to the their virtual environment using the passwordless SSH. For that to work - each user must have its key added to the SSH public key field under the Settings menu.
To have an opportunity to access the VMs from Sunstone directly - the SSH private key must have the valid Private Key. If it is protected with a password - the password must be added as well.
Outside of the test scenario - it must be different from oneadmin’s!
2.1.15
Open the Node 1’s Command Line and login as the oneadmin user.
sudo -iu oneadmin
Then use the cat command to print the contents of the id_rsa.pub file
cat ~/.ssh/id_rsa.pub

ssh-rsa AAAAB3NzaC1yc2EA...vOYzTlXjw+0o5fL6v9eISVeMRQiLZCwYp3tJk7G0= oneadmin@one-aio-frontend-0
Copy the output to the clipboard.
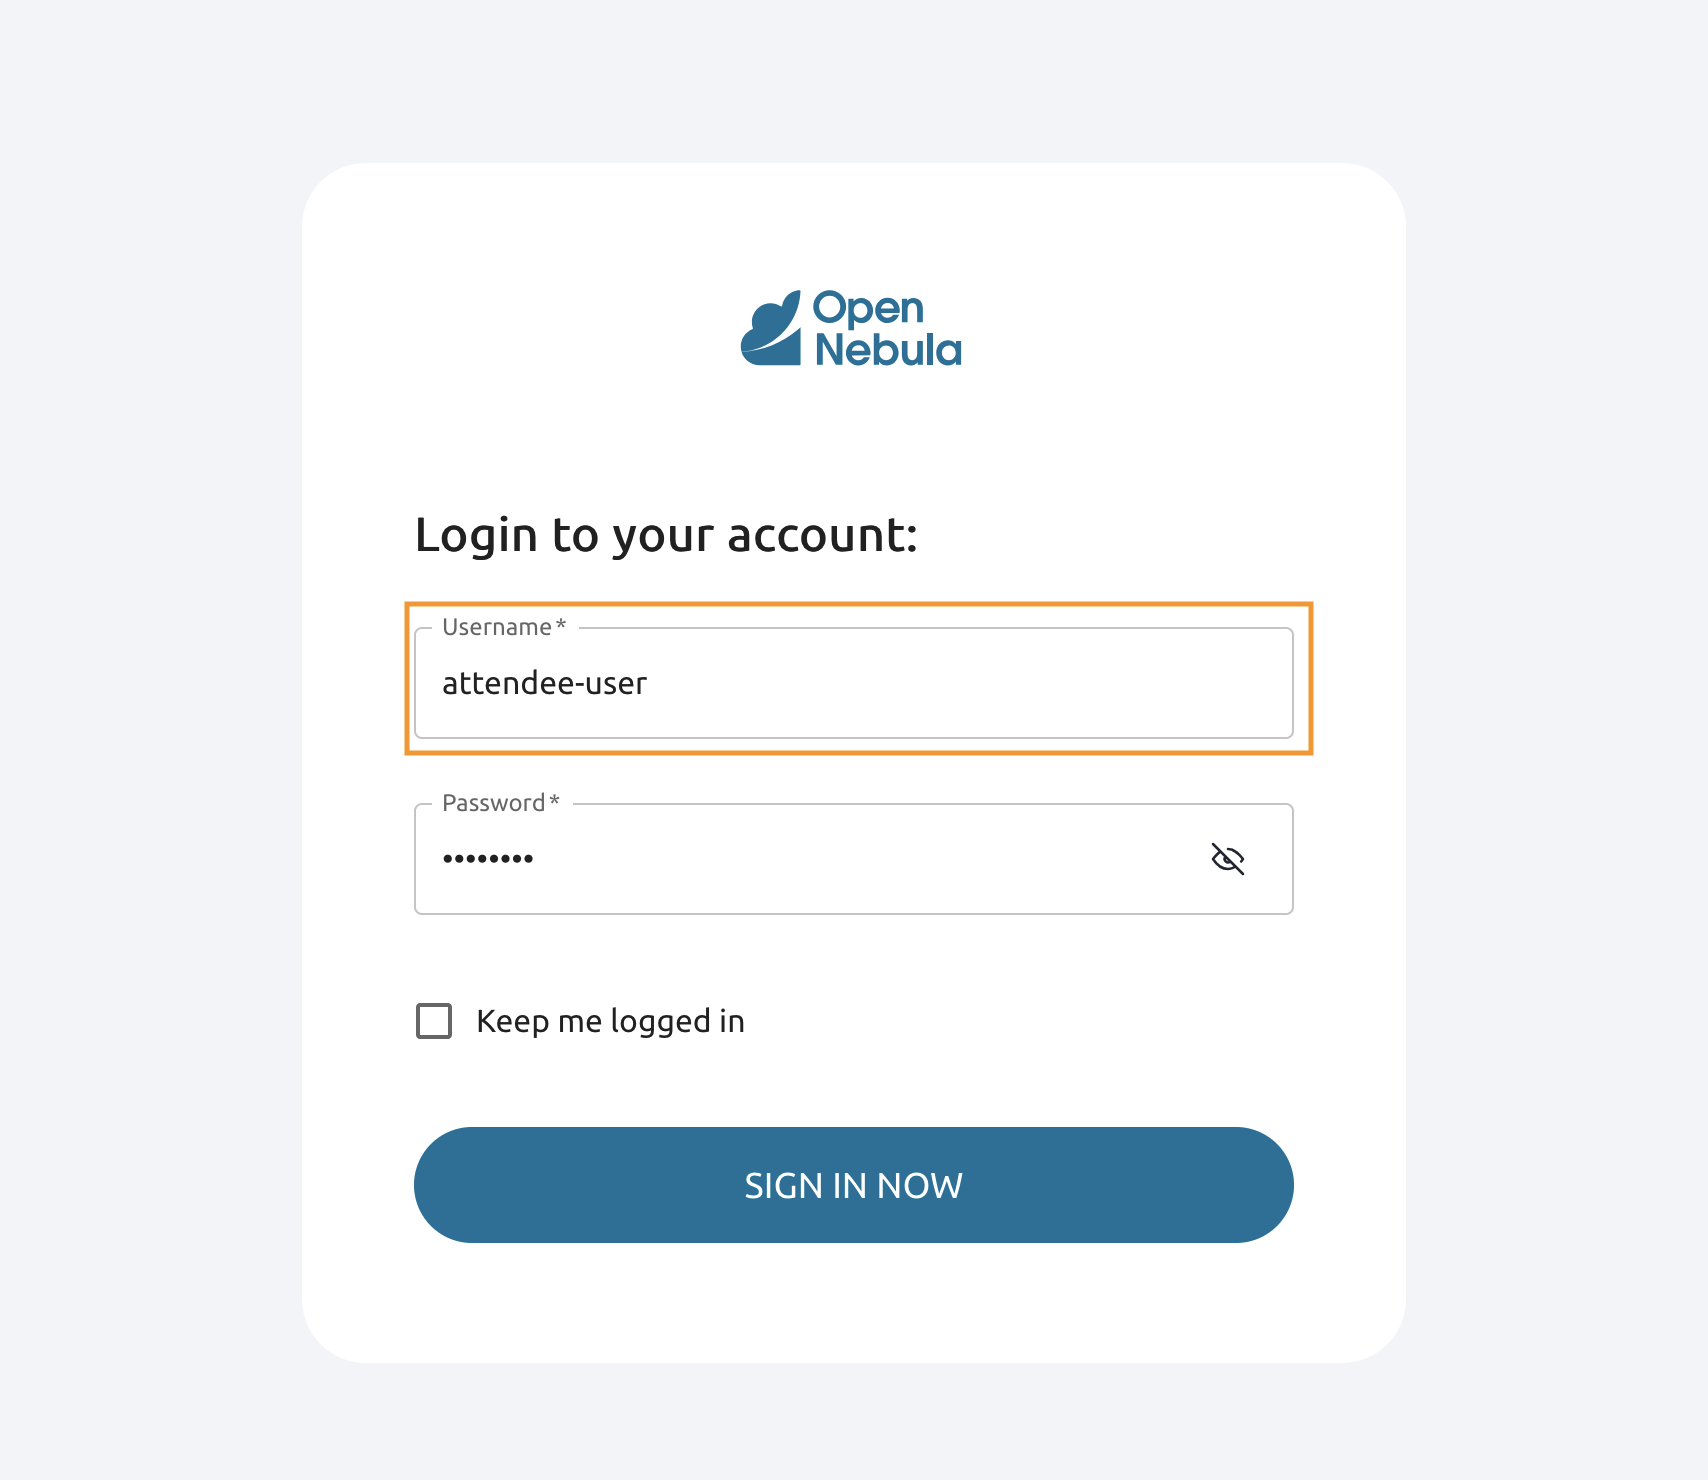
2.1.16
Login as attendee-user.
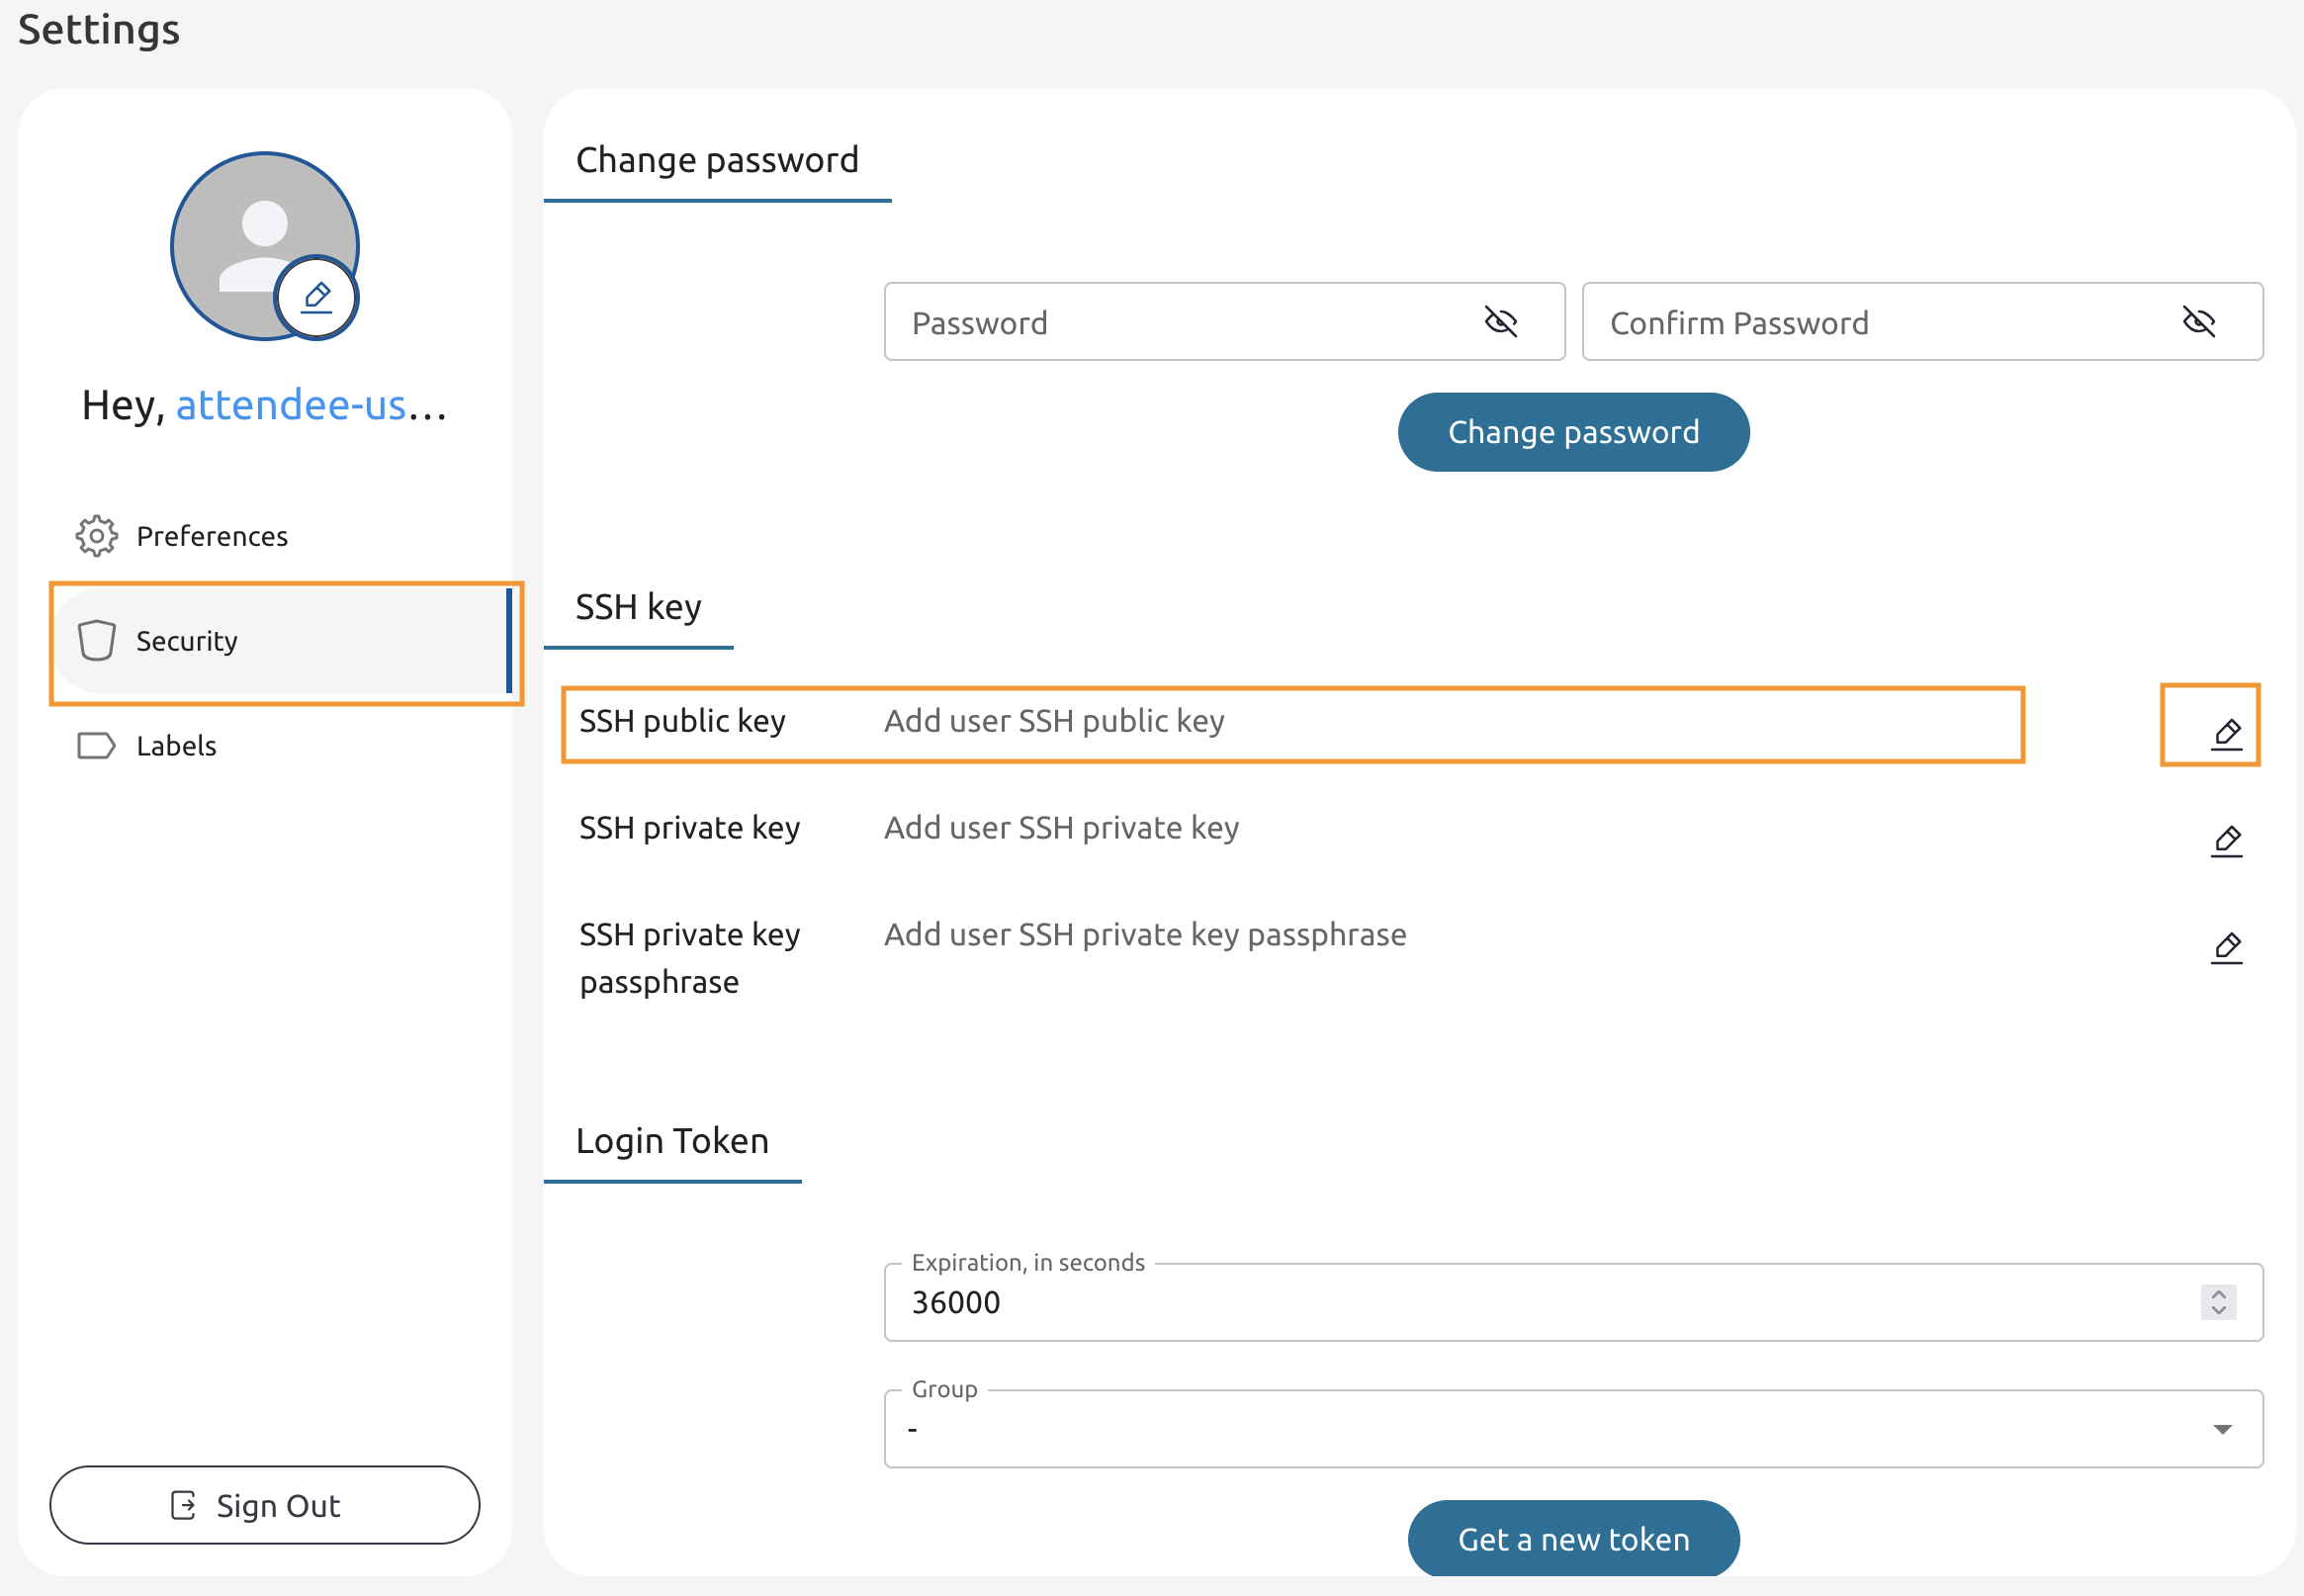
2.1.17
Navigate to Settings -> Security.
Press edit the SSH public key.
2.1.18
Paste the key into the field.
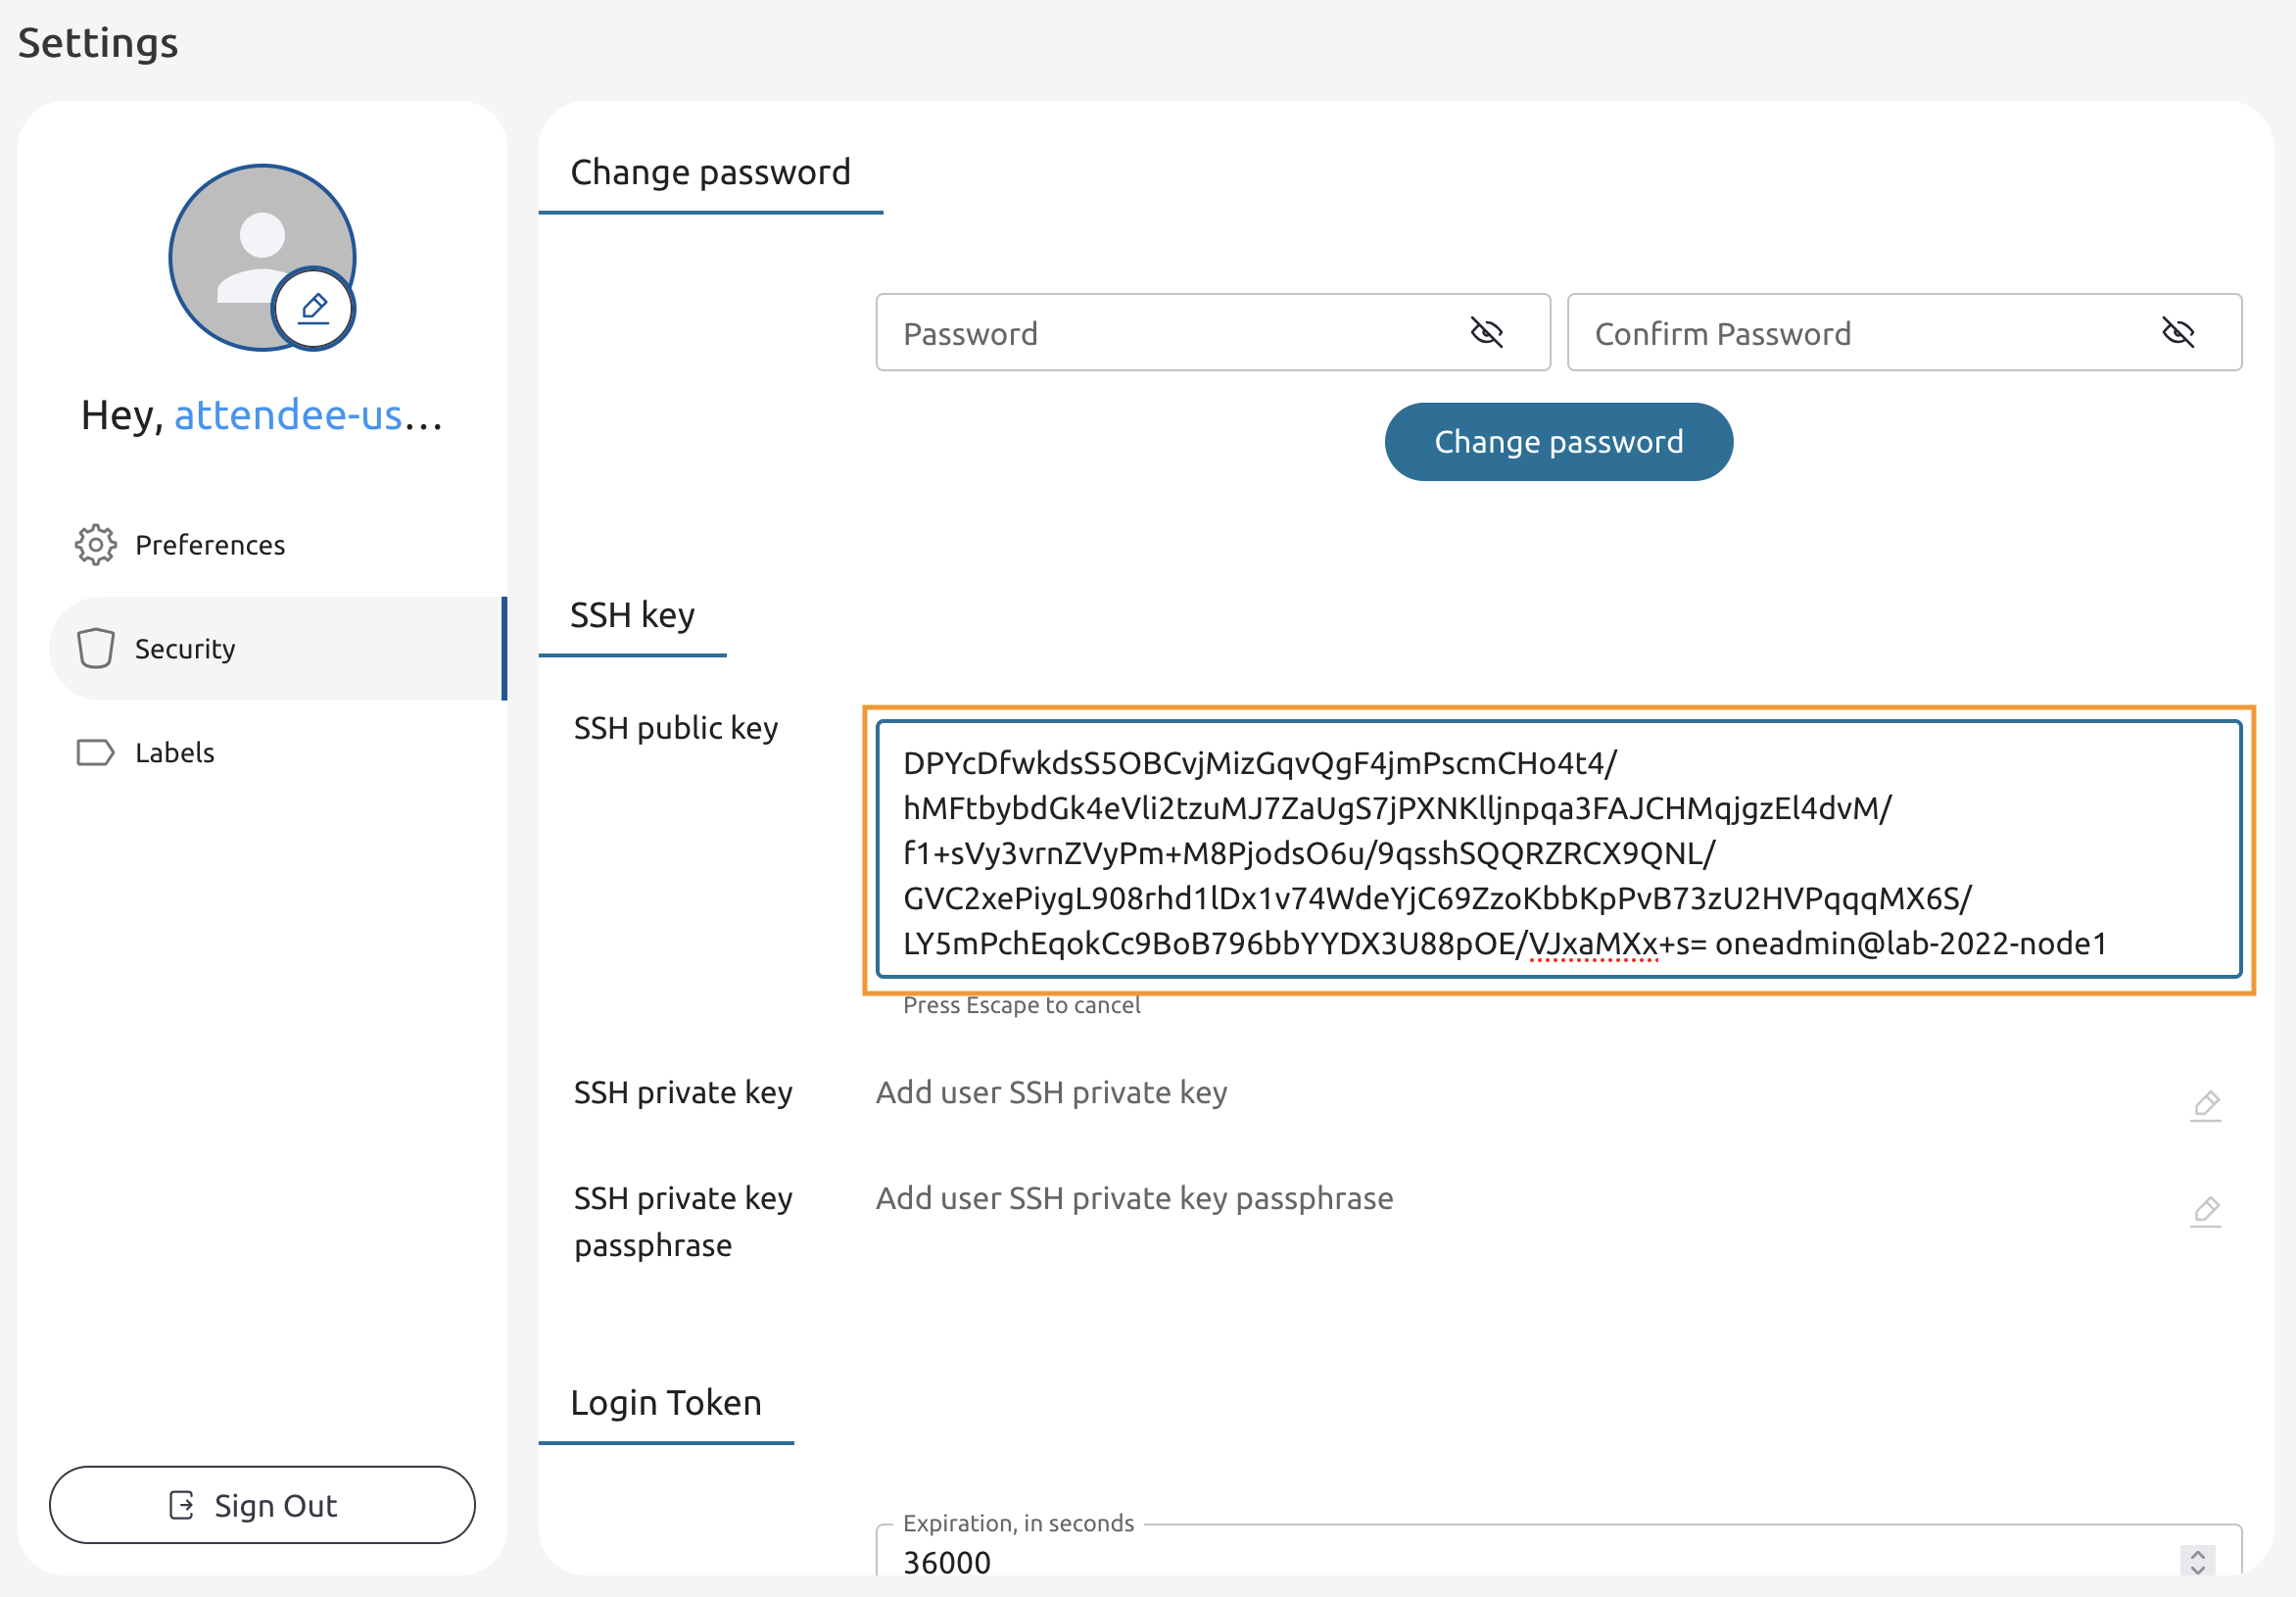
2.1.19
Click anywhere outside to save the key.
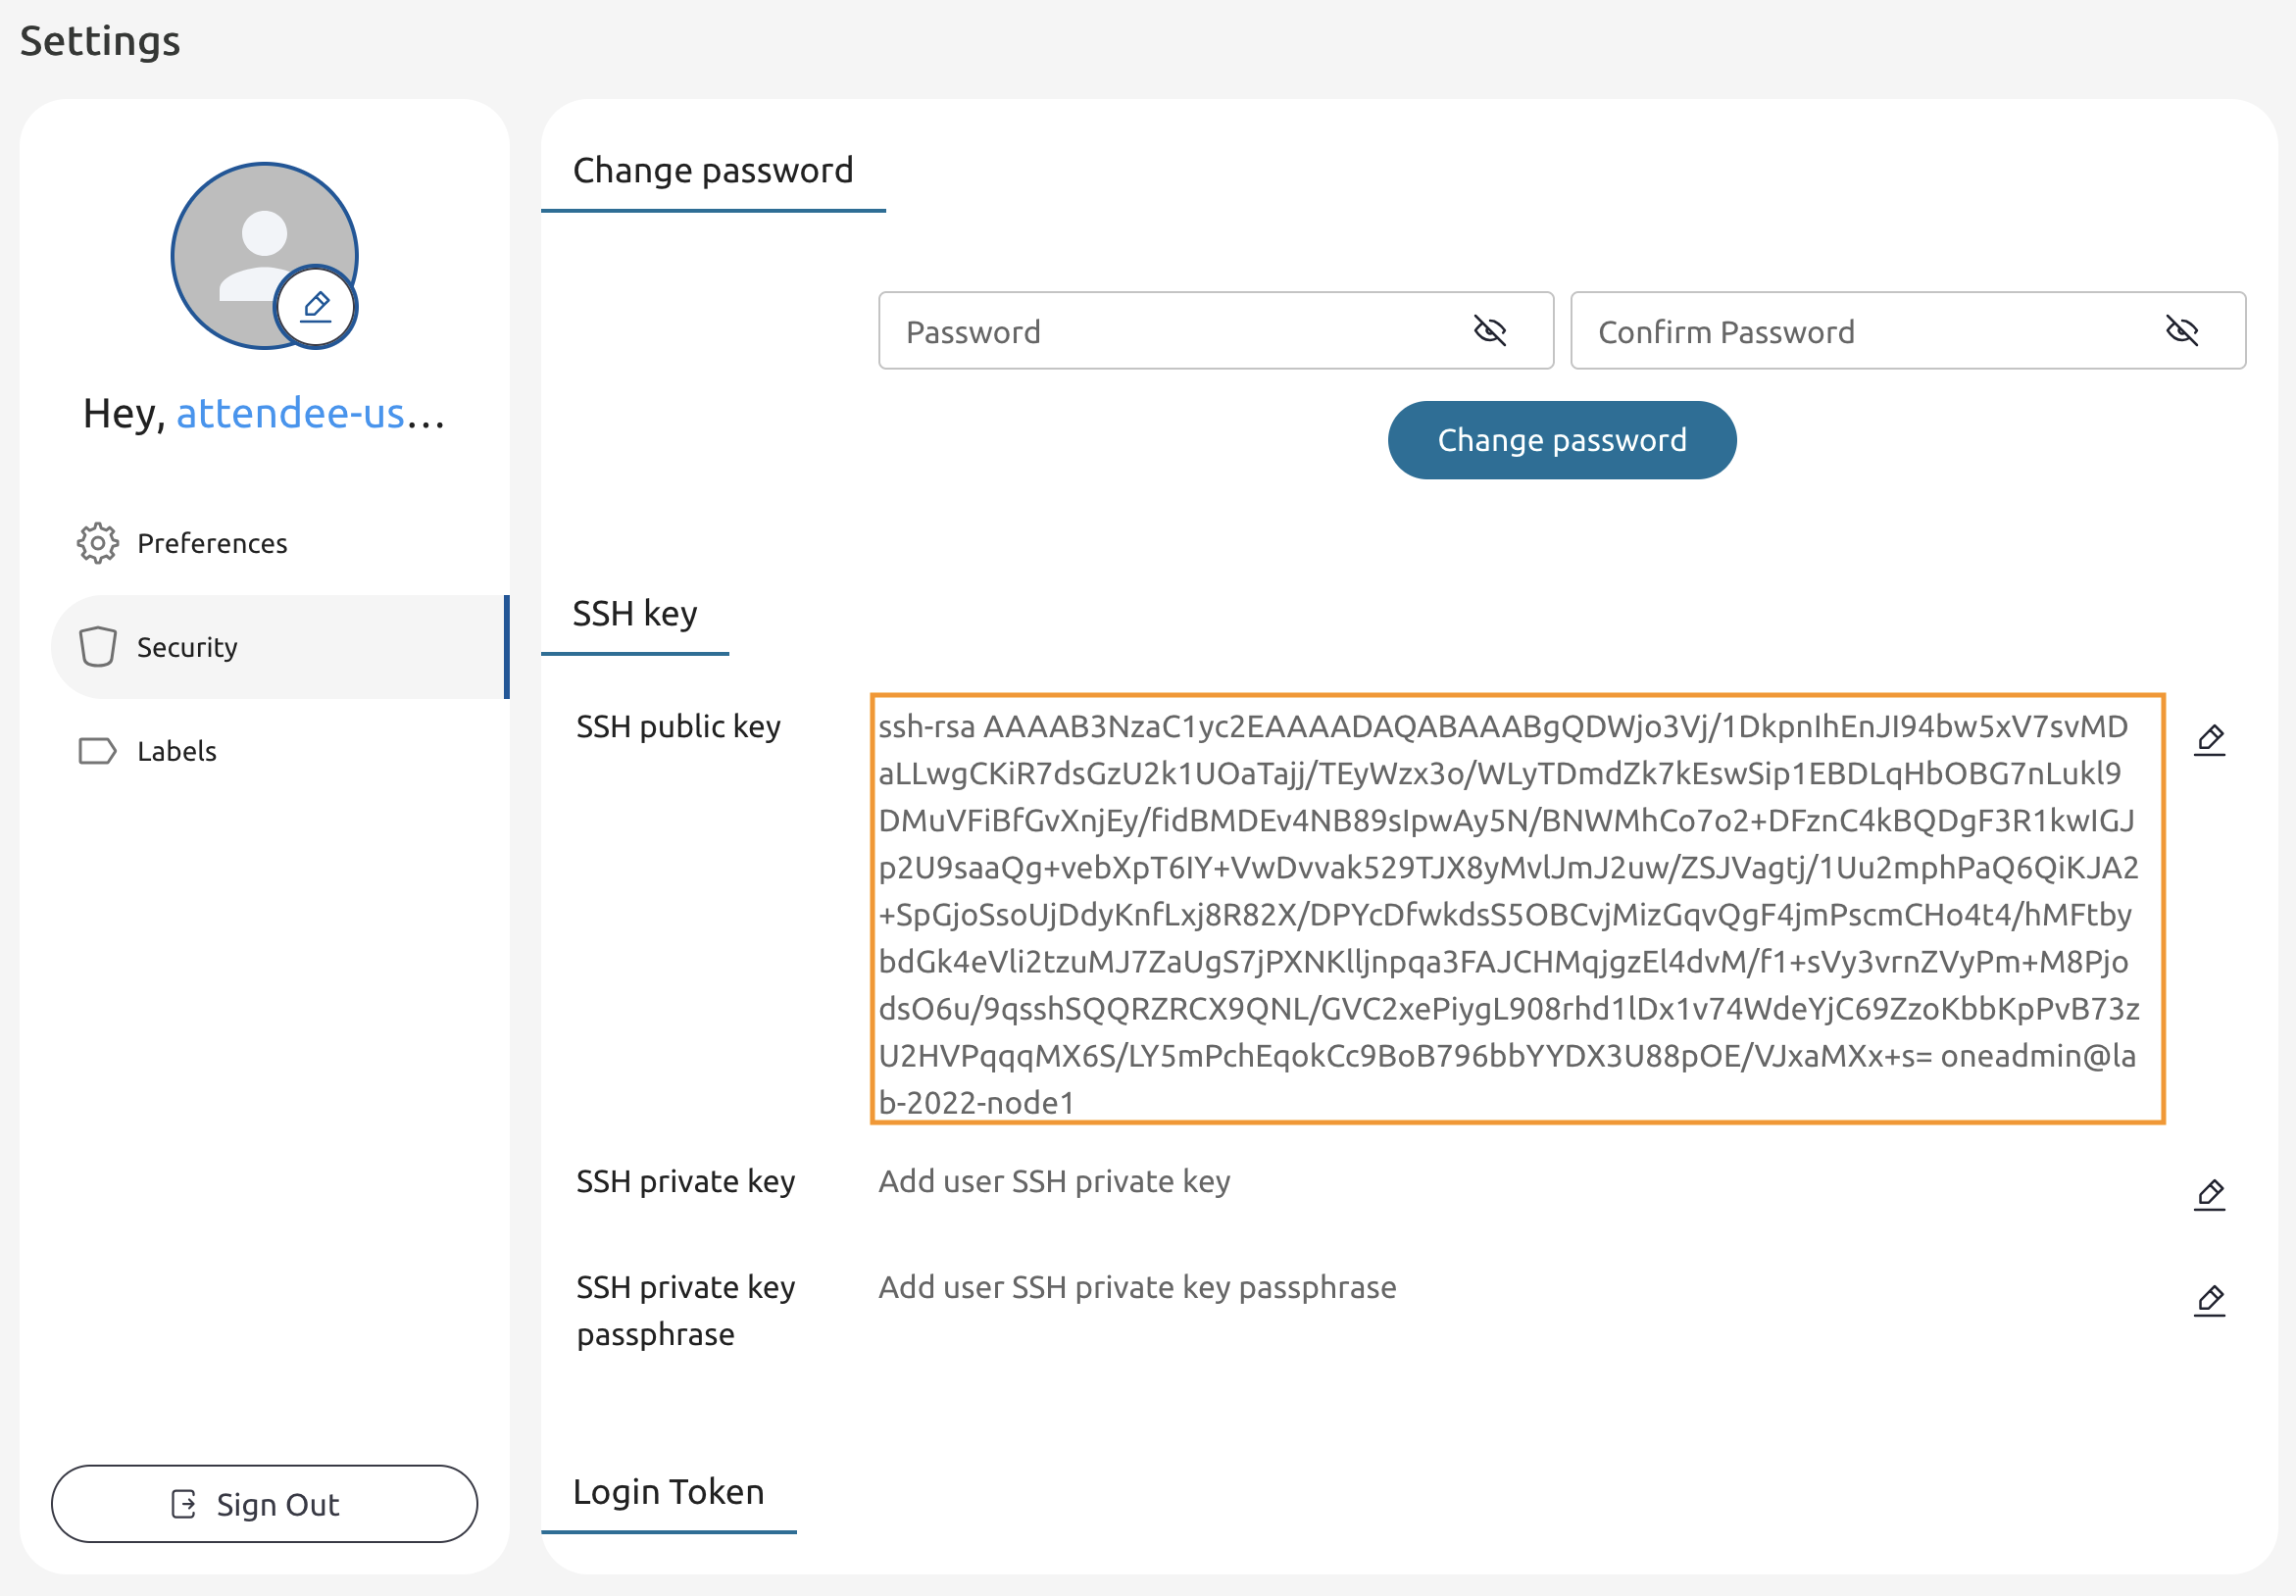
2.1.20
Return to the Command Line and use the cat command to print the contents of the id_rsa file.
cat ~/.ssh/id_rsa

-----BEGIN OPENSSH PRIVATE KEY-----
b3BlbnNzaC1rZXktdjEAAAAABG5vbmUAAAAEbm9uZQAAAAAAAAABAAABlwAAAAdzc2gtcn
NhAAAAAwEAAQAAAYEAp5cLqSfNY4irlbWvEJBsuASw5X4OqptLn7WmO5GS/xf/1fn6IzpH
...
63BK5Ecjx26WRrpB1o/+pVbqNu5sX12jTATc9zrKou2q7wLNfx1jJeioWqIf6TWCbnVQM8
TaRgPVI47LJSekjljkm8iLZBhJXQMBedy45VEYyrk2DNzvyFvQRmTFcIYLWnvUvhZu5Io9
vrgFmhxCPRkKsVAAAAG29uZWFkbWluQG9uZS1haW8tZnJvbnRlbmQtMAECAwQFBgc=
-----END OPENSSH PRIVATE KEY-----
Copy the output to the clipboard.
2.1.21
Go back to the Settings tab and locate the SSH private key field.
Enter the editing mode of that field.
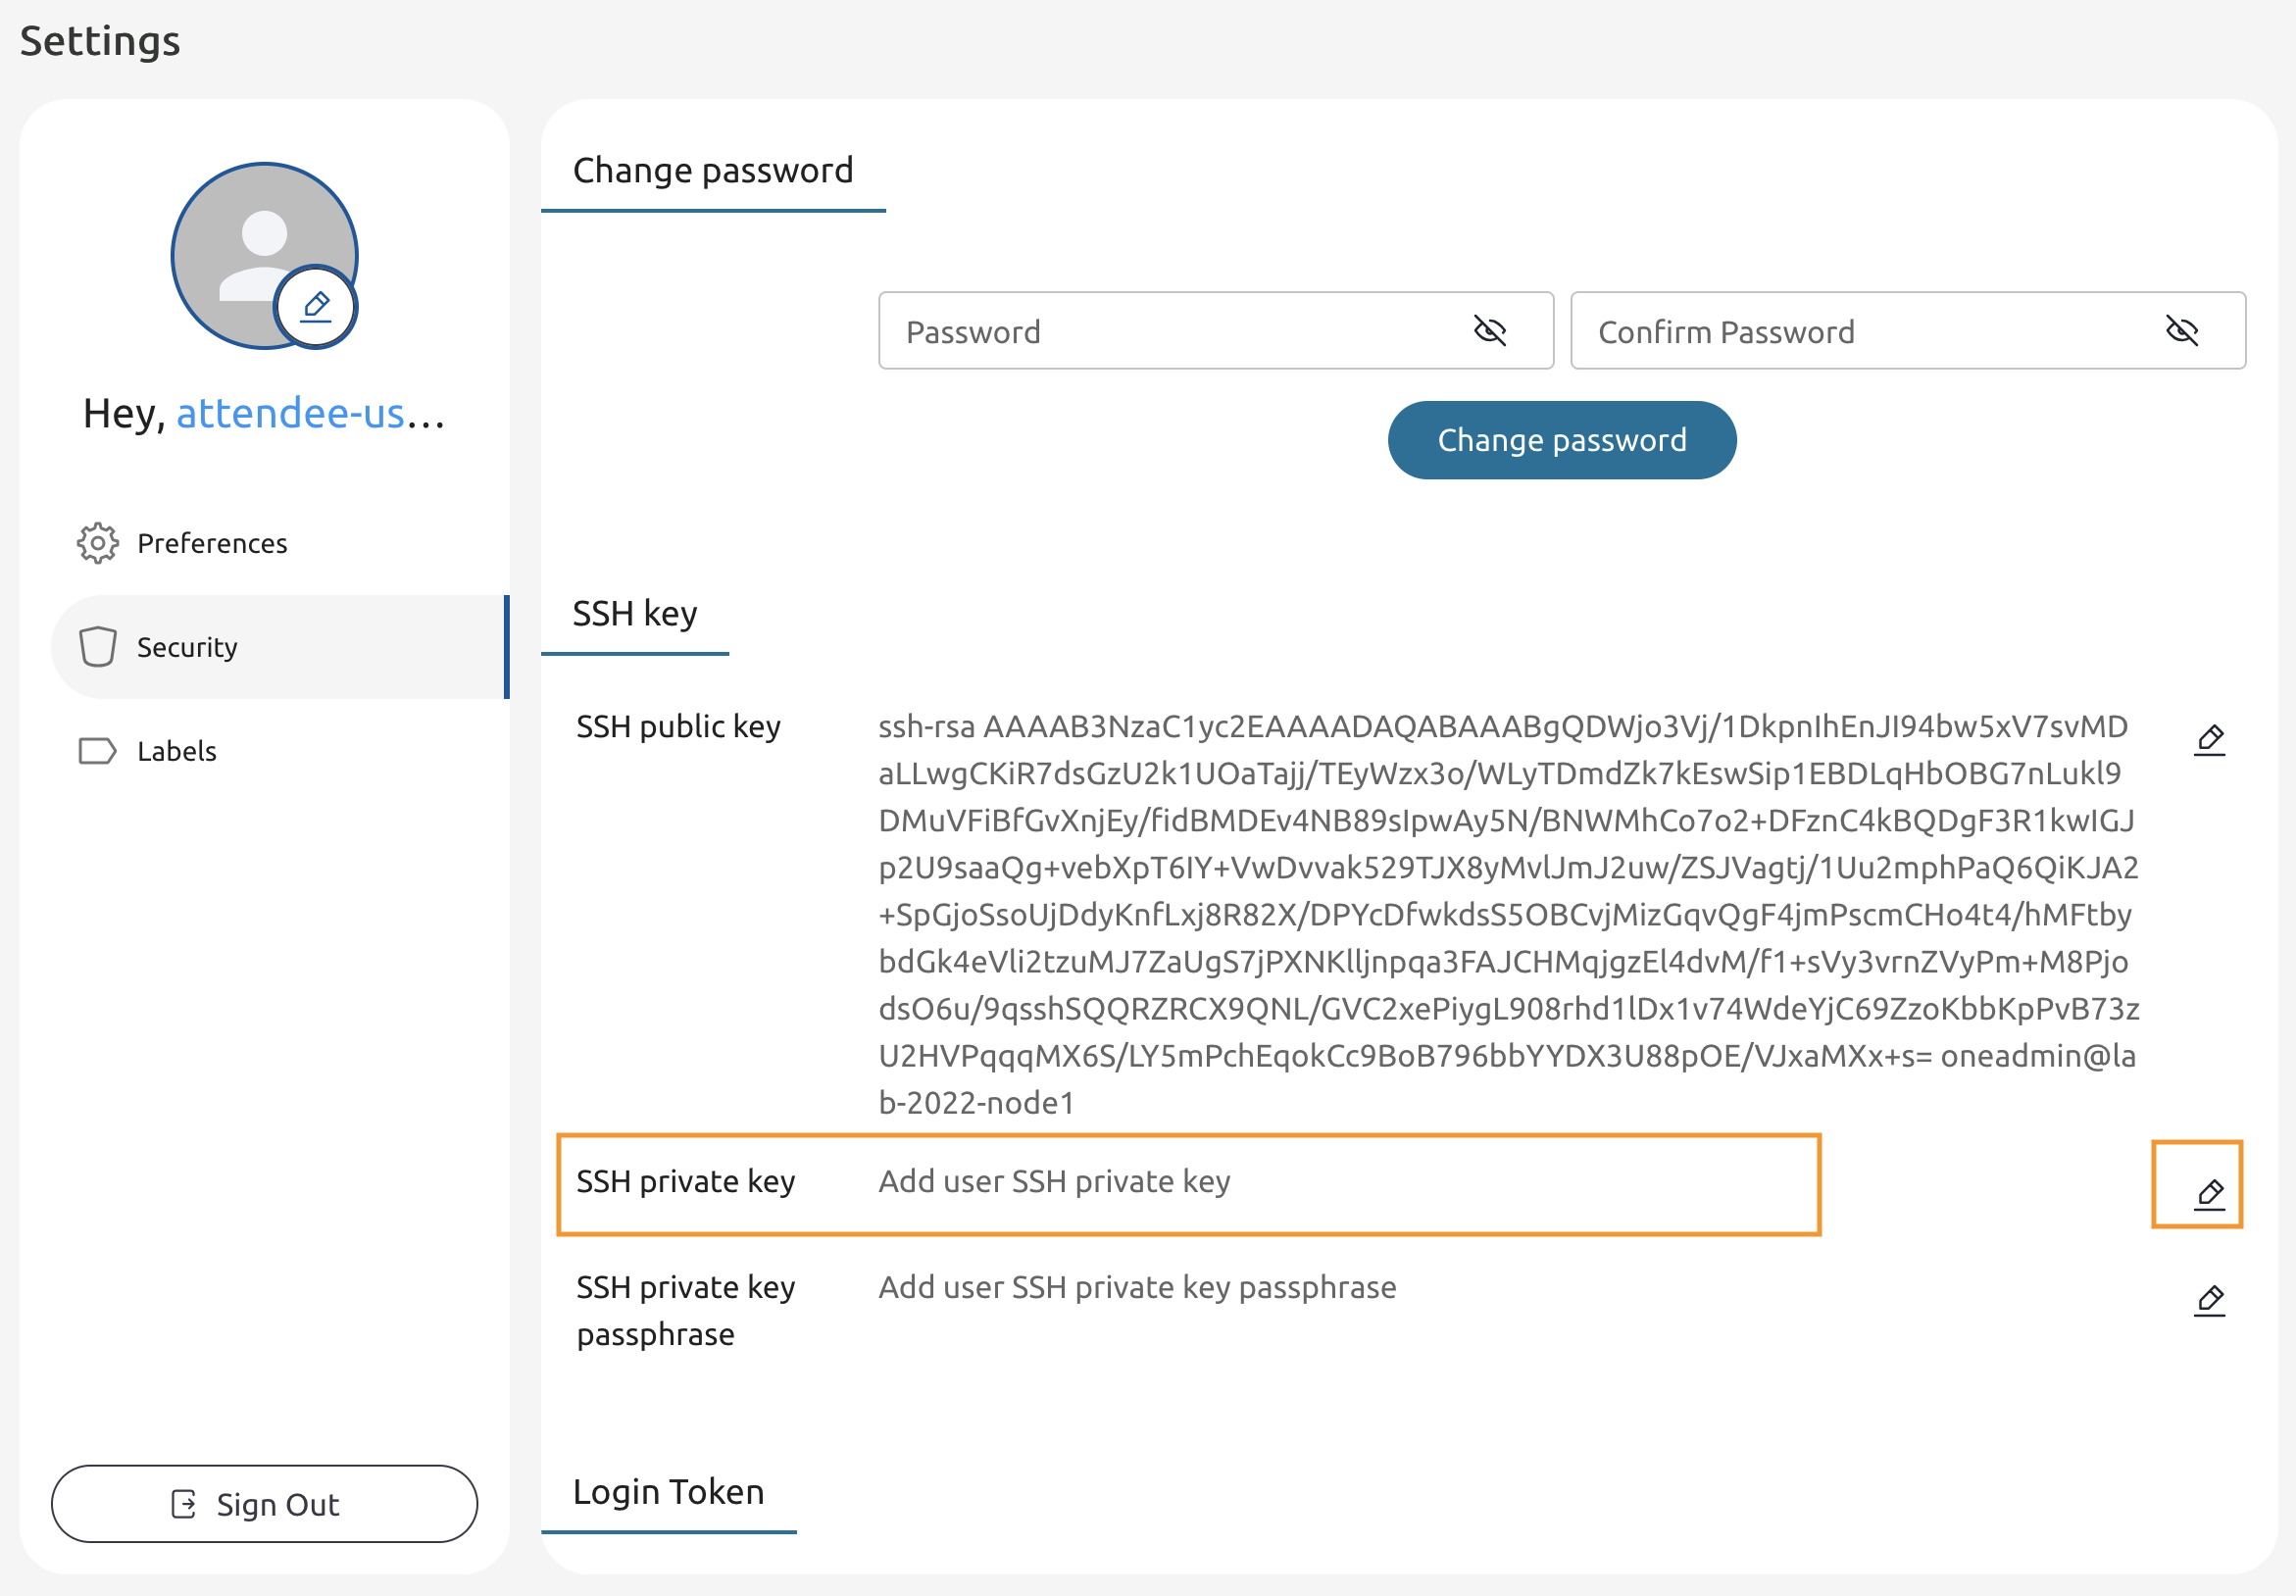
2.1.22
Paste the private key into the field.

2.1.23
Press anywhere outside of that field to save it.