Module 8 - Lab 1 : VM Templates
Table of Contents
Expand to access the In-page navigation
Objective(-s):
- Create a VM Template for the DB Server.
- Adjust the Alpine Linux 3.21 VM Template.
- Adjust the Ubuntu 24.04 VM Template.
- Adjust Permissions for VM Templates and Images.
Create a VM Template for the DB Server.
8.1.1
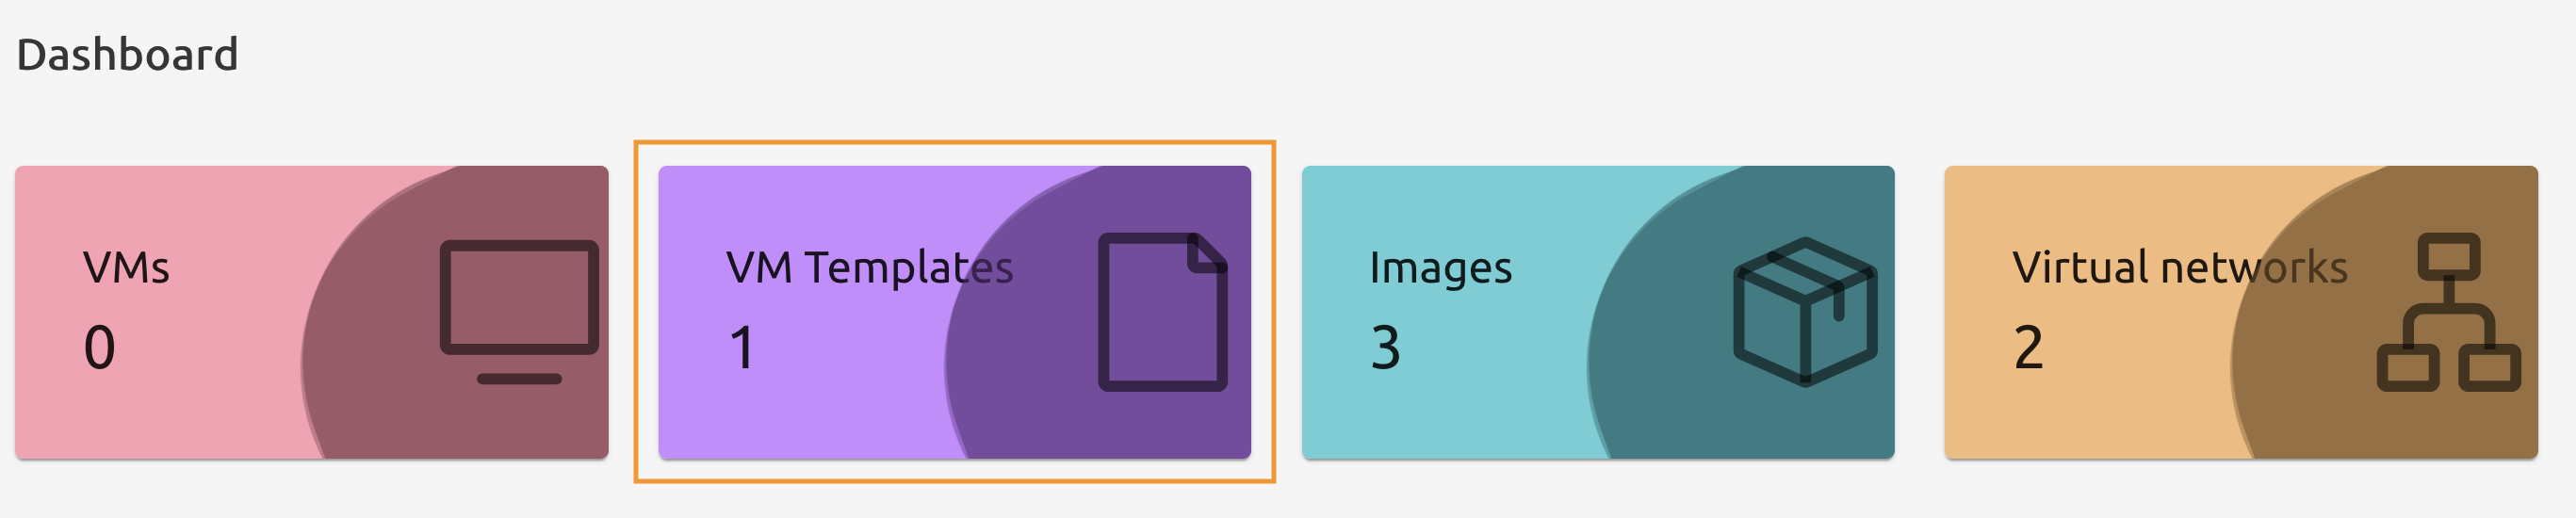
From the Dashboard press VM Templates shortcut button to access the VM Template management screen.
8.1.2
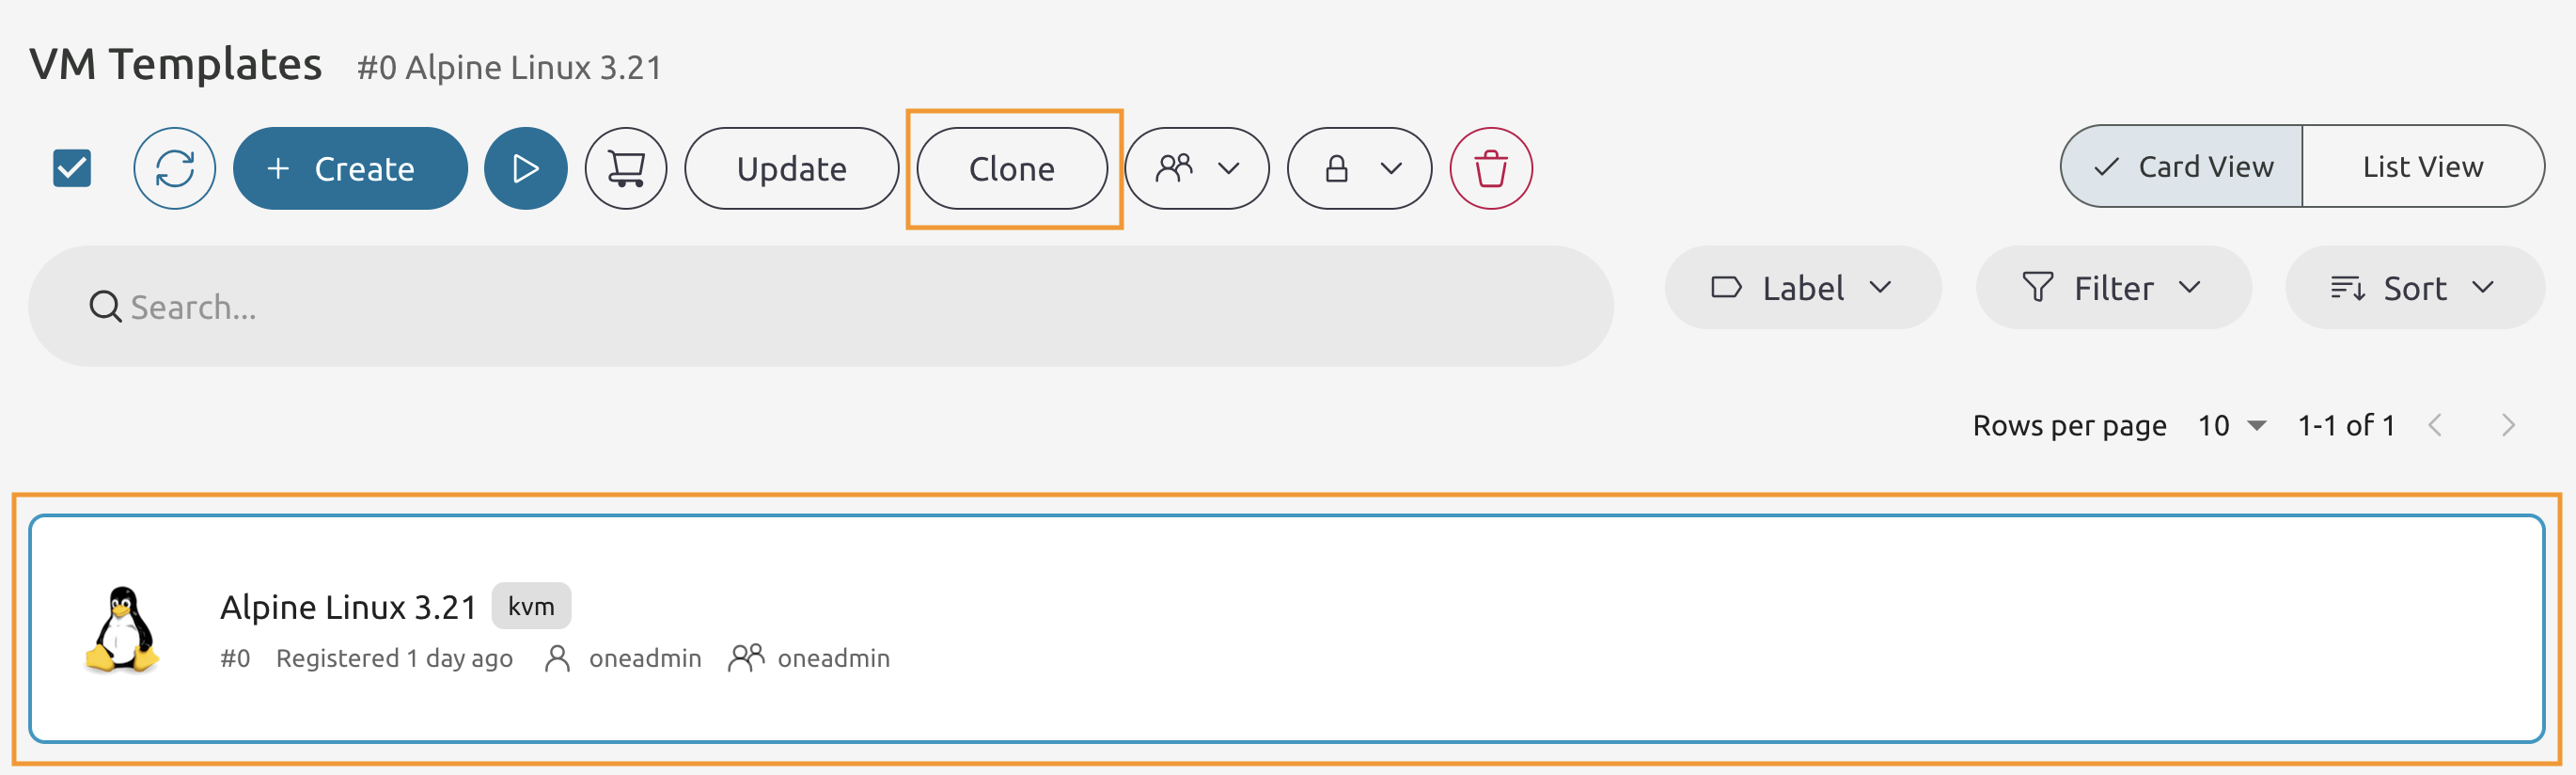
Select the Alpine Linux 3.XX VM Template and press Clone.
8.1.3
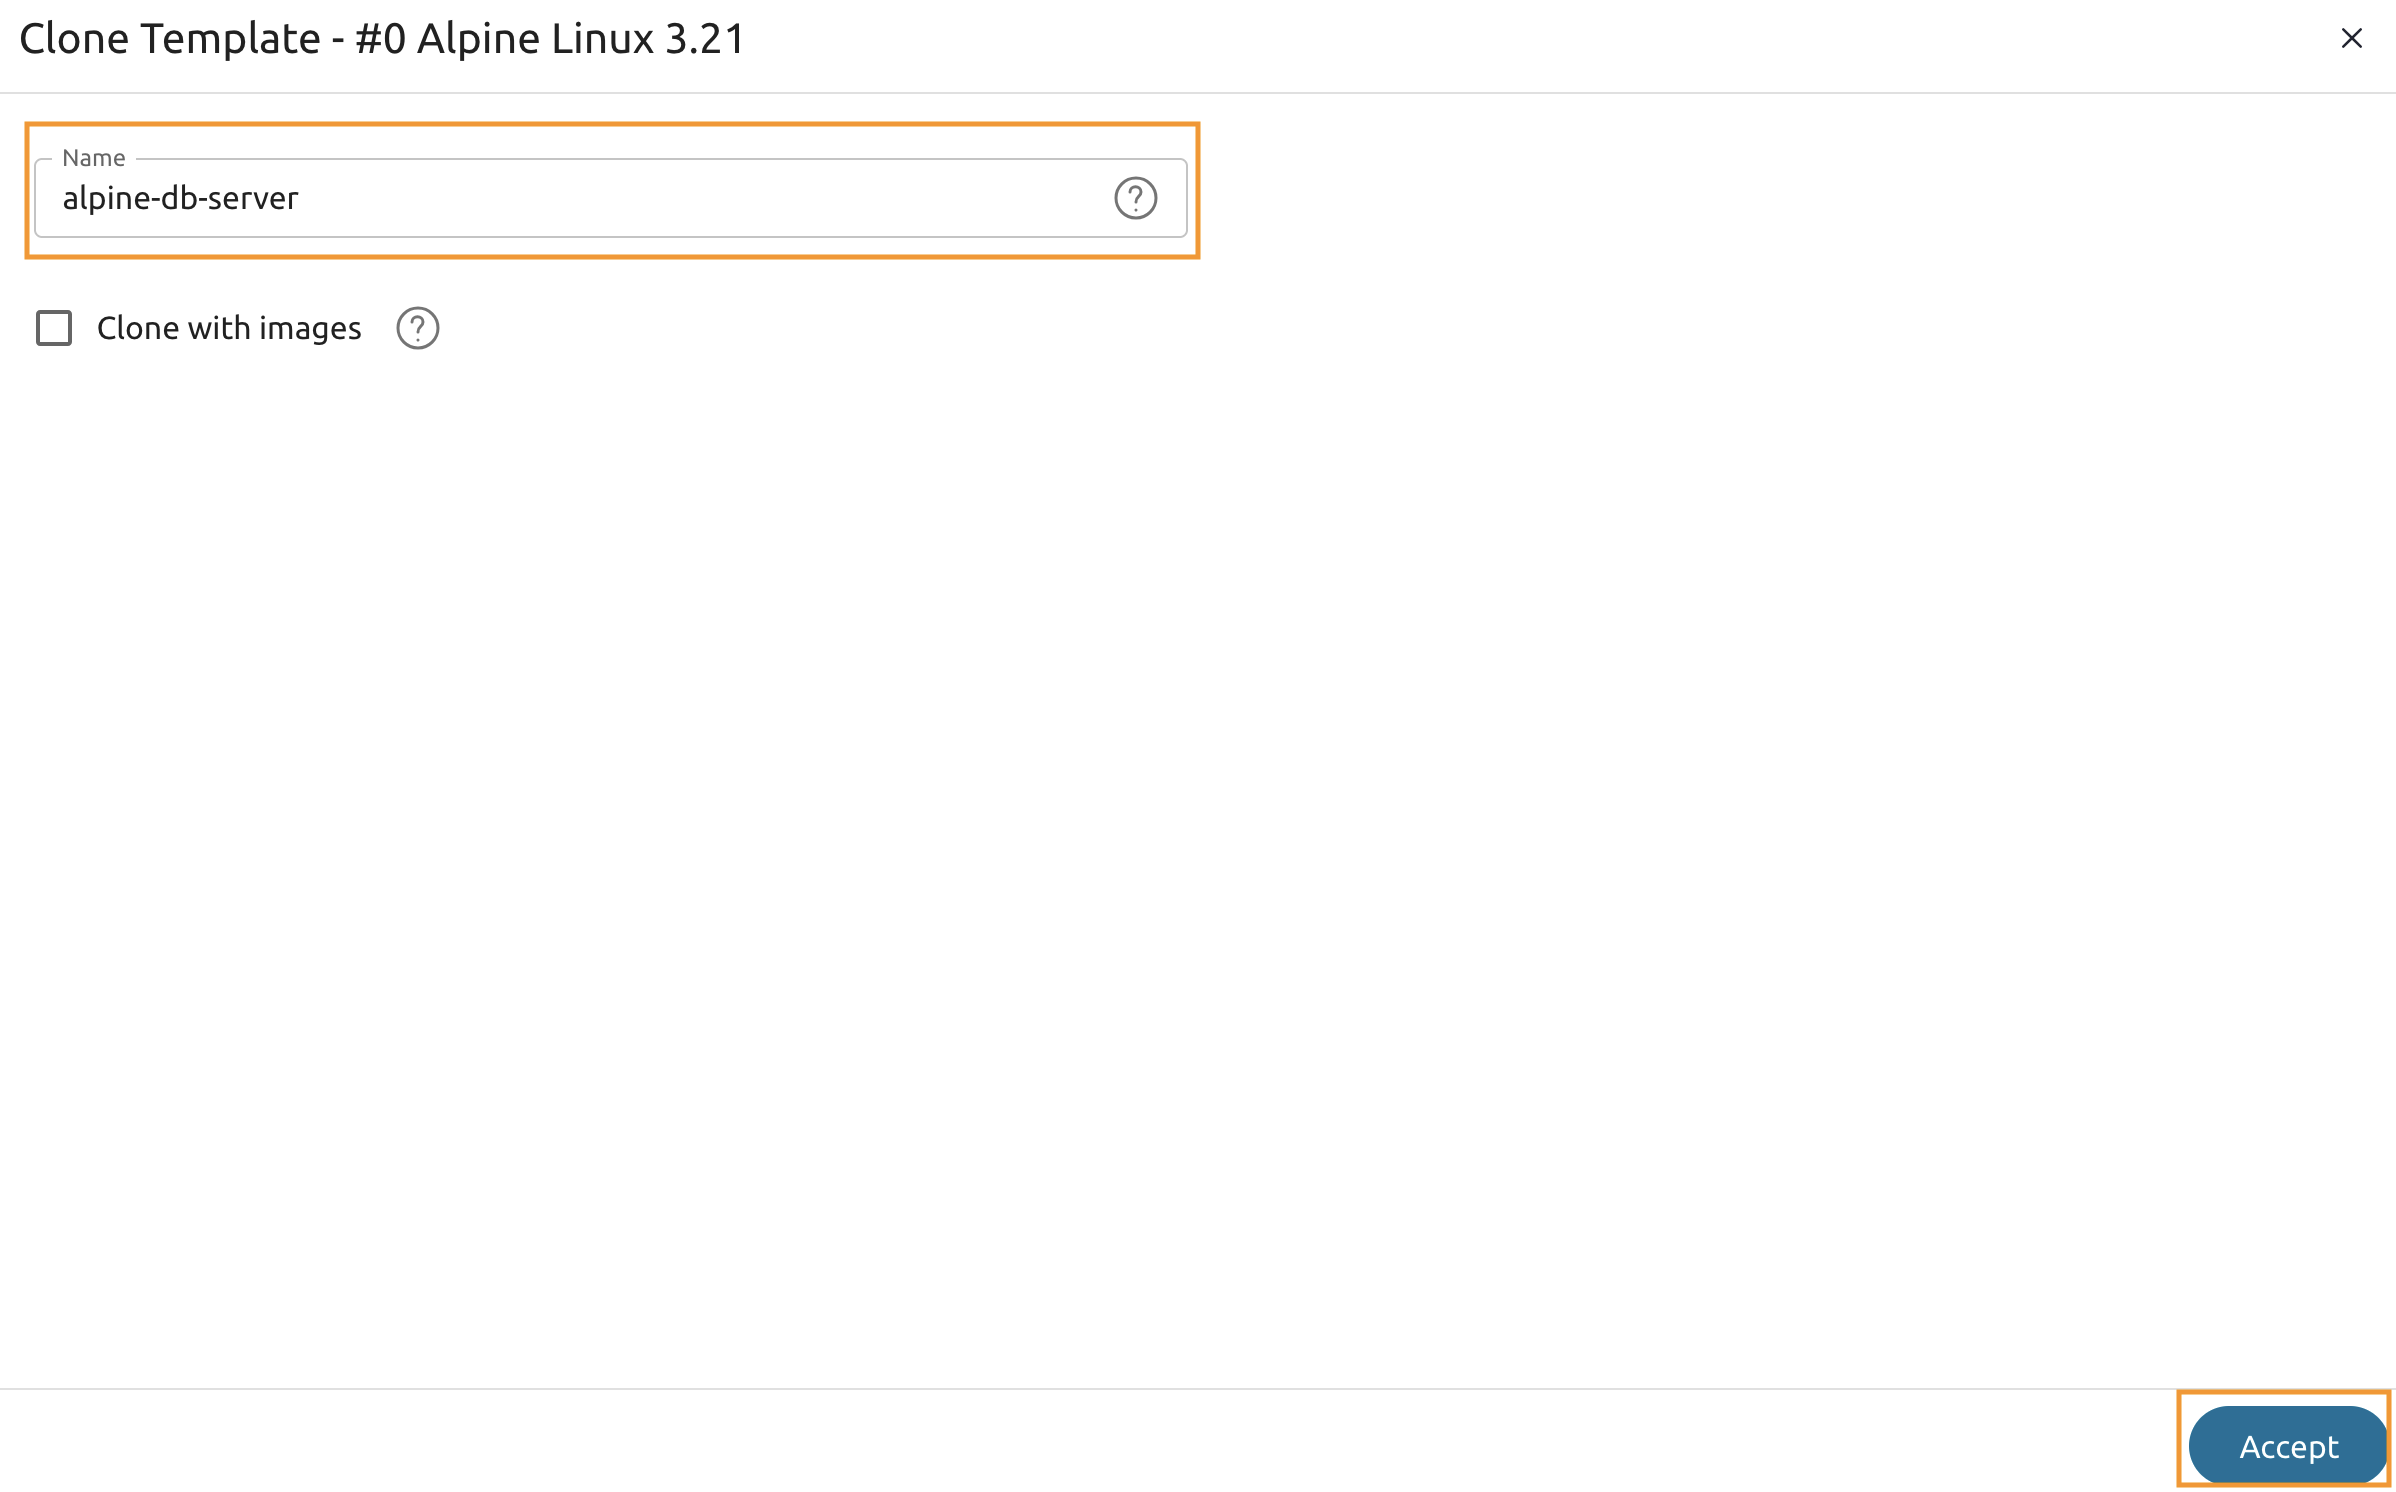
Name it as alpine-db-server and press Accept.
Make sure that Clone with images remains unchecked!
8.1.4
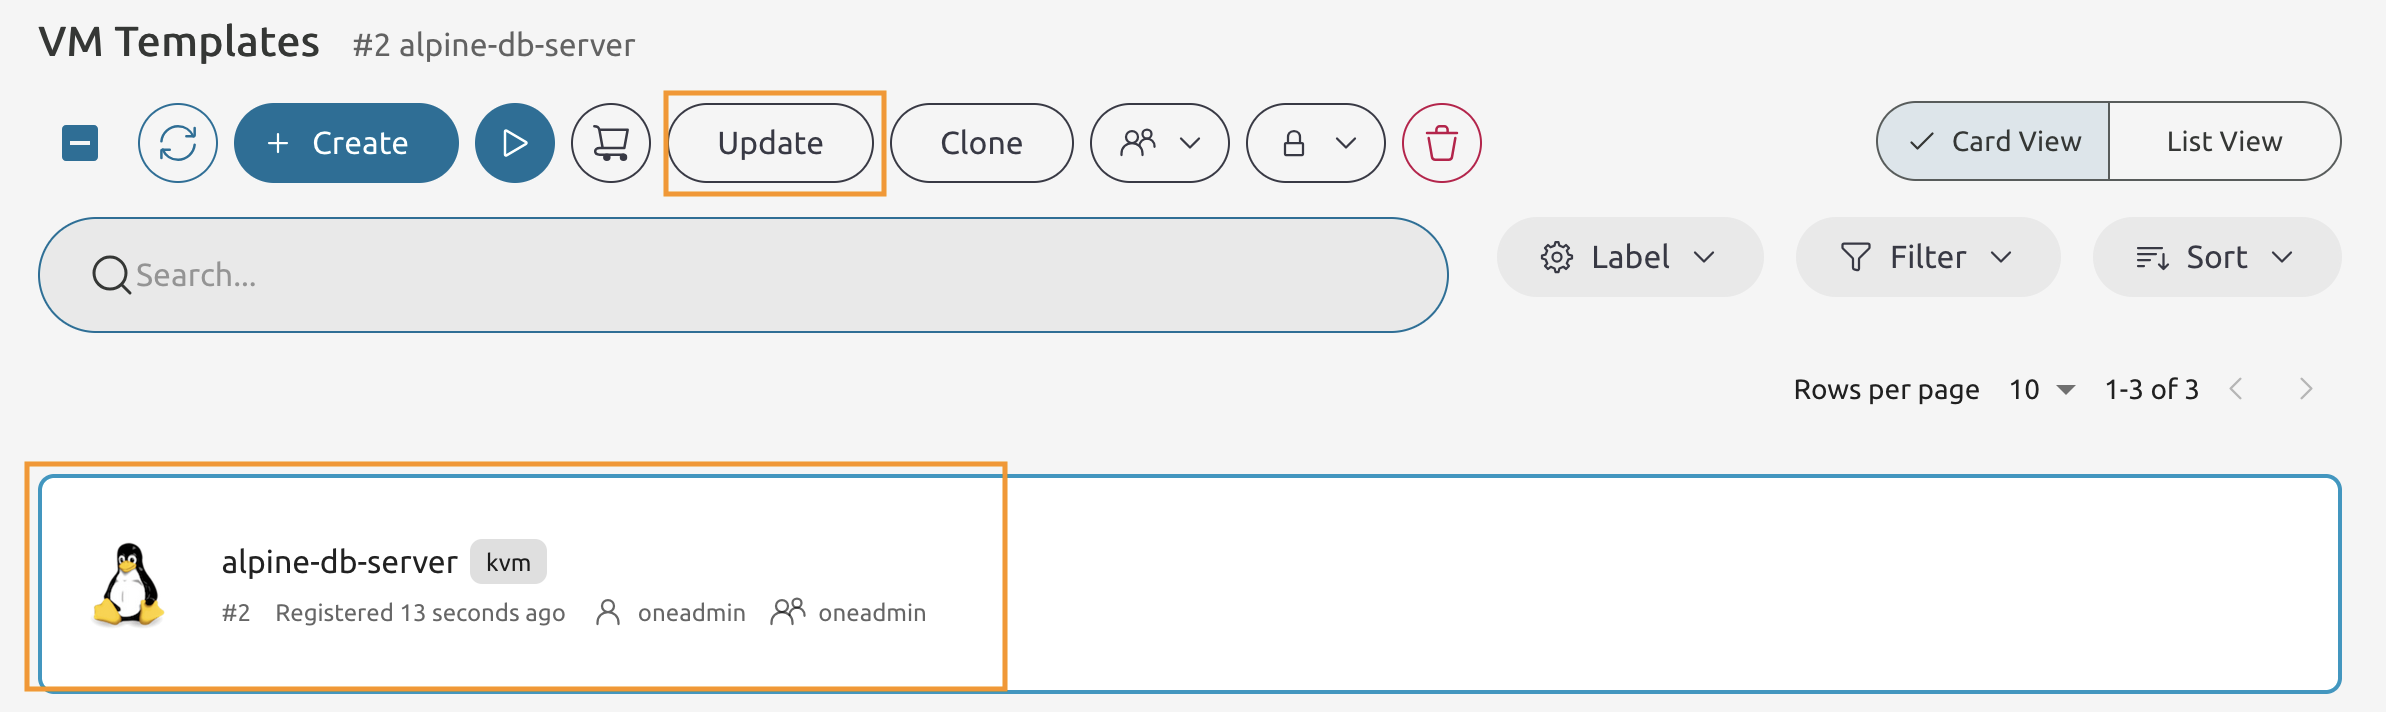
Select the alpine-db-server VM Template and press the *8Update** button.
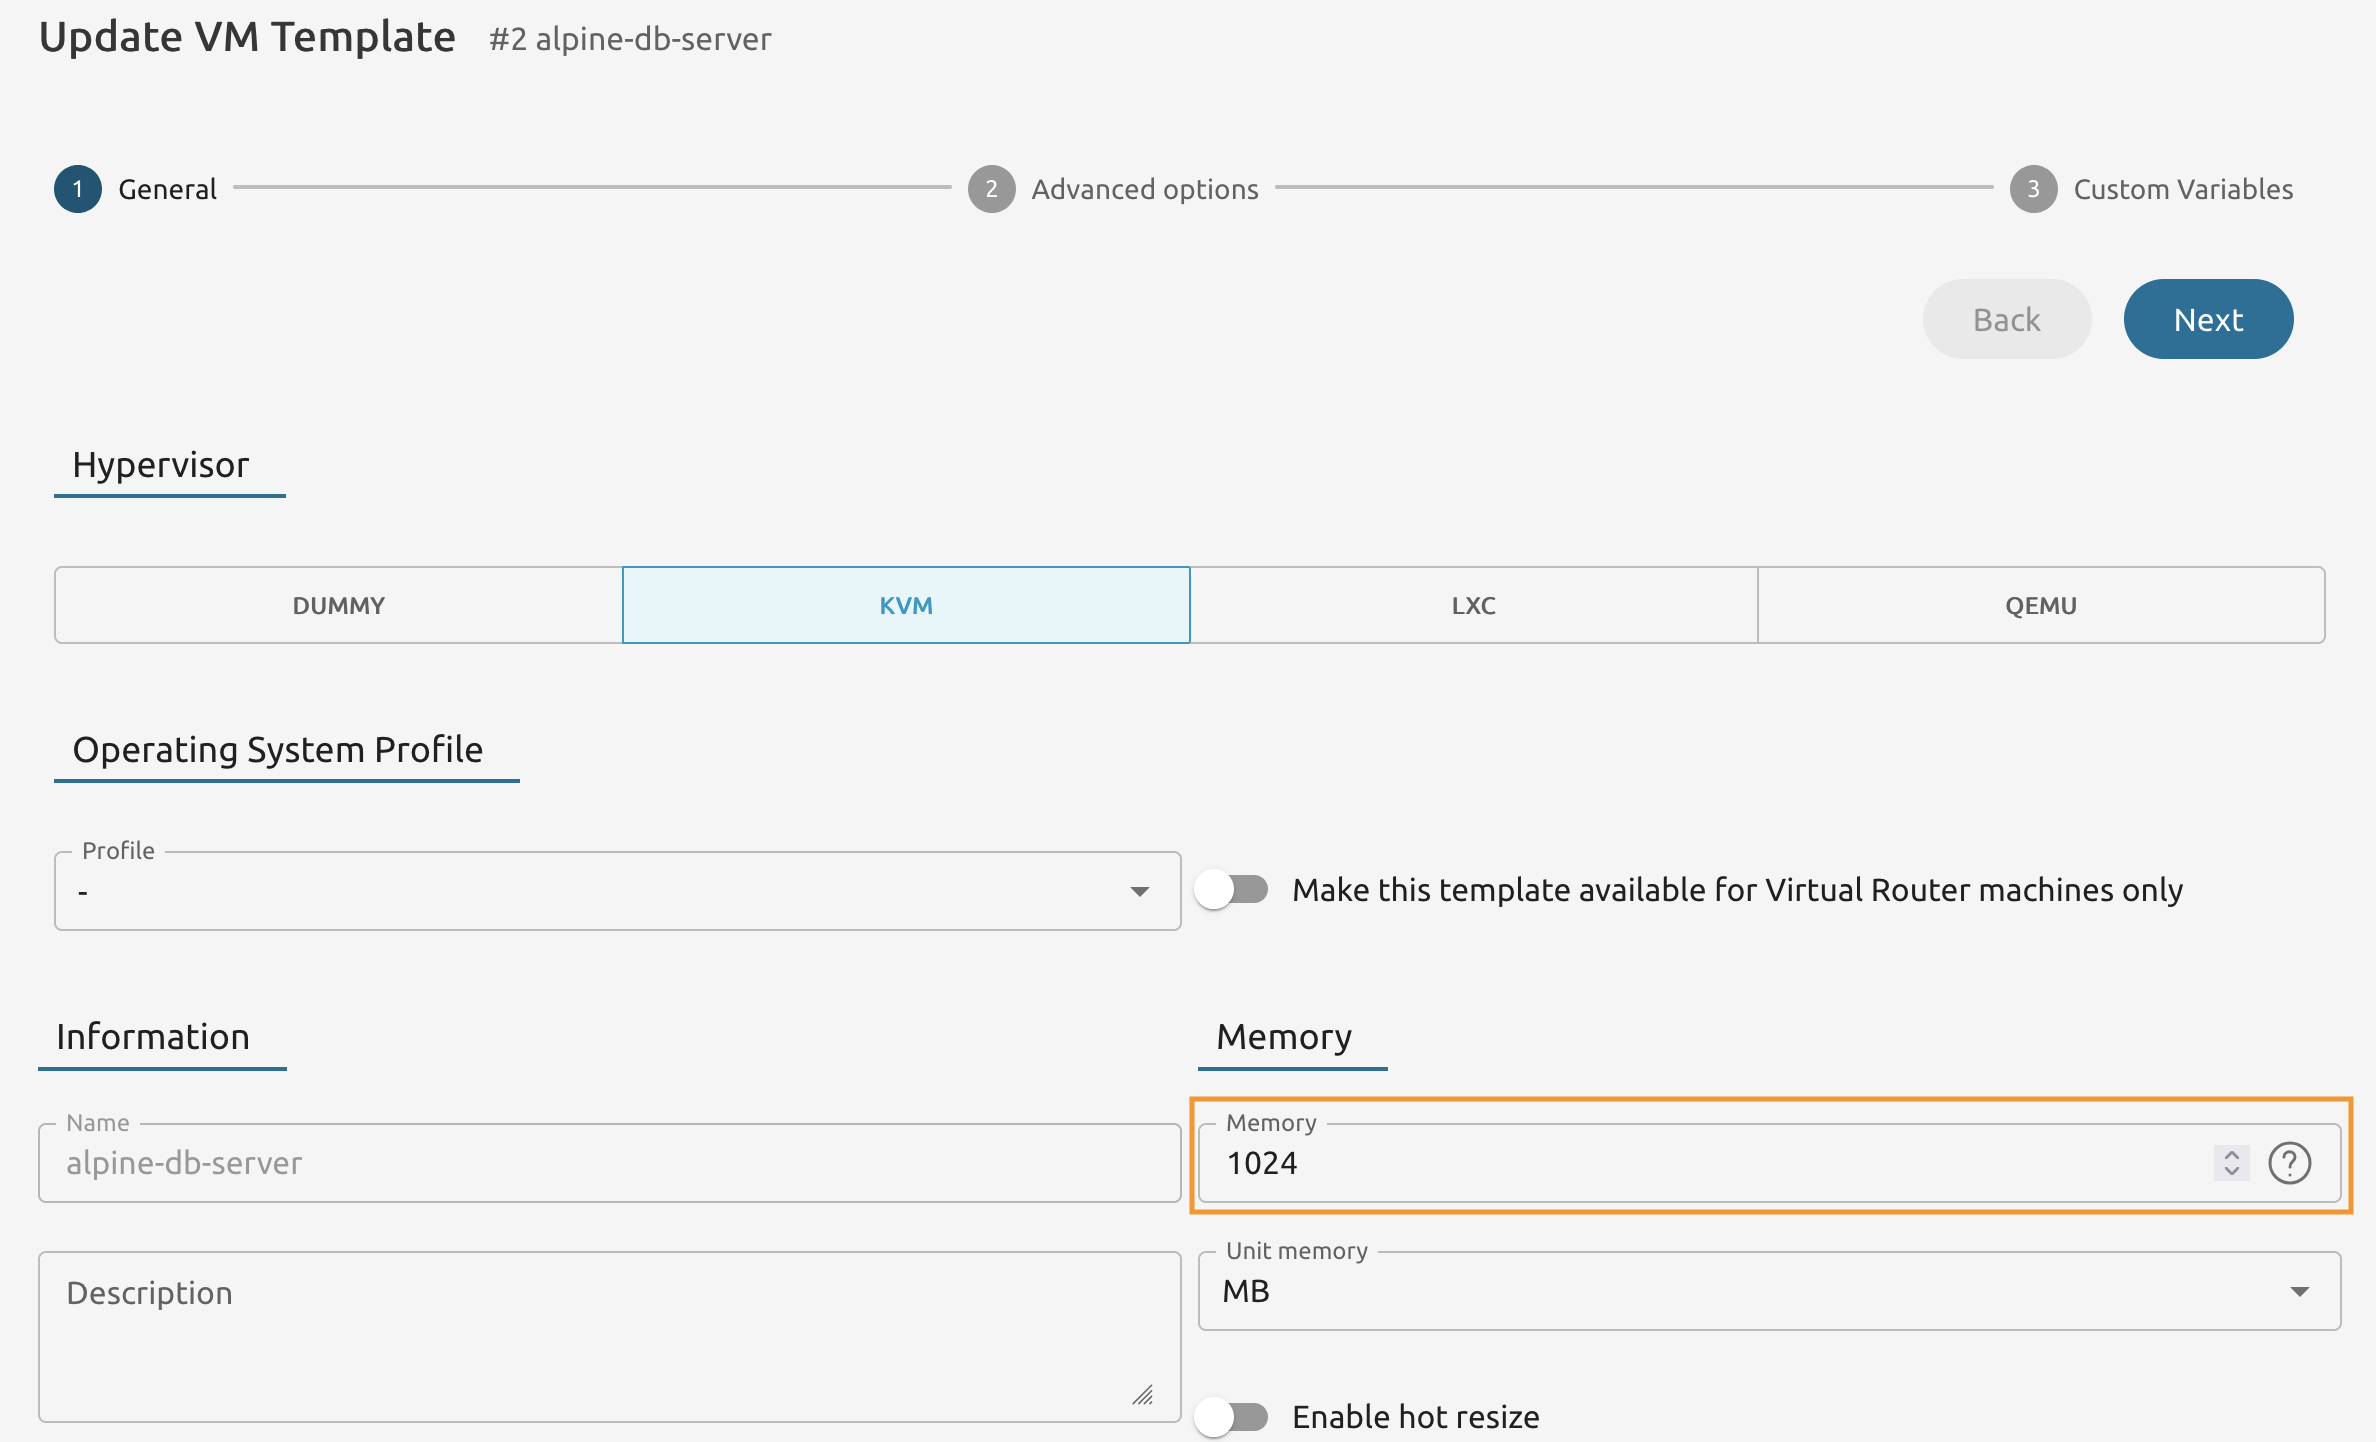
8.1.5
Change the Memory value from 256 to 1024 and proceed ot the Next step of the wizard.
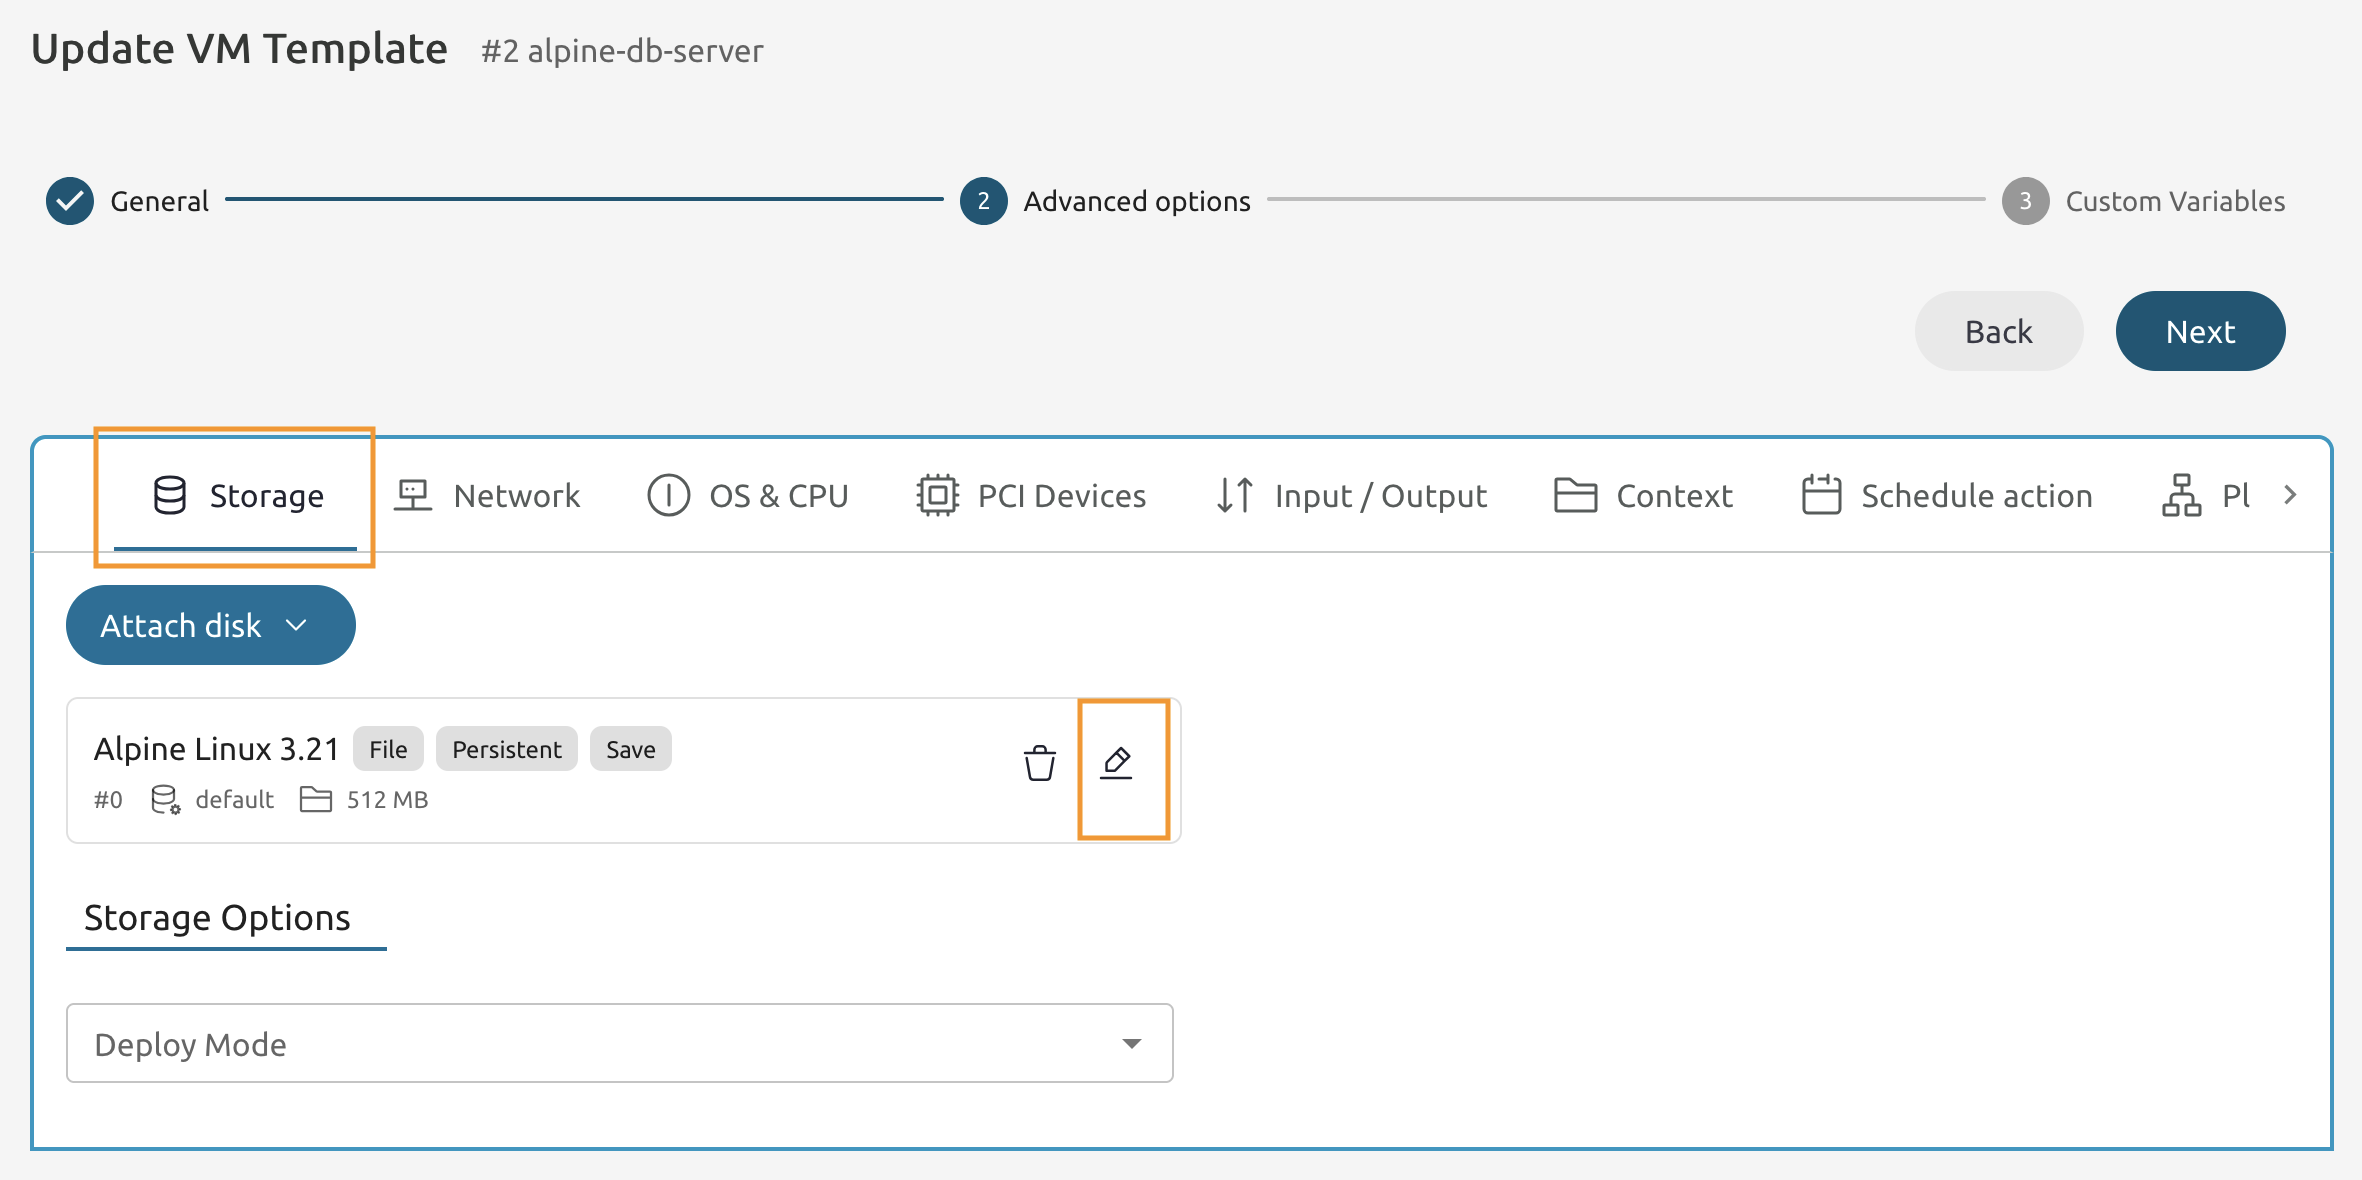
8.1.6
Under Storage locate the Alpine Linux 3.XX disk and press Edit.
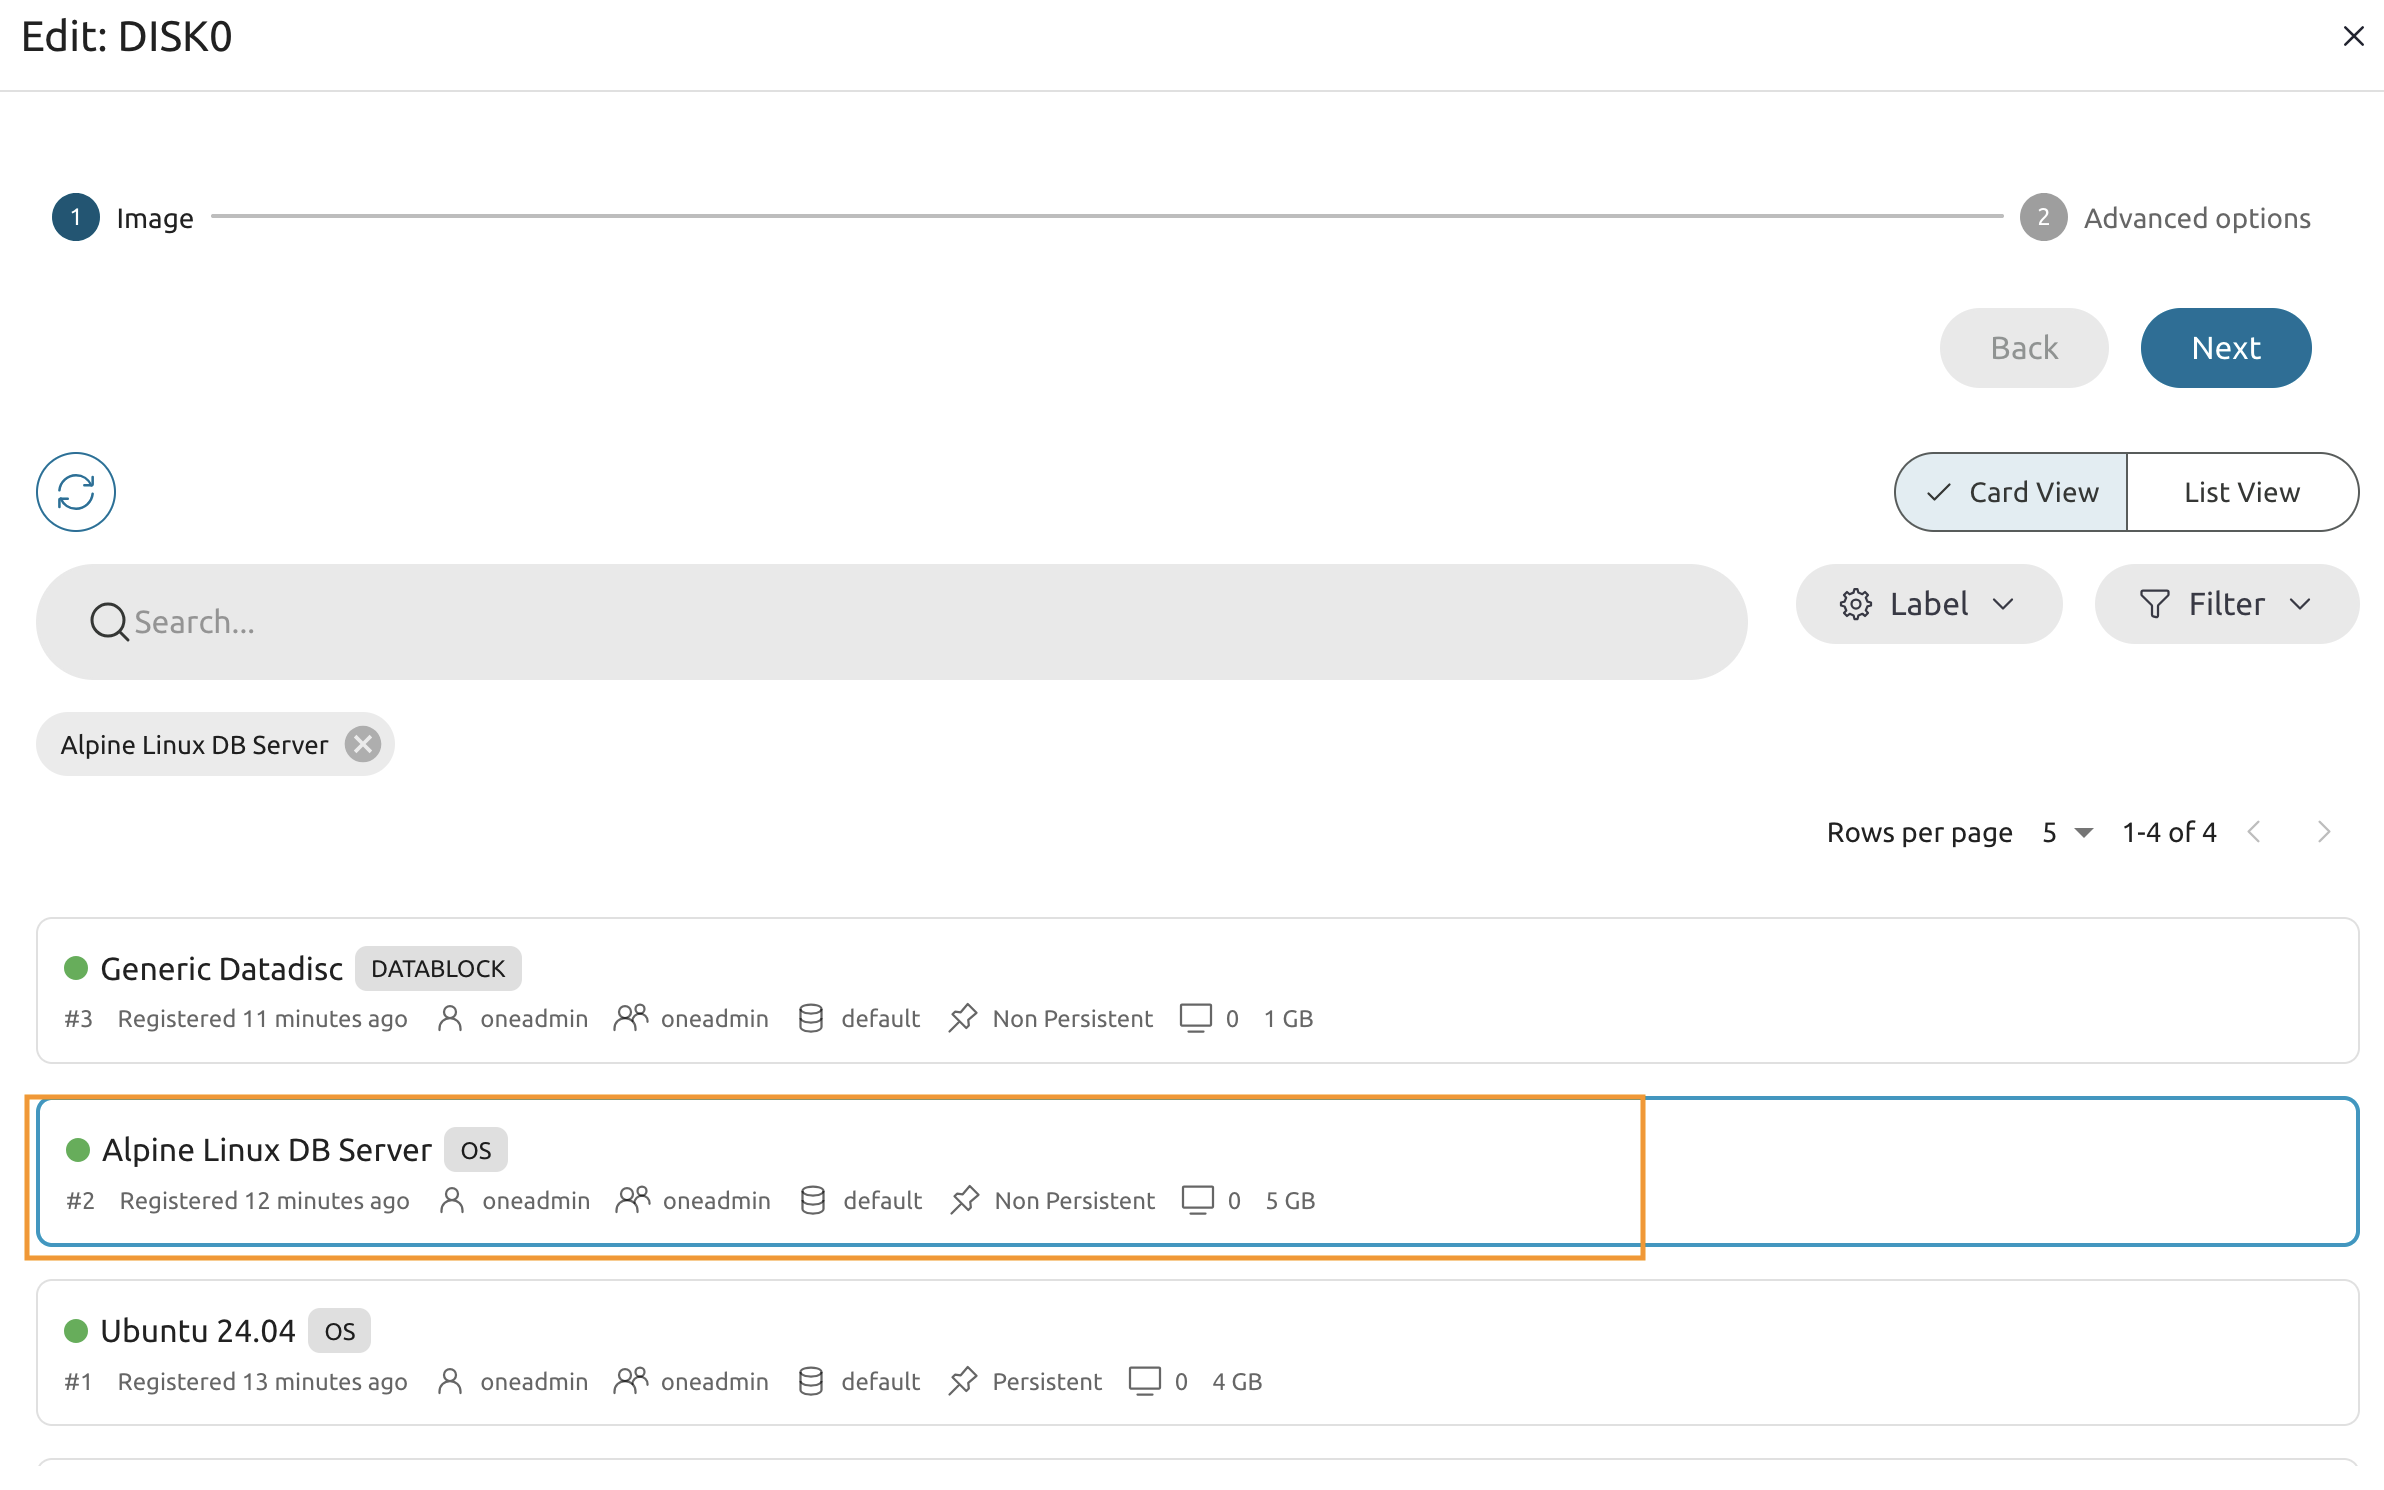
8.1.7
In the Image selector pick Alpine Linux DB Server.
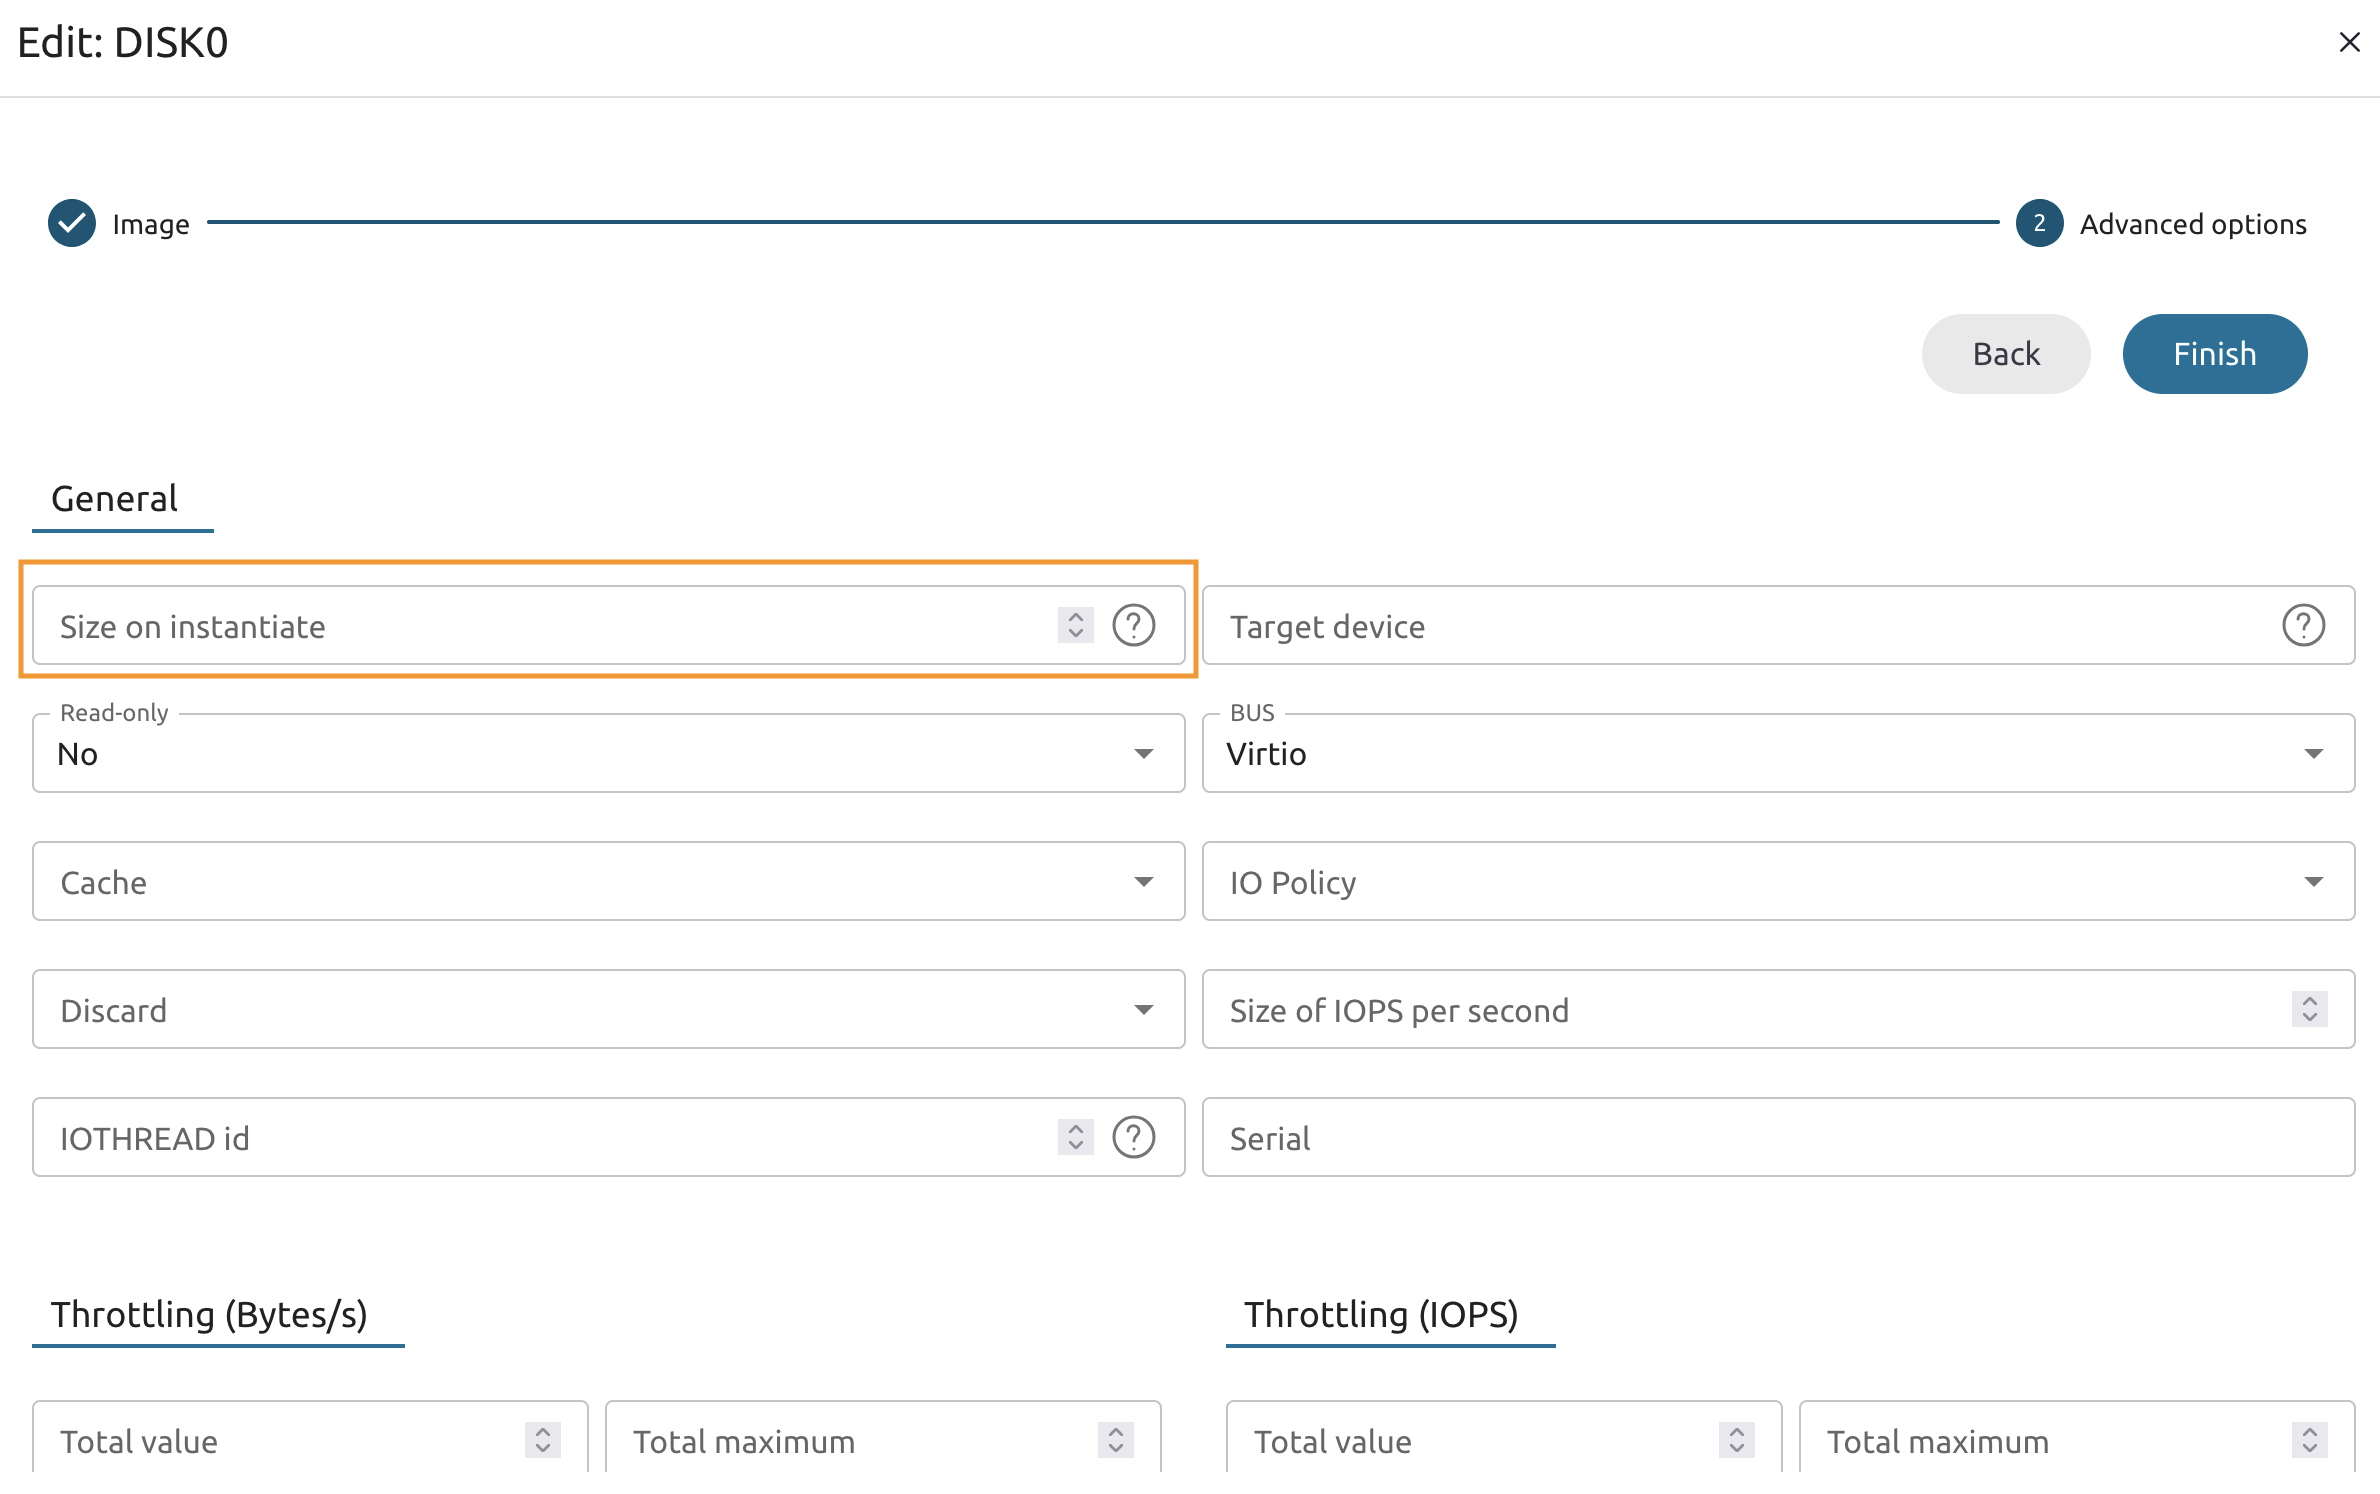
8.1.8
Change the Size on the instantiate from 512 to 5120 and press Finish.
8.1.9
Once saved, you should see that the name and size were changed.

8.1.10
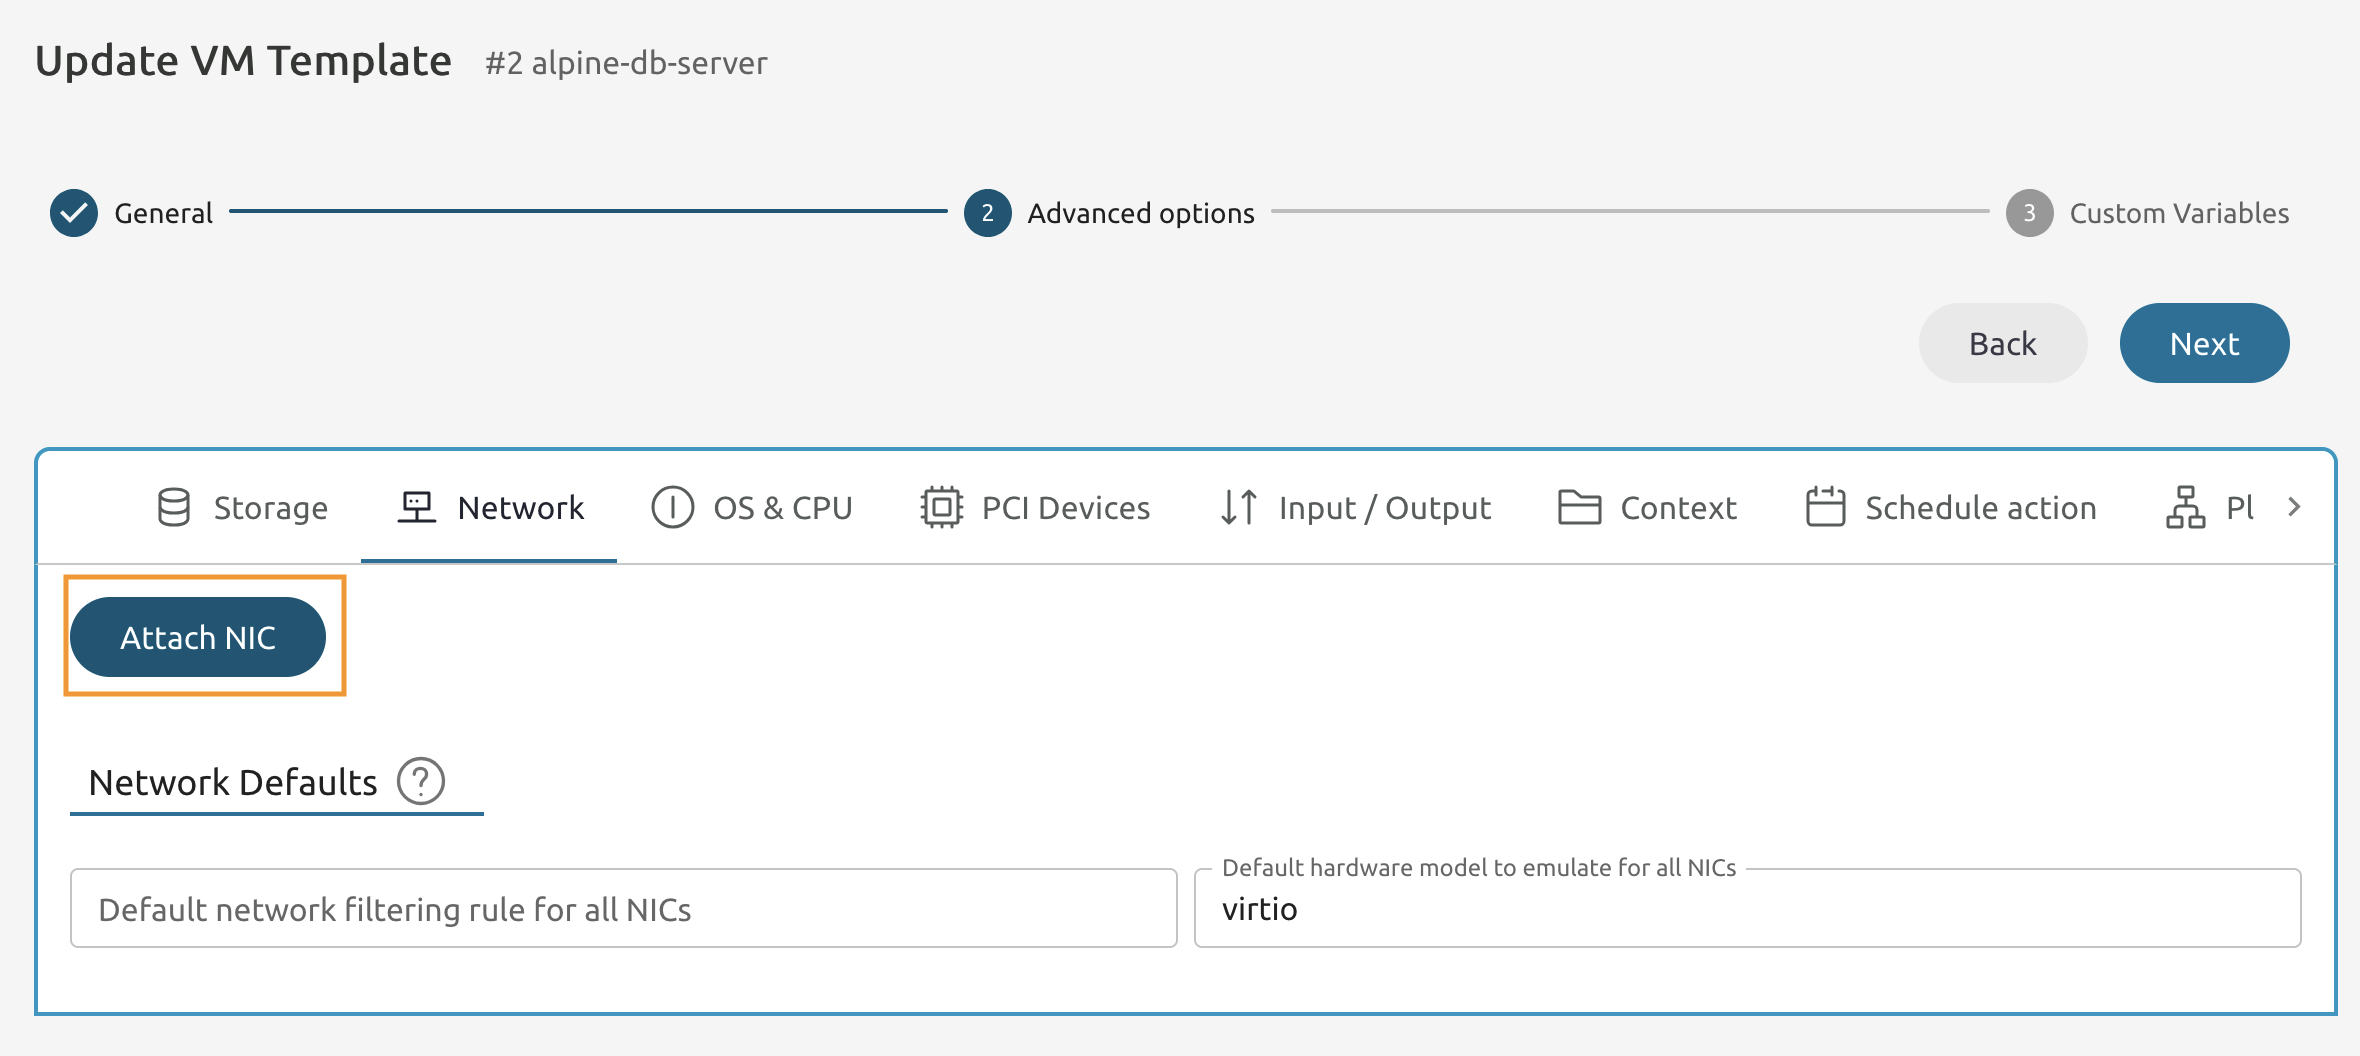
Navigate to the Network section and locate the NIC0.
Press the *Attach NIC button.
8.1.11
Toggle the SSH connection under the Guacamole Connections section.

8.1.12
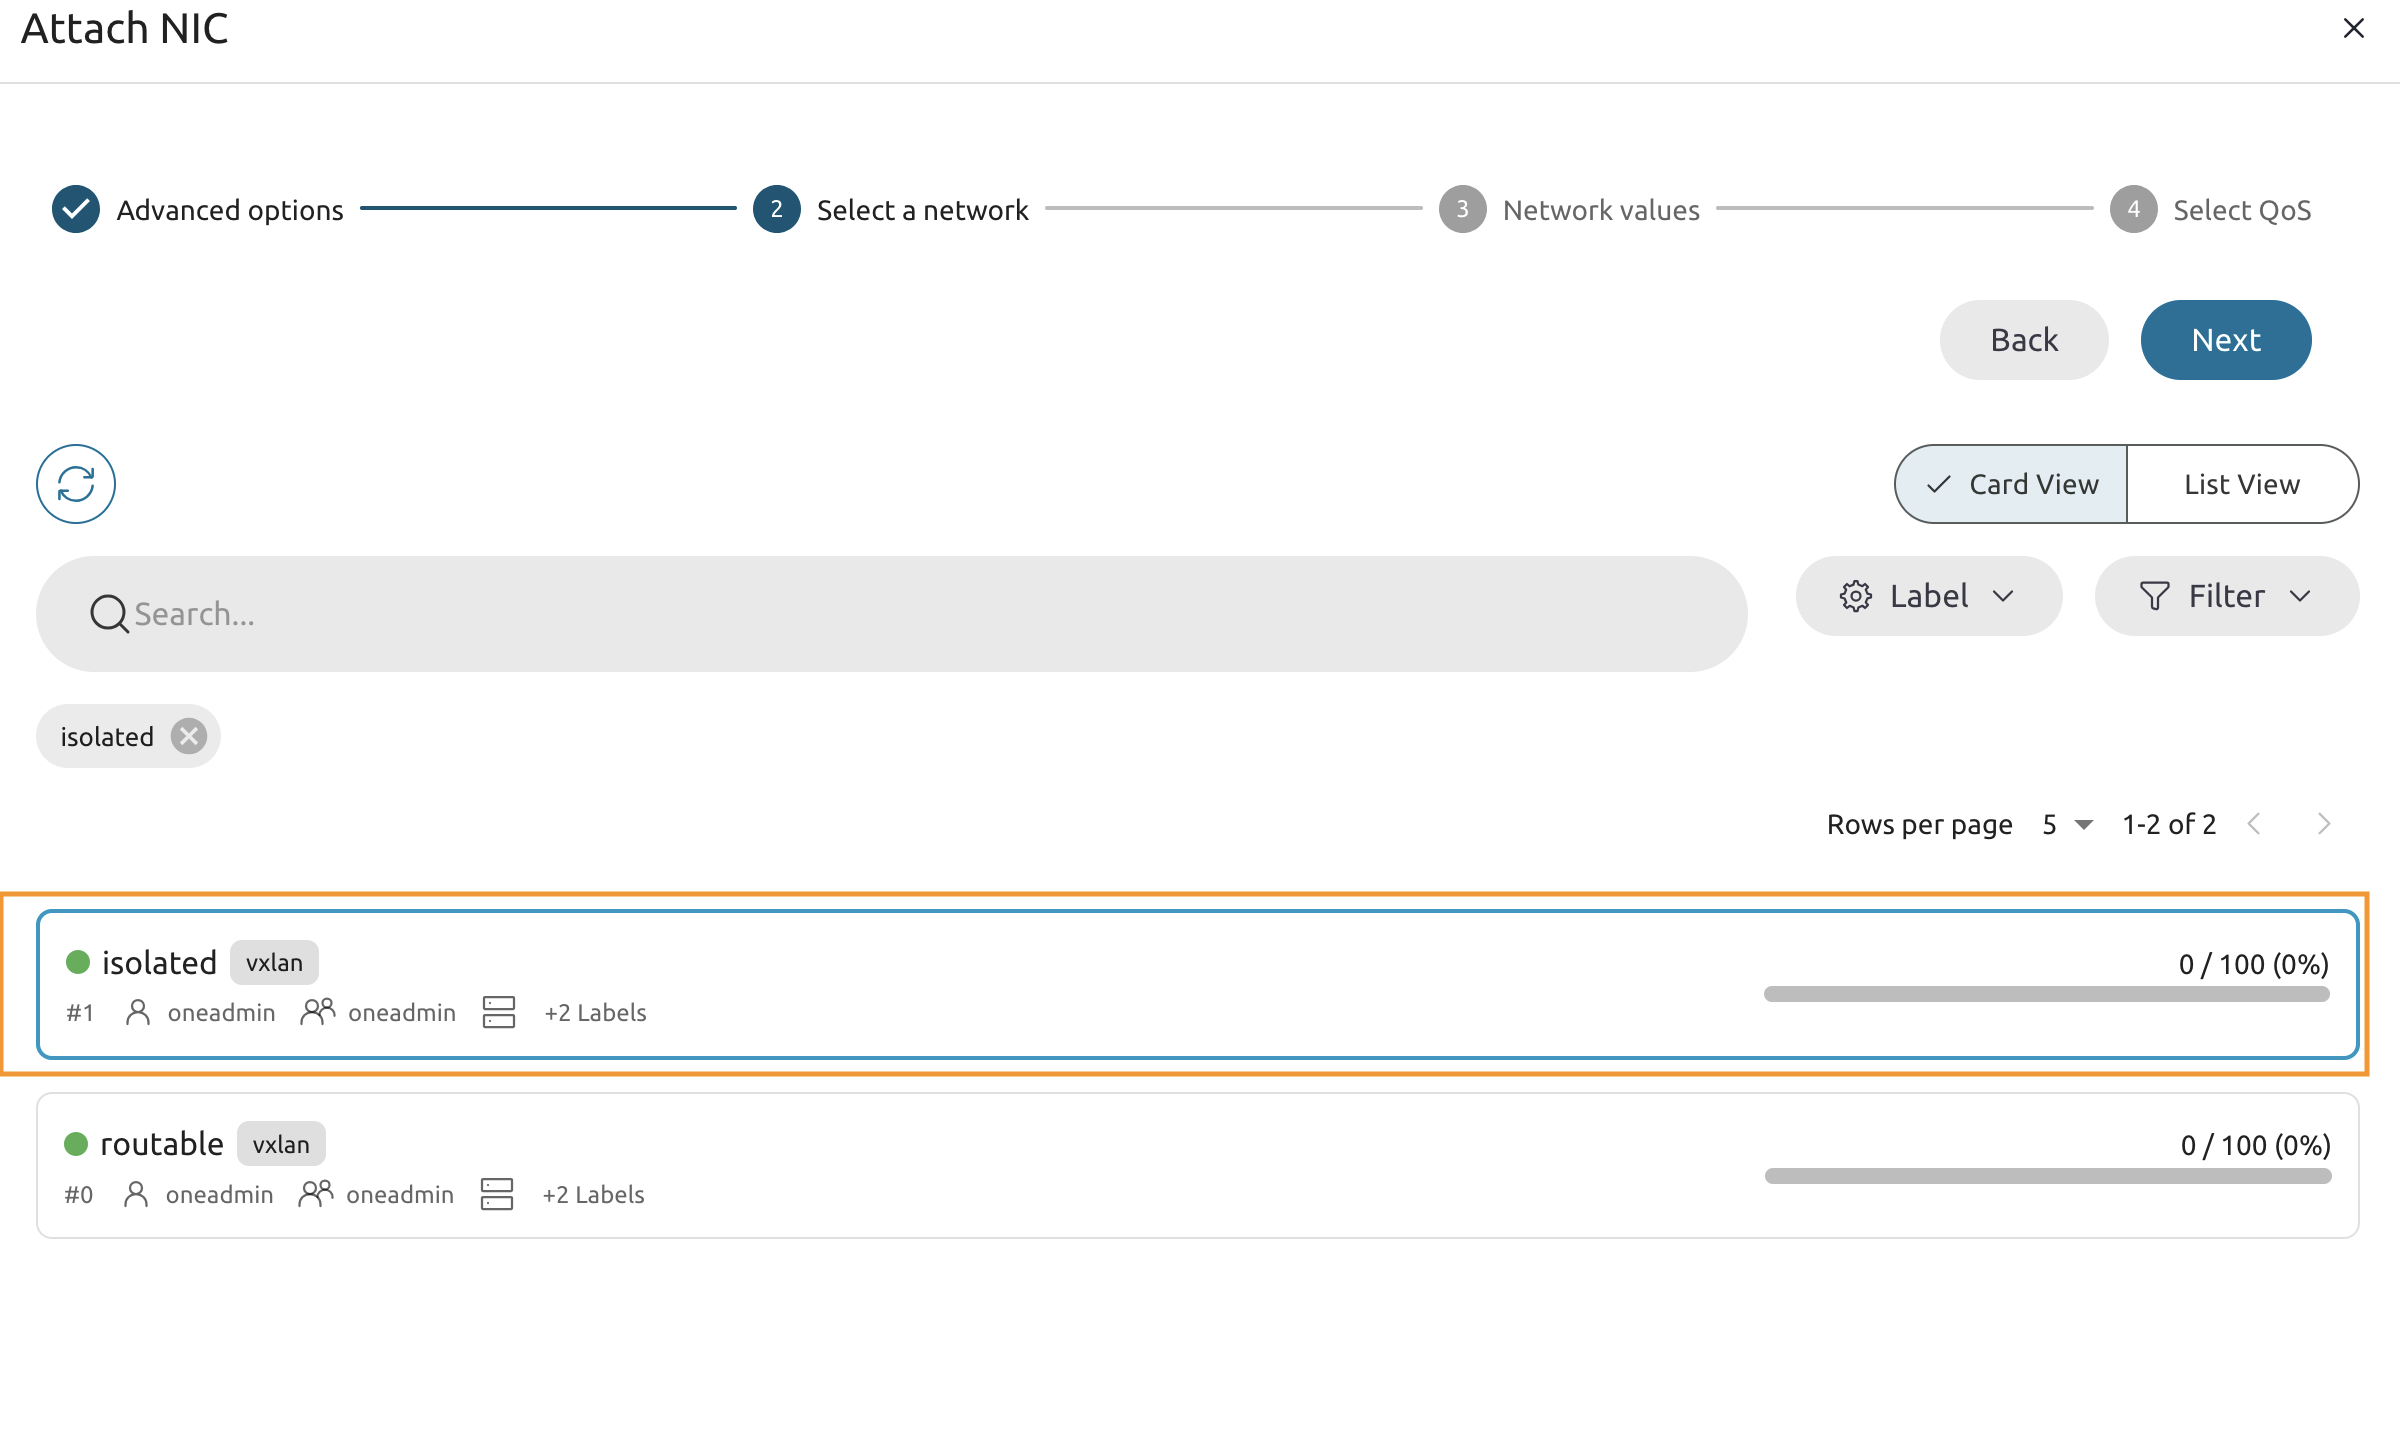
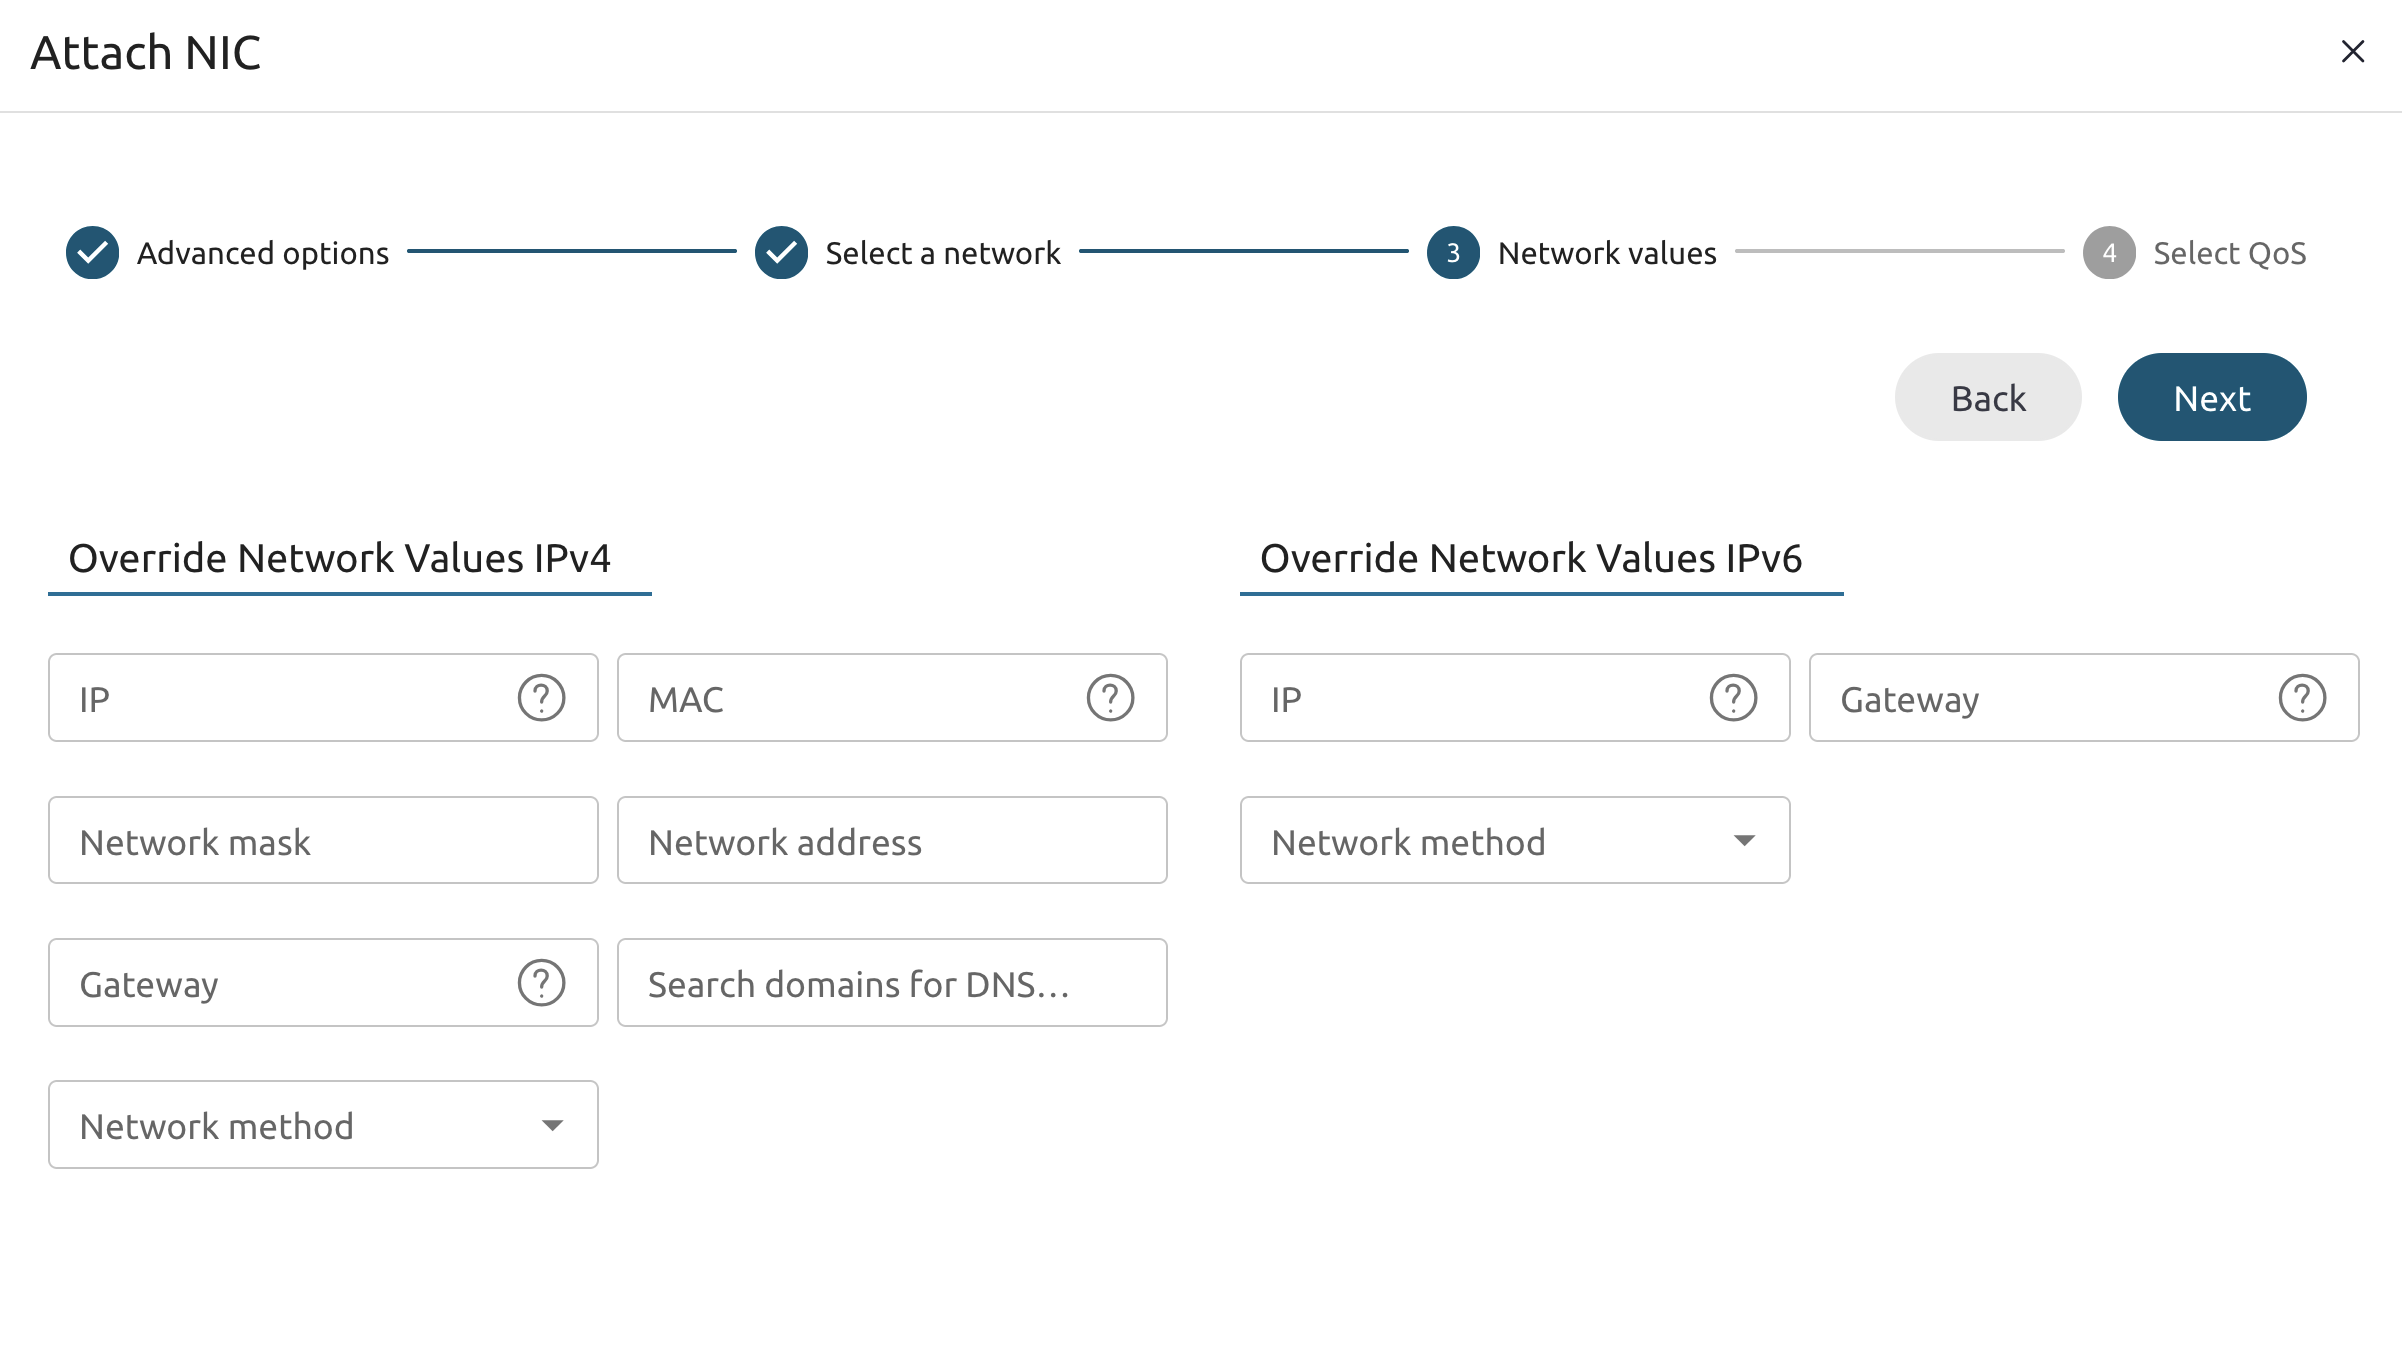
On the next page select the isolated network then proceed through other pages without changes and save changes.
8.1.13
You should end up having the NIC0: isolated attached with the SSH label.
8.1.14
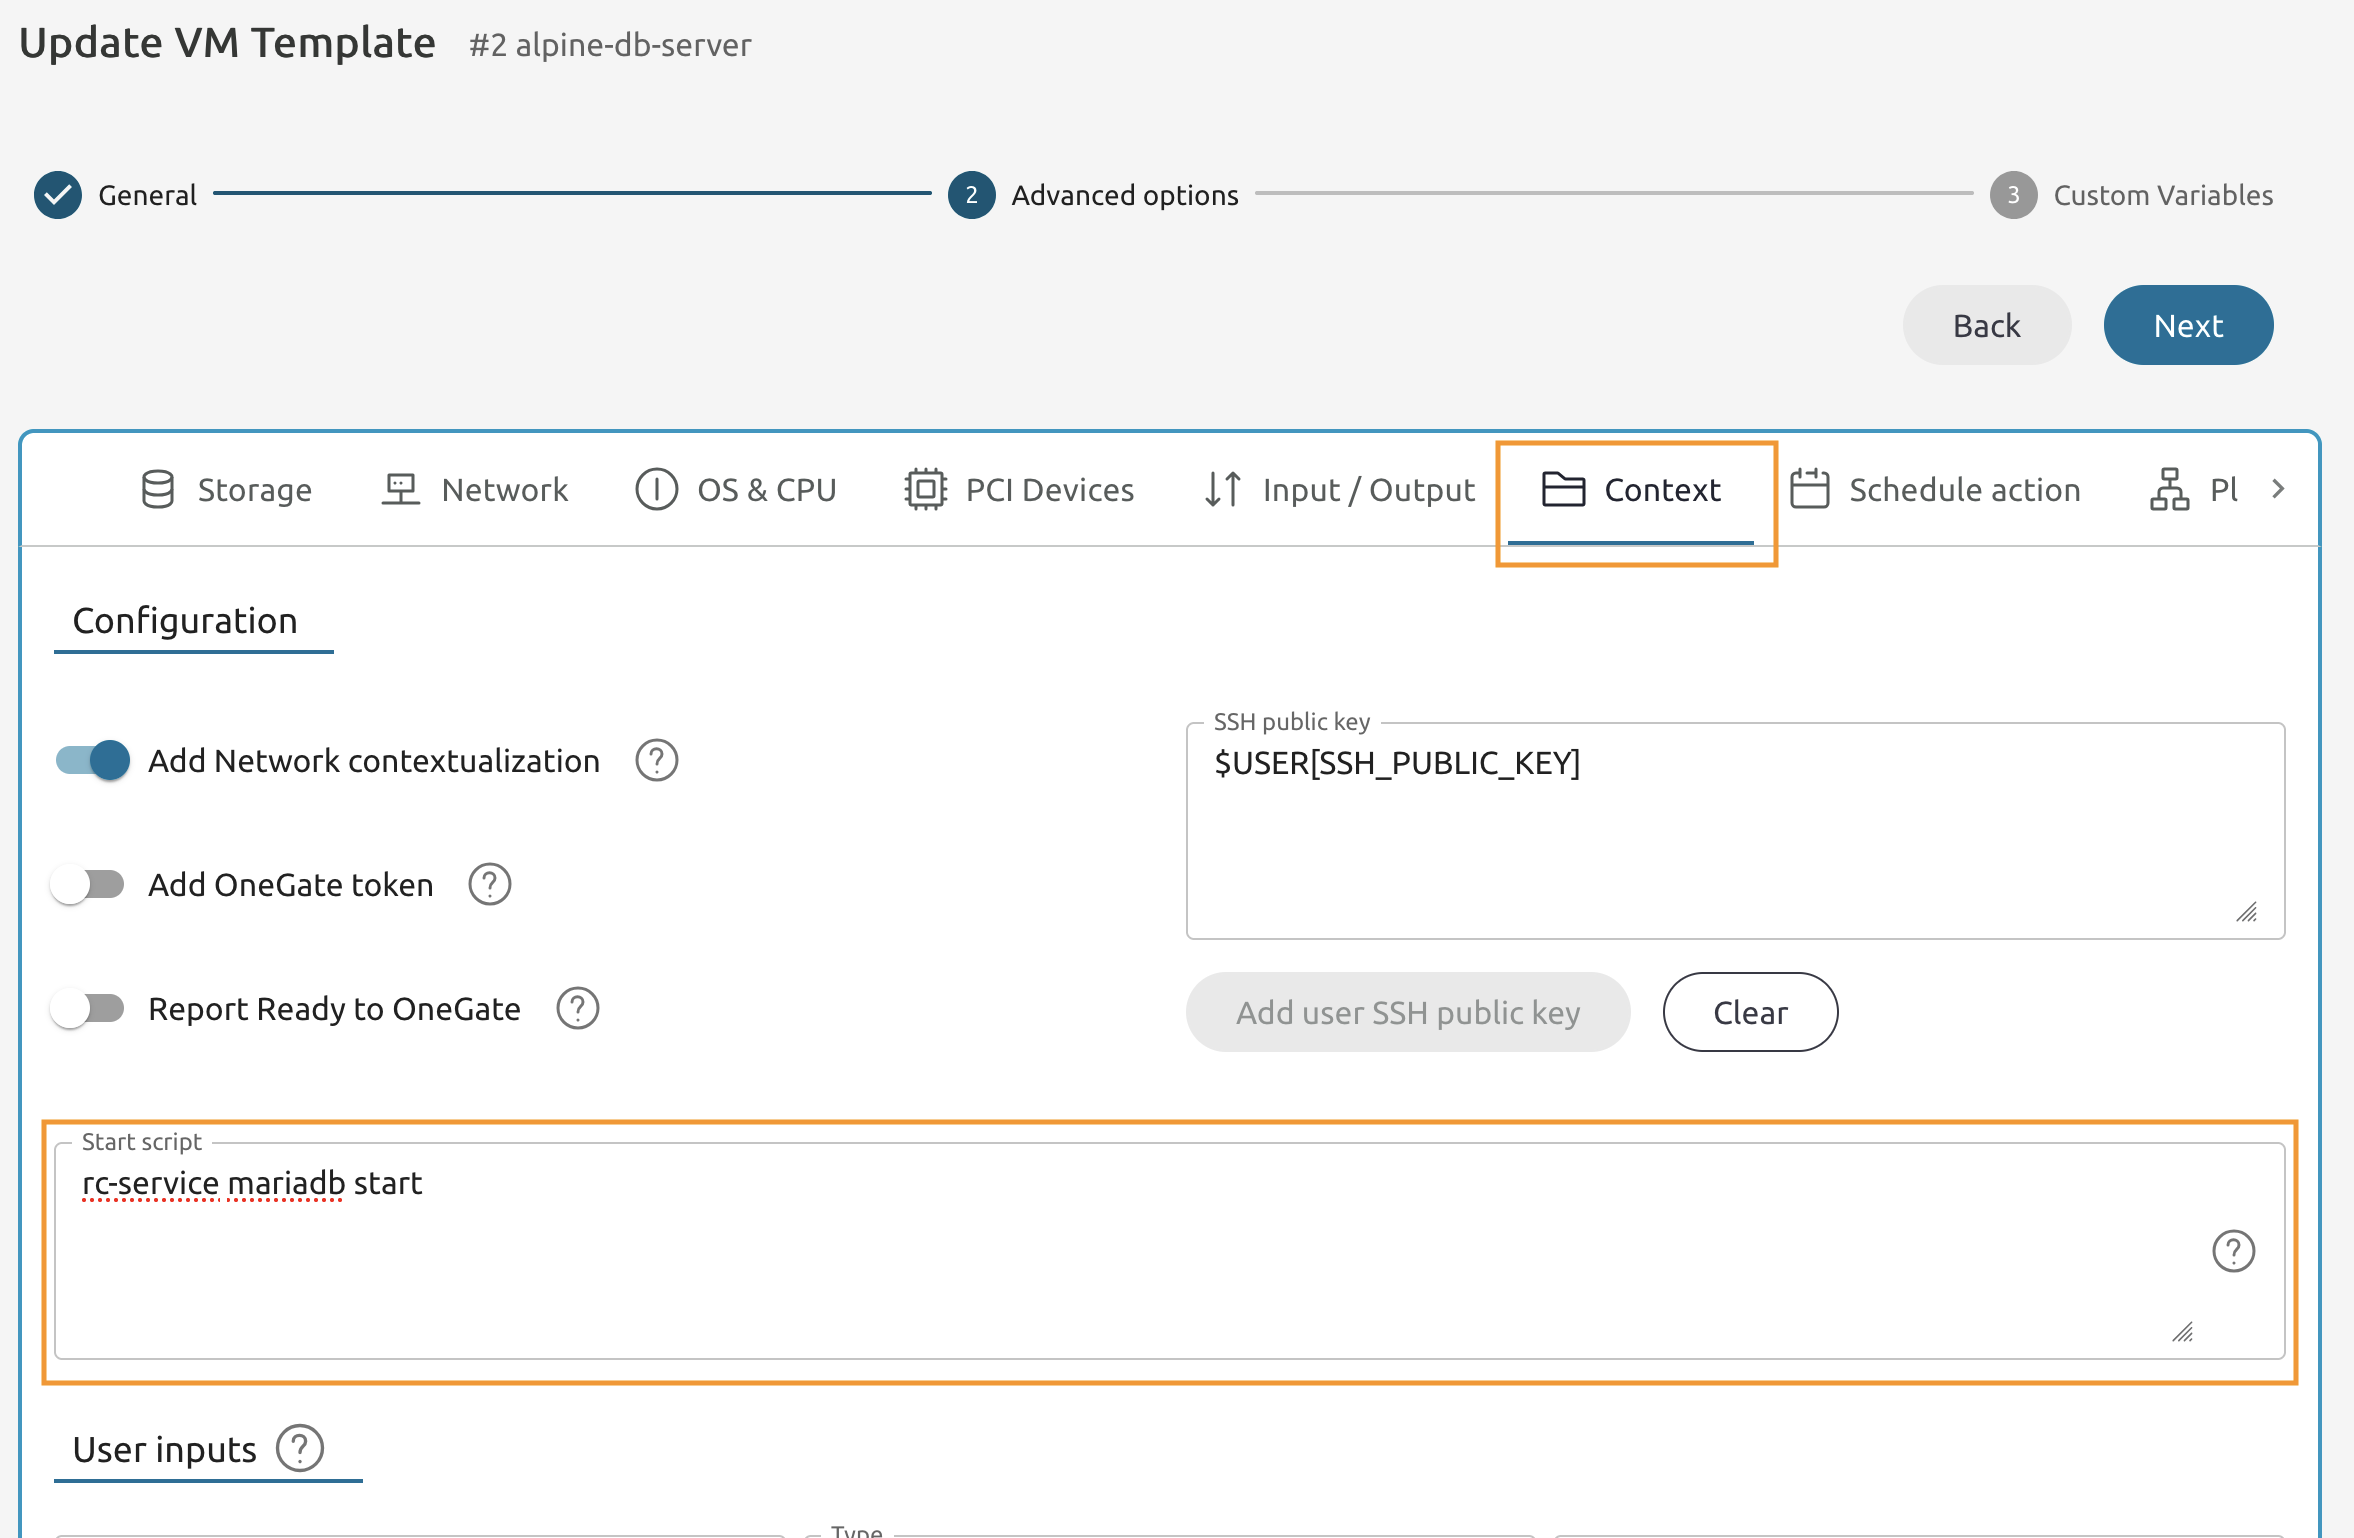
Switch to the Context tab.
8.1.15
Add the following code to the Start script field and proceed to the next page.
rc-service mariadb start
8.1.16
Keep it as is and press the Finish button.
Update the Ubuntu 24.04 VM Template.
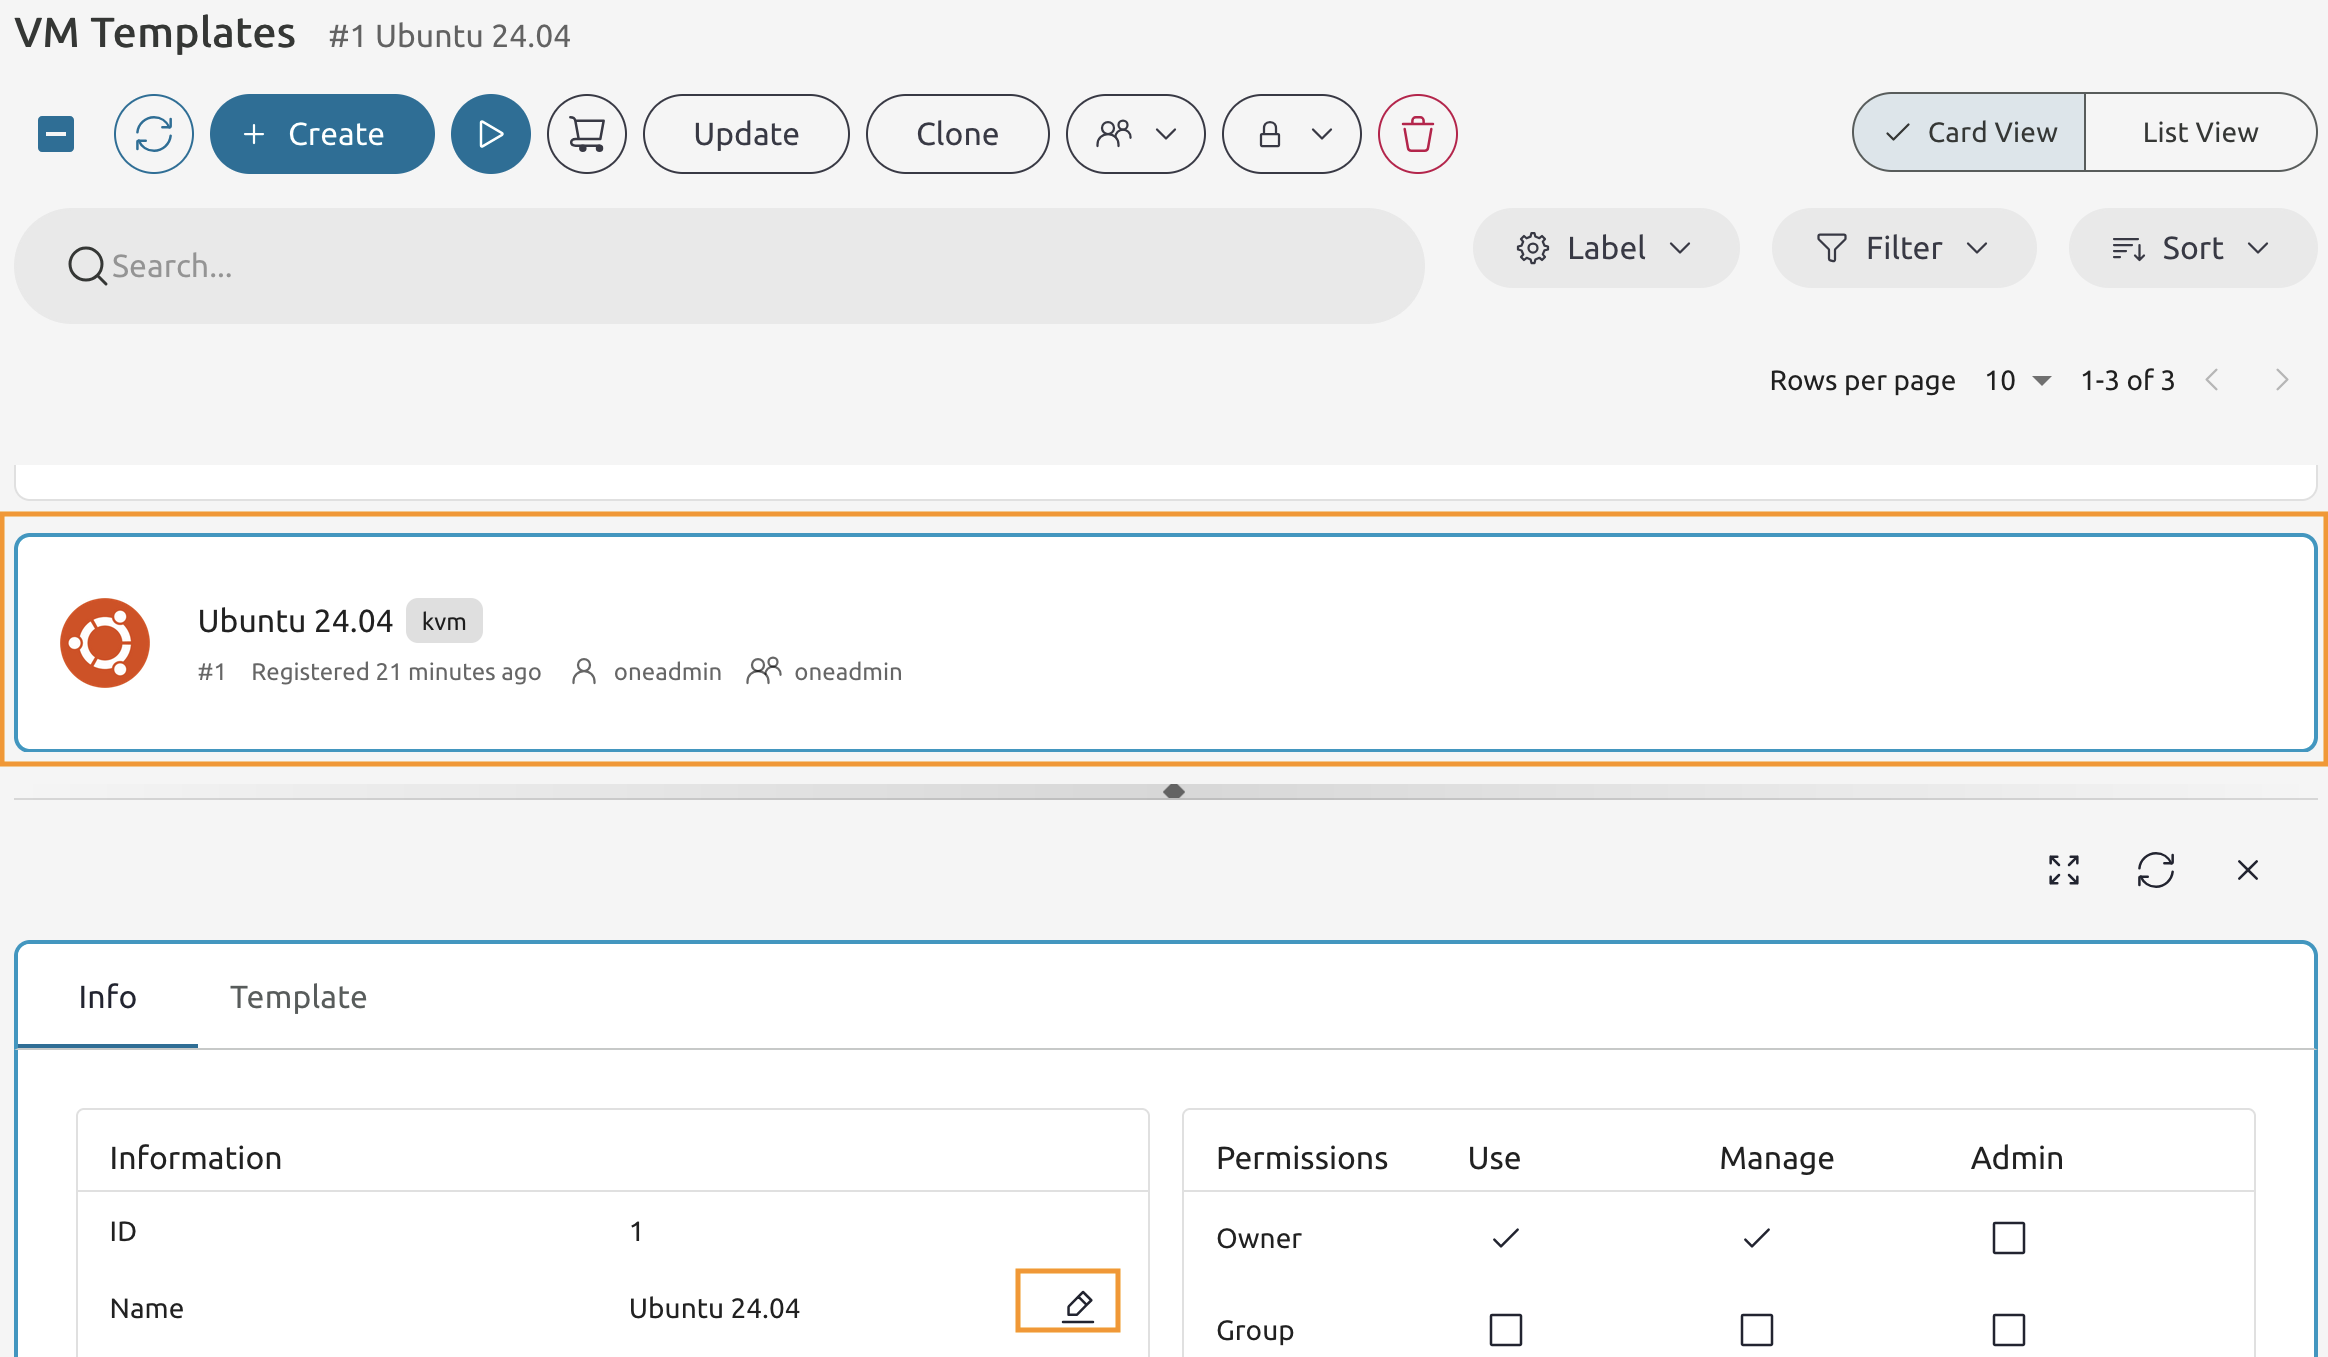
8.1.17
Select Ubuntu 24.04 and press the edit button to edit the Name field.
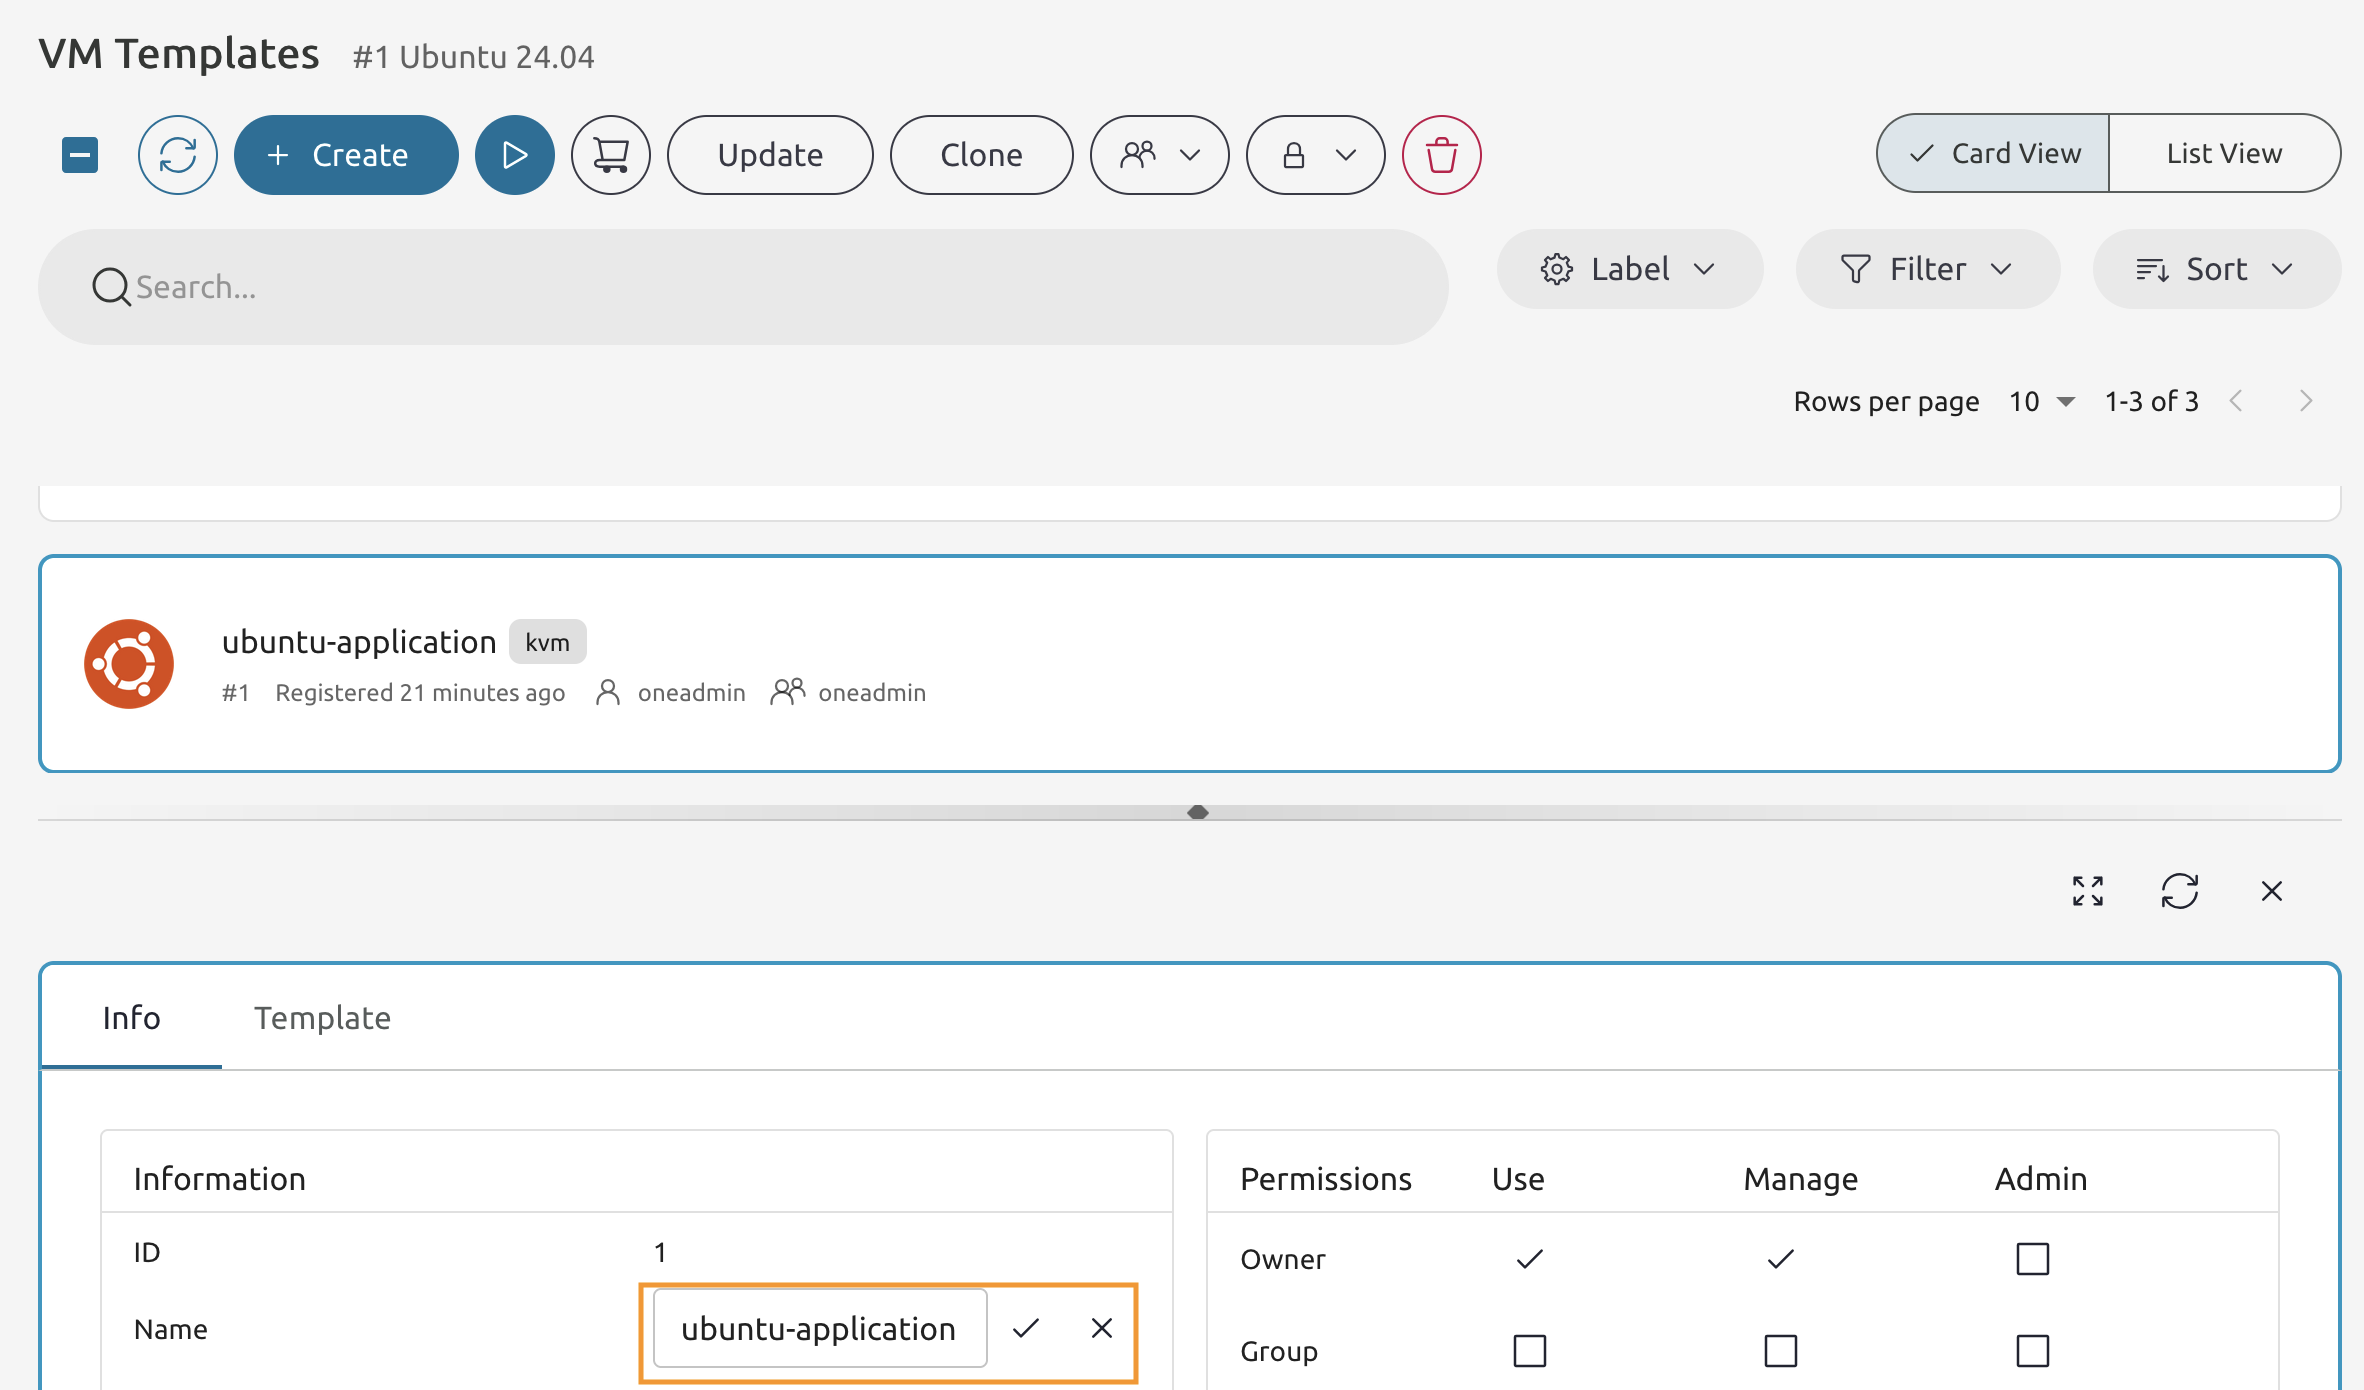
8.1.18
Name it as ubuntu-application and press the check button.
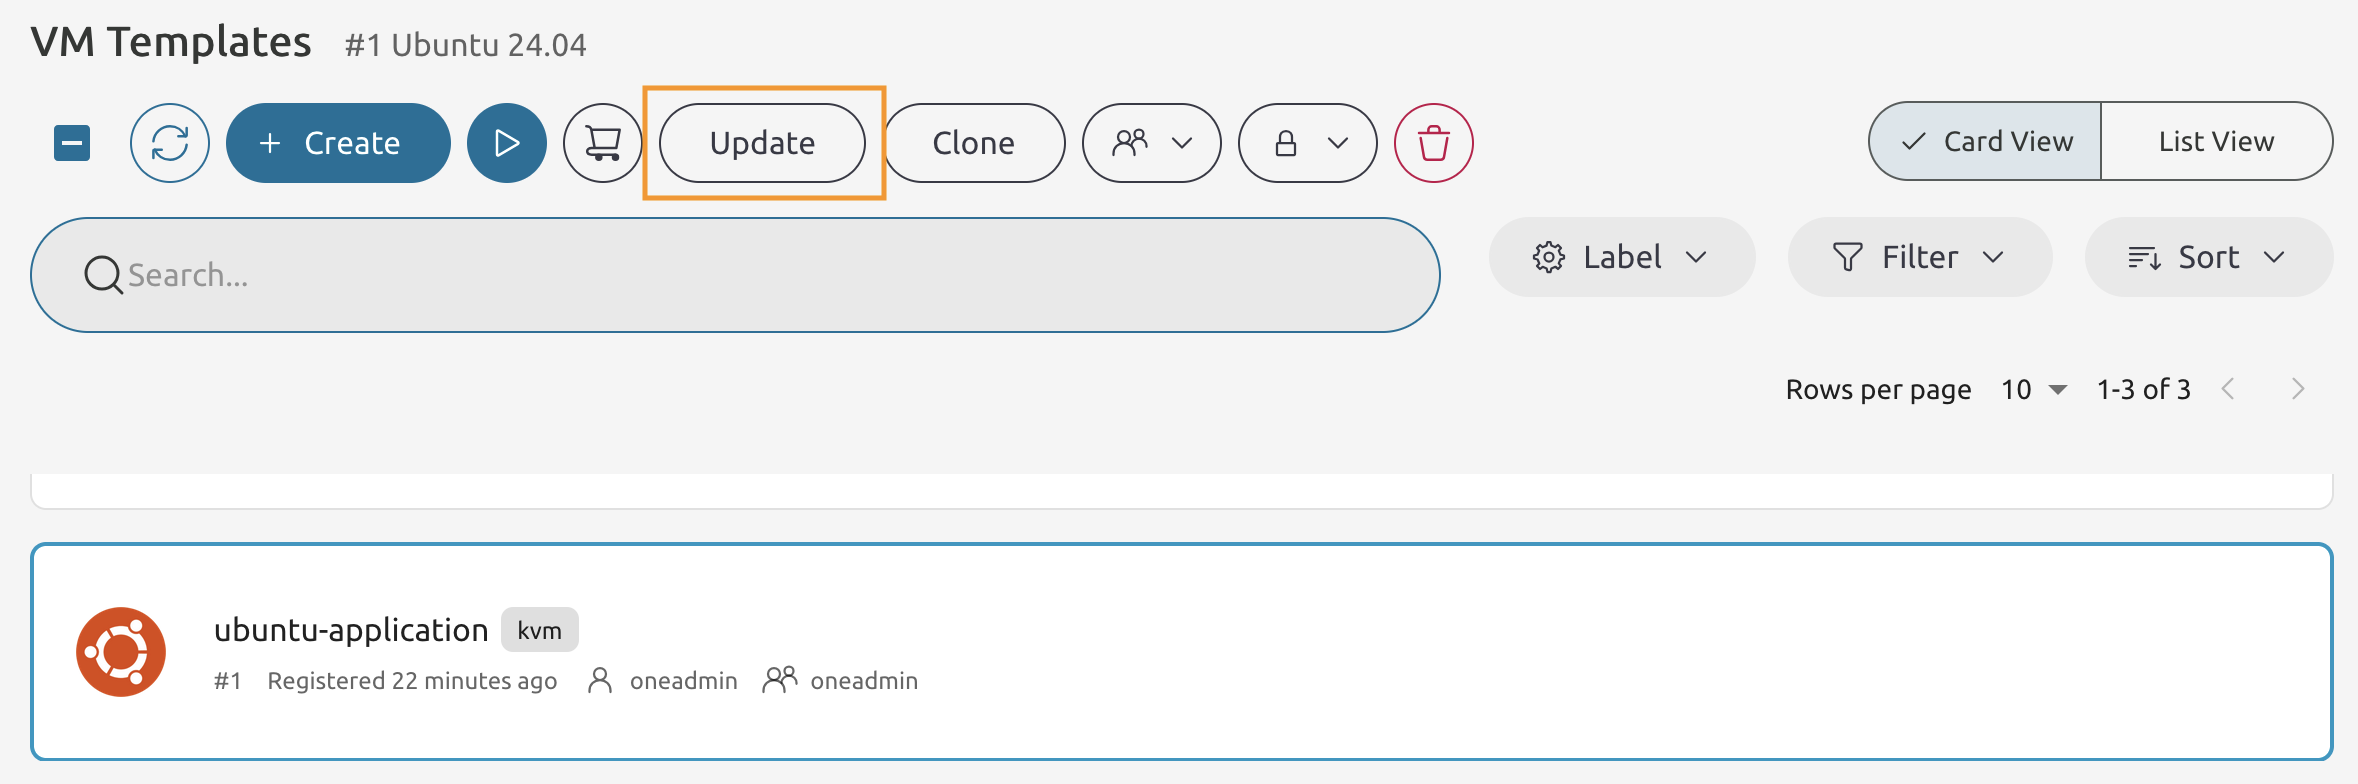
8.1.19
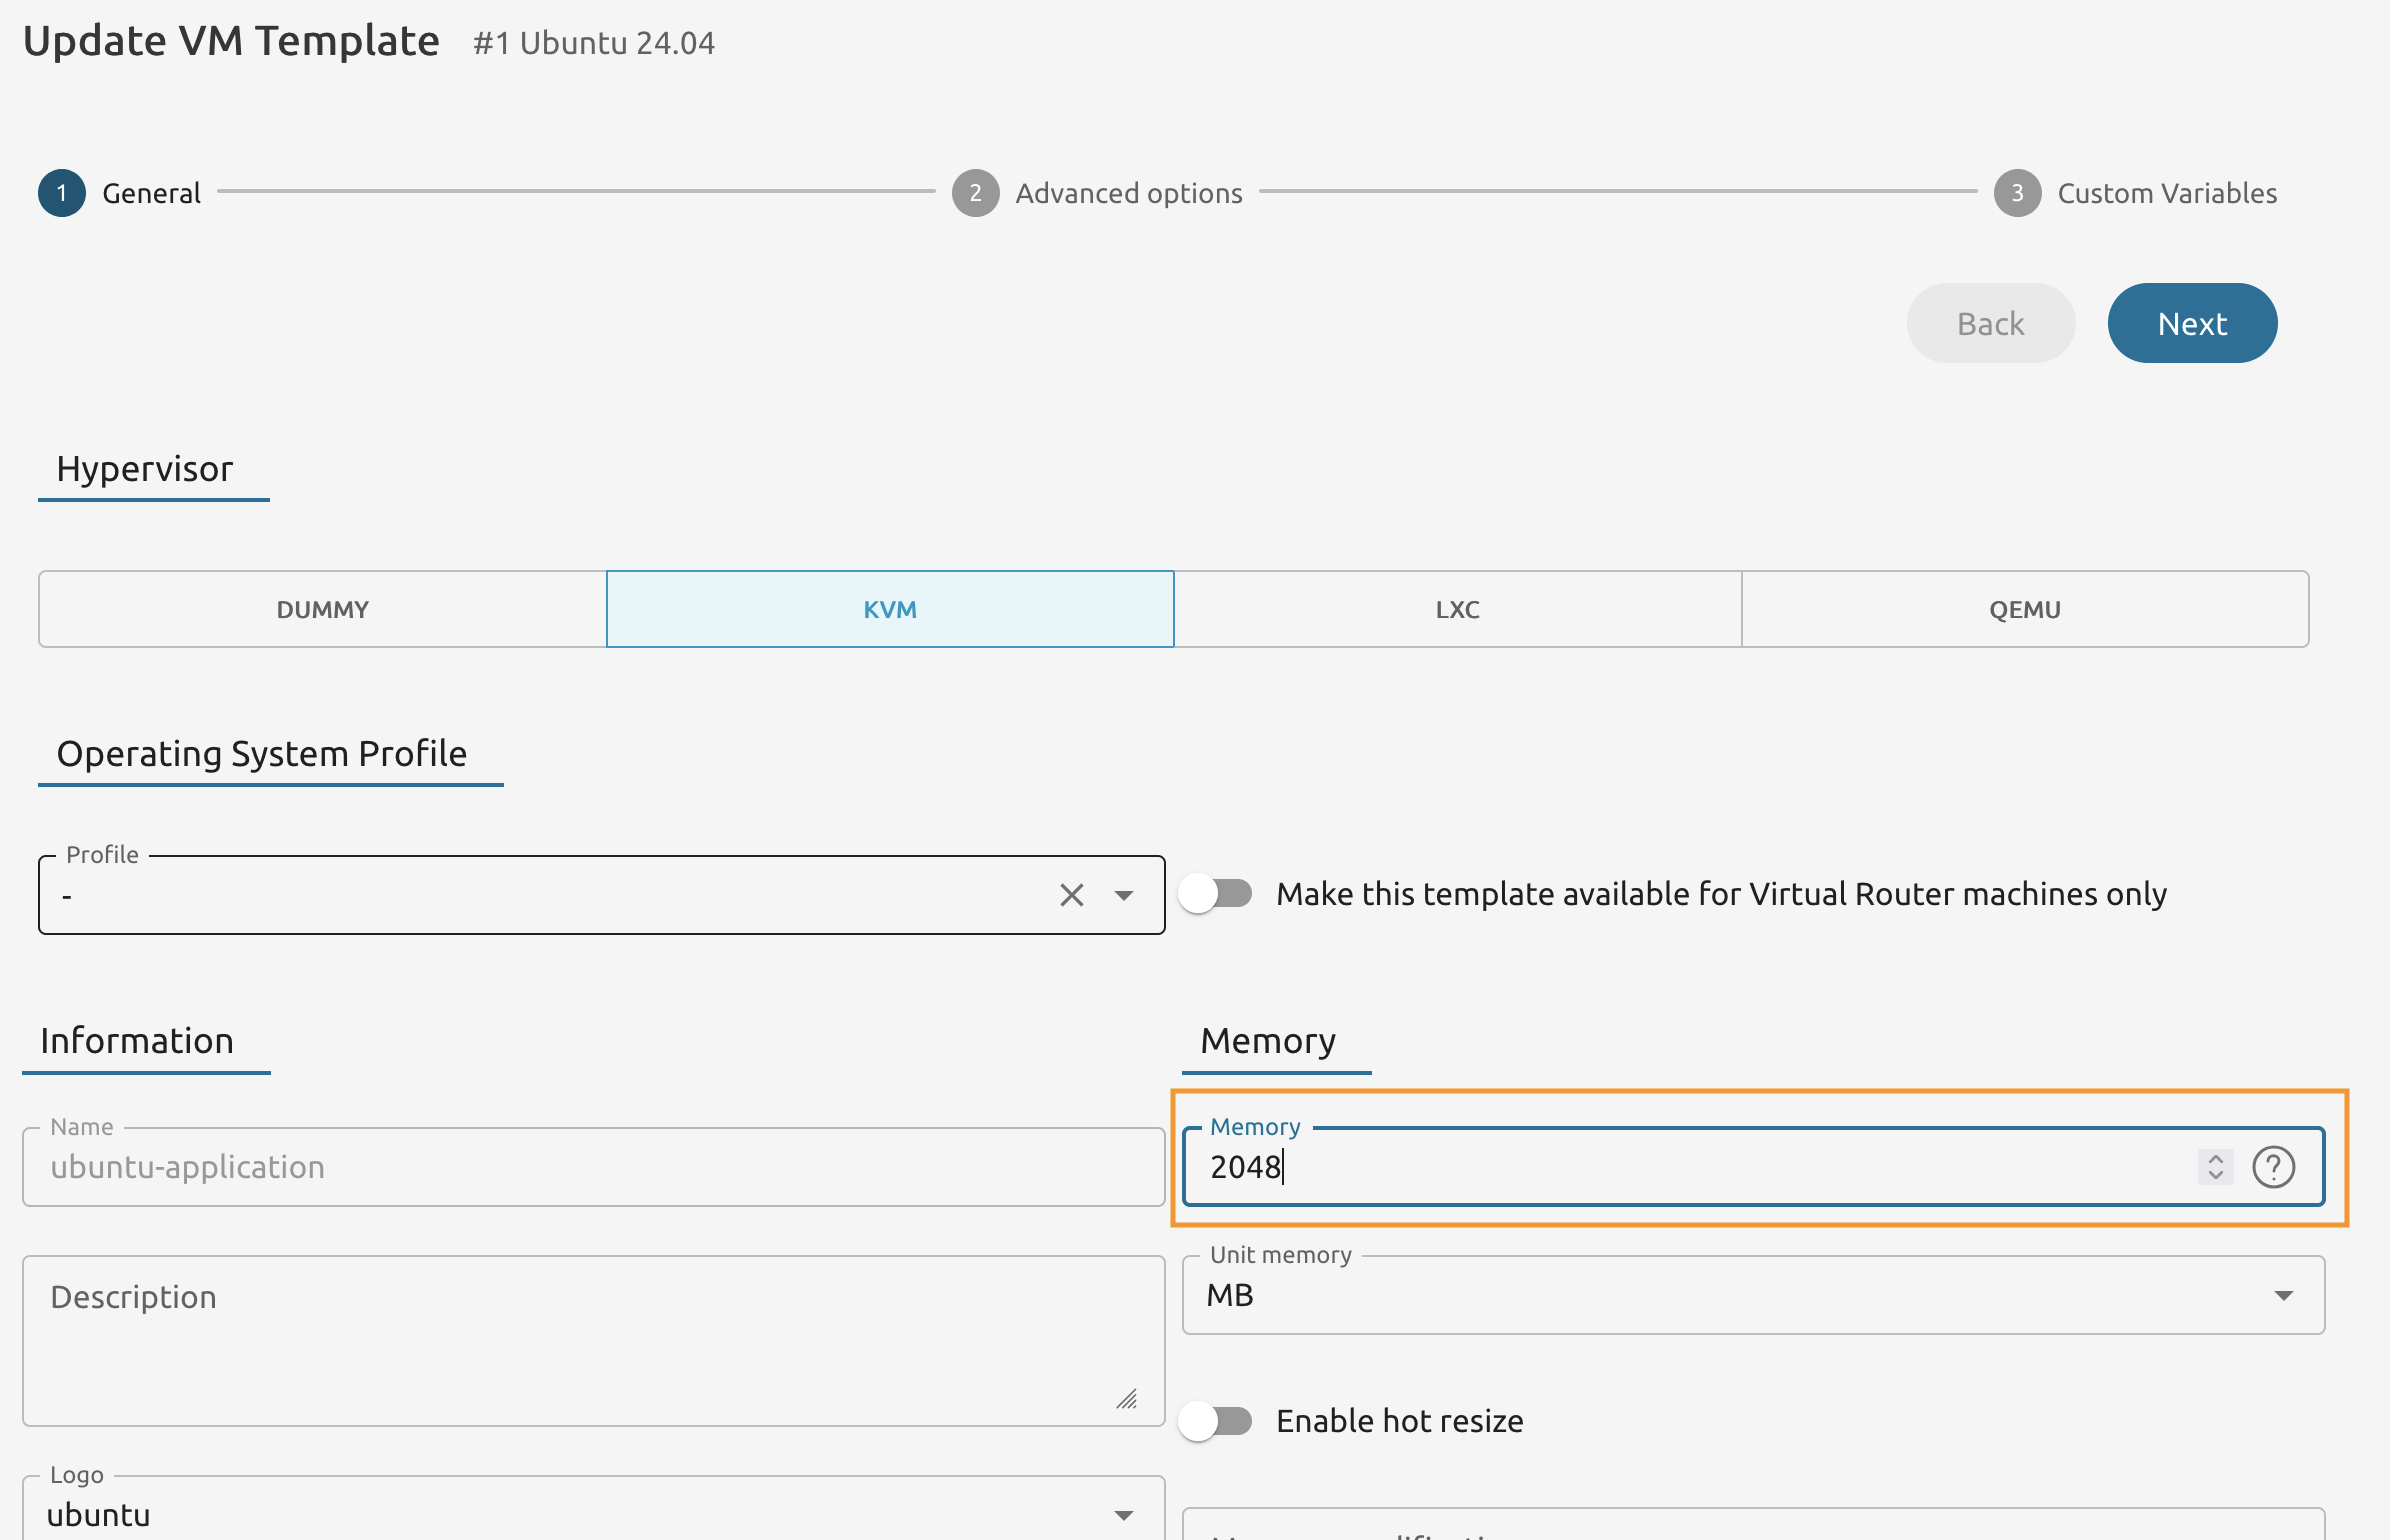
Select the ubuntu-application and press the Update button.
8.1.20
Change the Memory value from 768 to 2048 and proceed ot the Next step of the wizard.
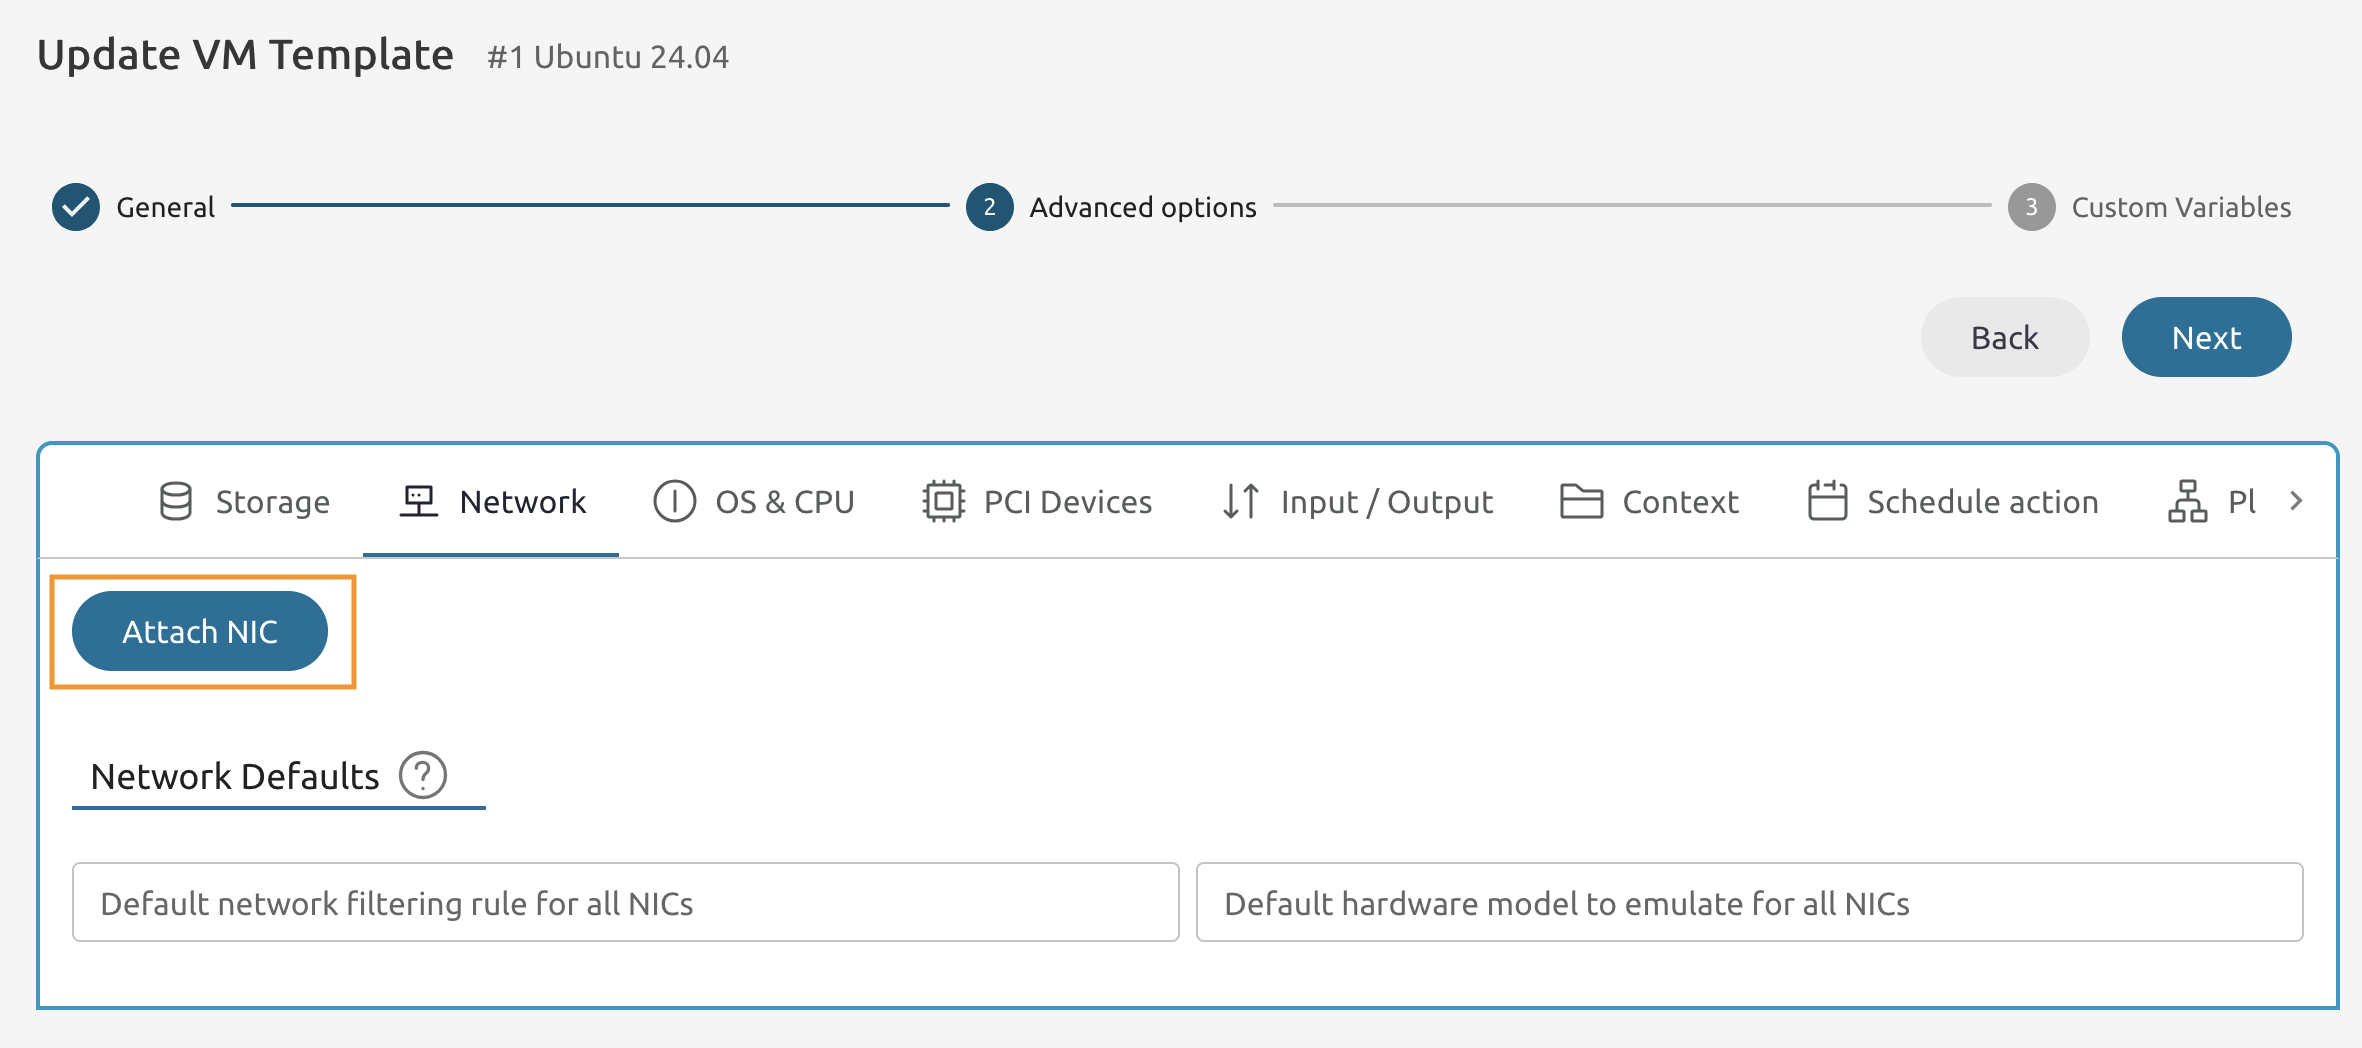
8.1.21
Navigate to the Network section and press the Attach button.
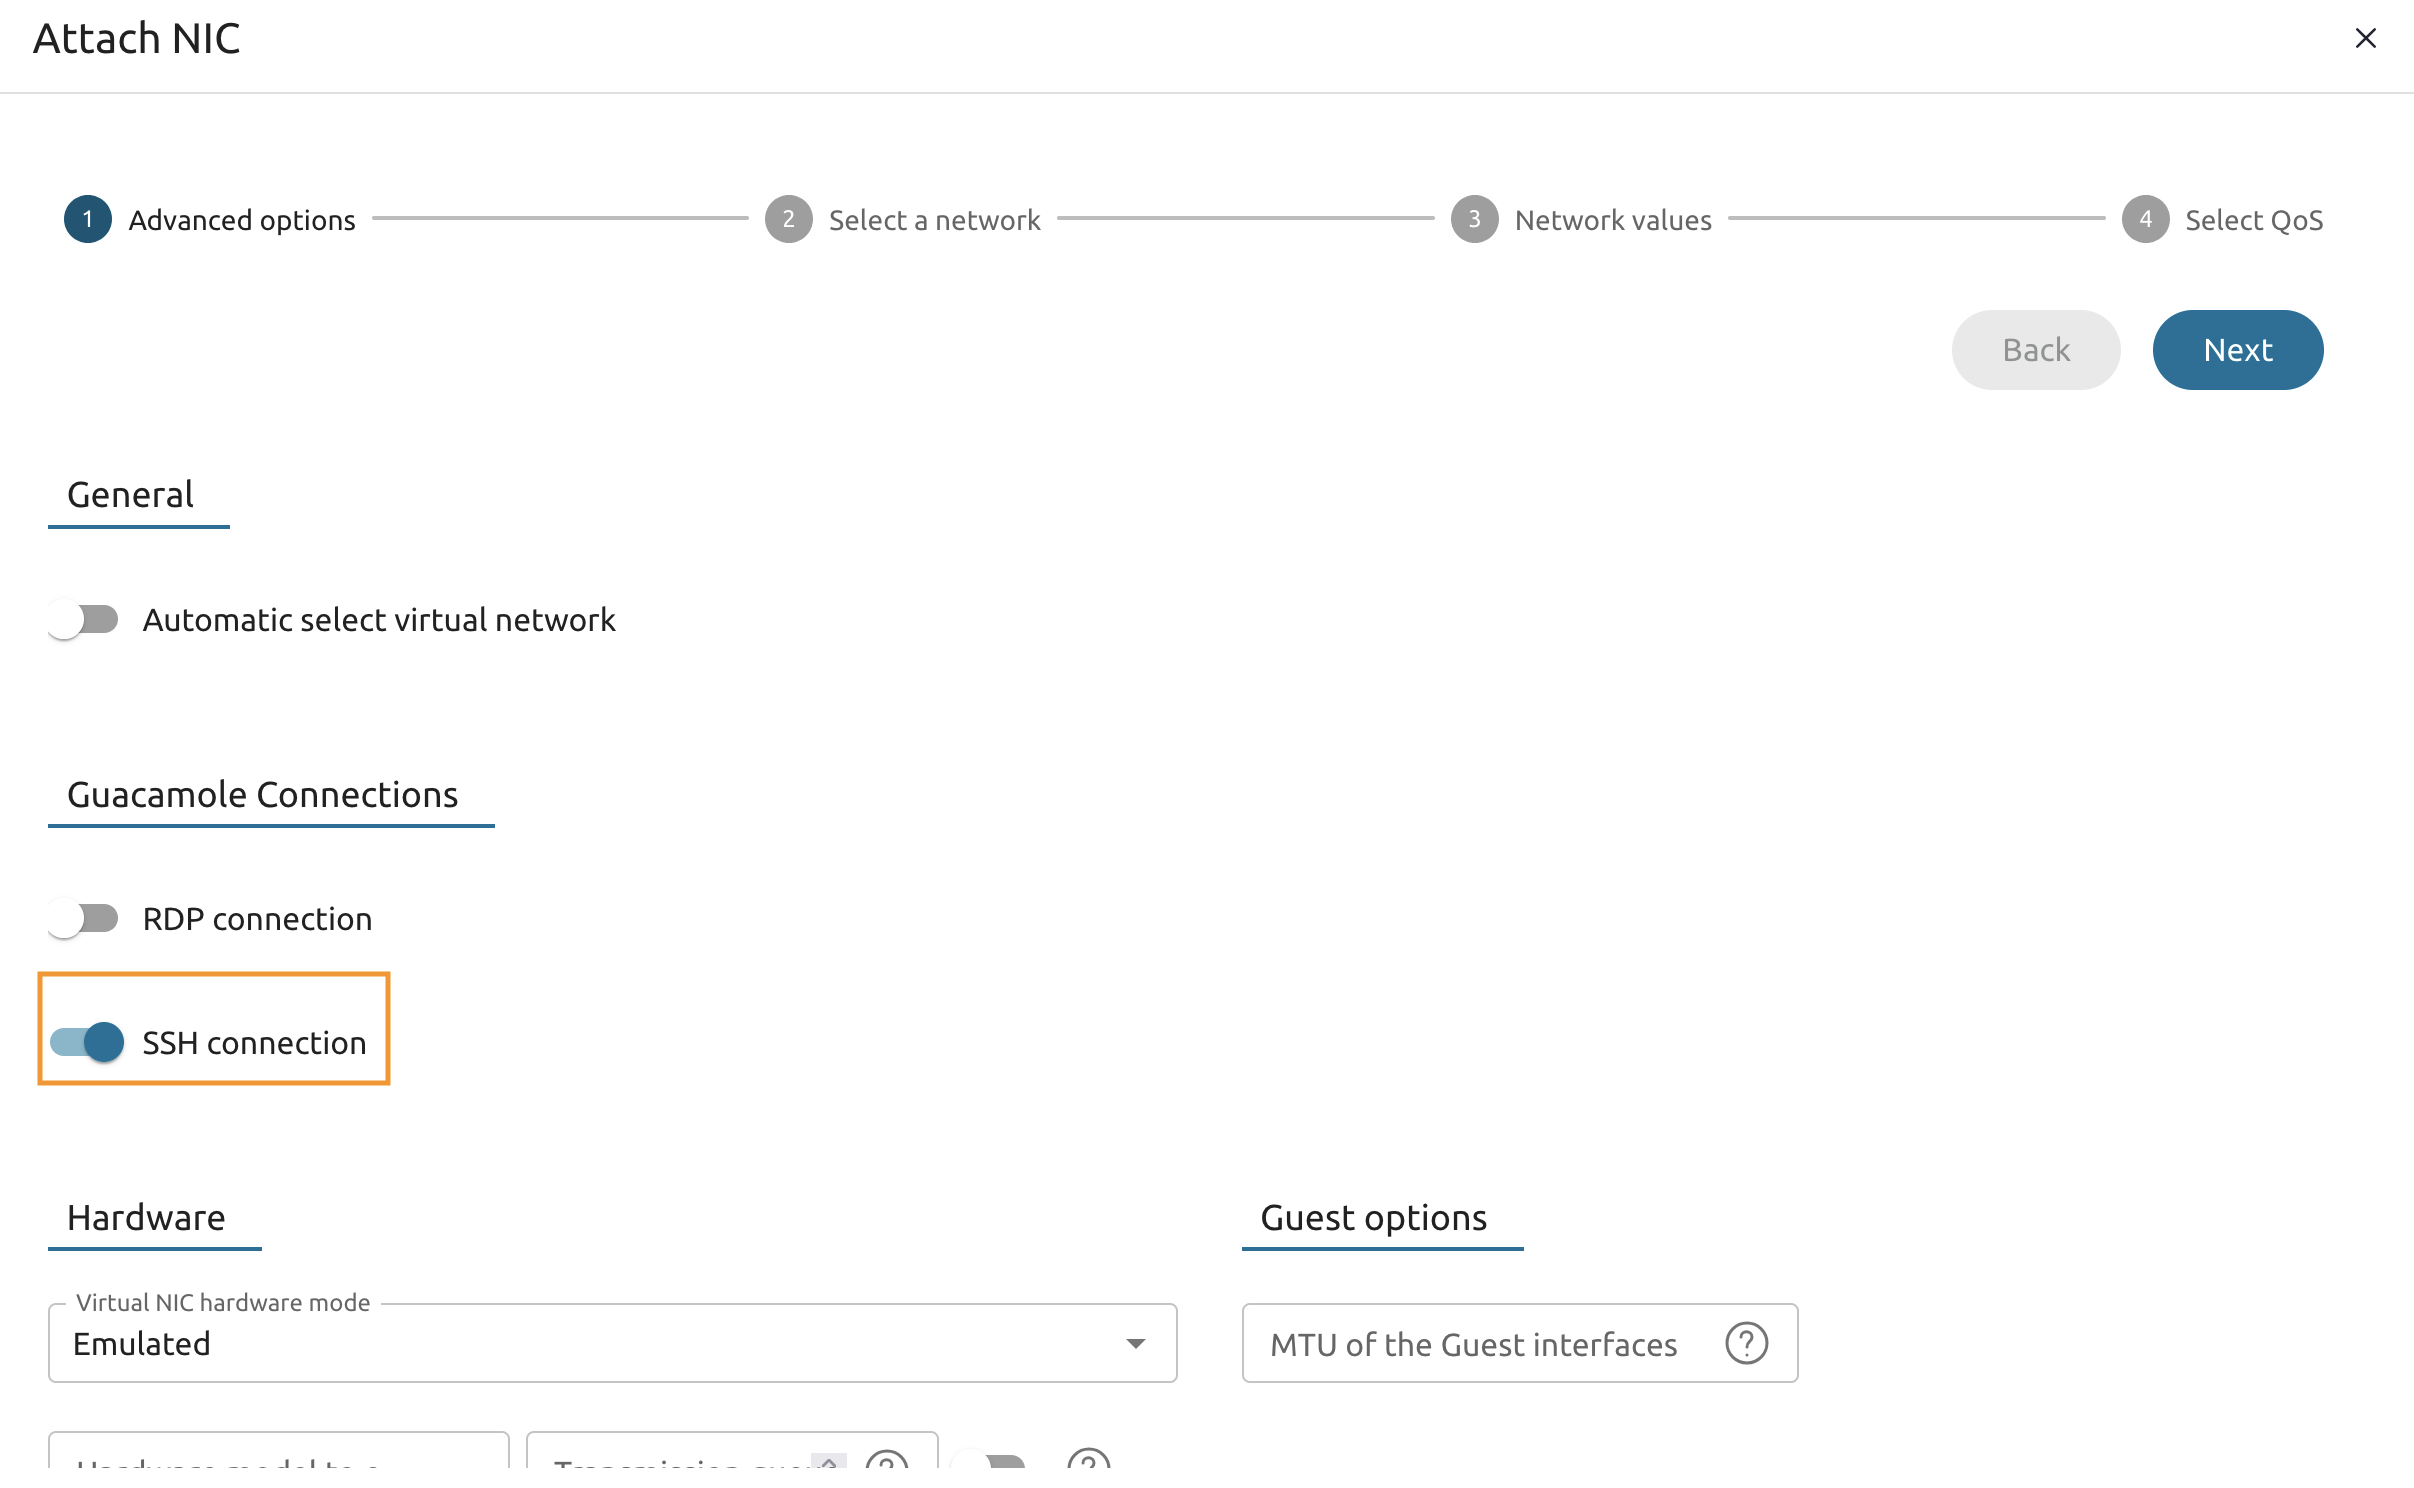
8.1.22
Toggle the SSH connection under the Guacamole Connections section.
8.1.23
On the next page select the isolated network then proceed through other pages without changes and save changes.

8.1.24
You should end up having the NIC0: isolated attached with the SSH label.

Attach another vNIC
Perform this task on your own without any guidance!
This time place it into the “routable” virtual network.
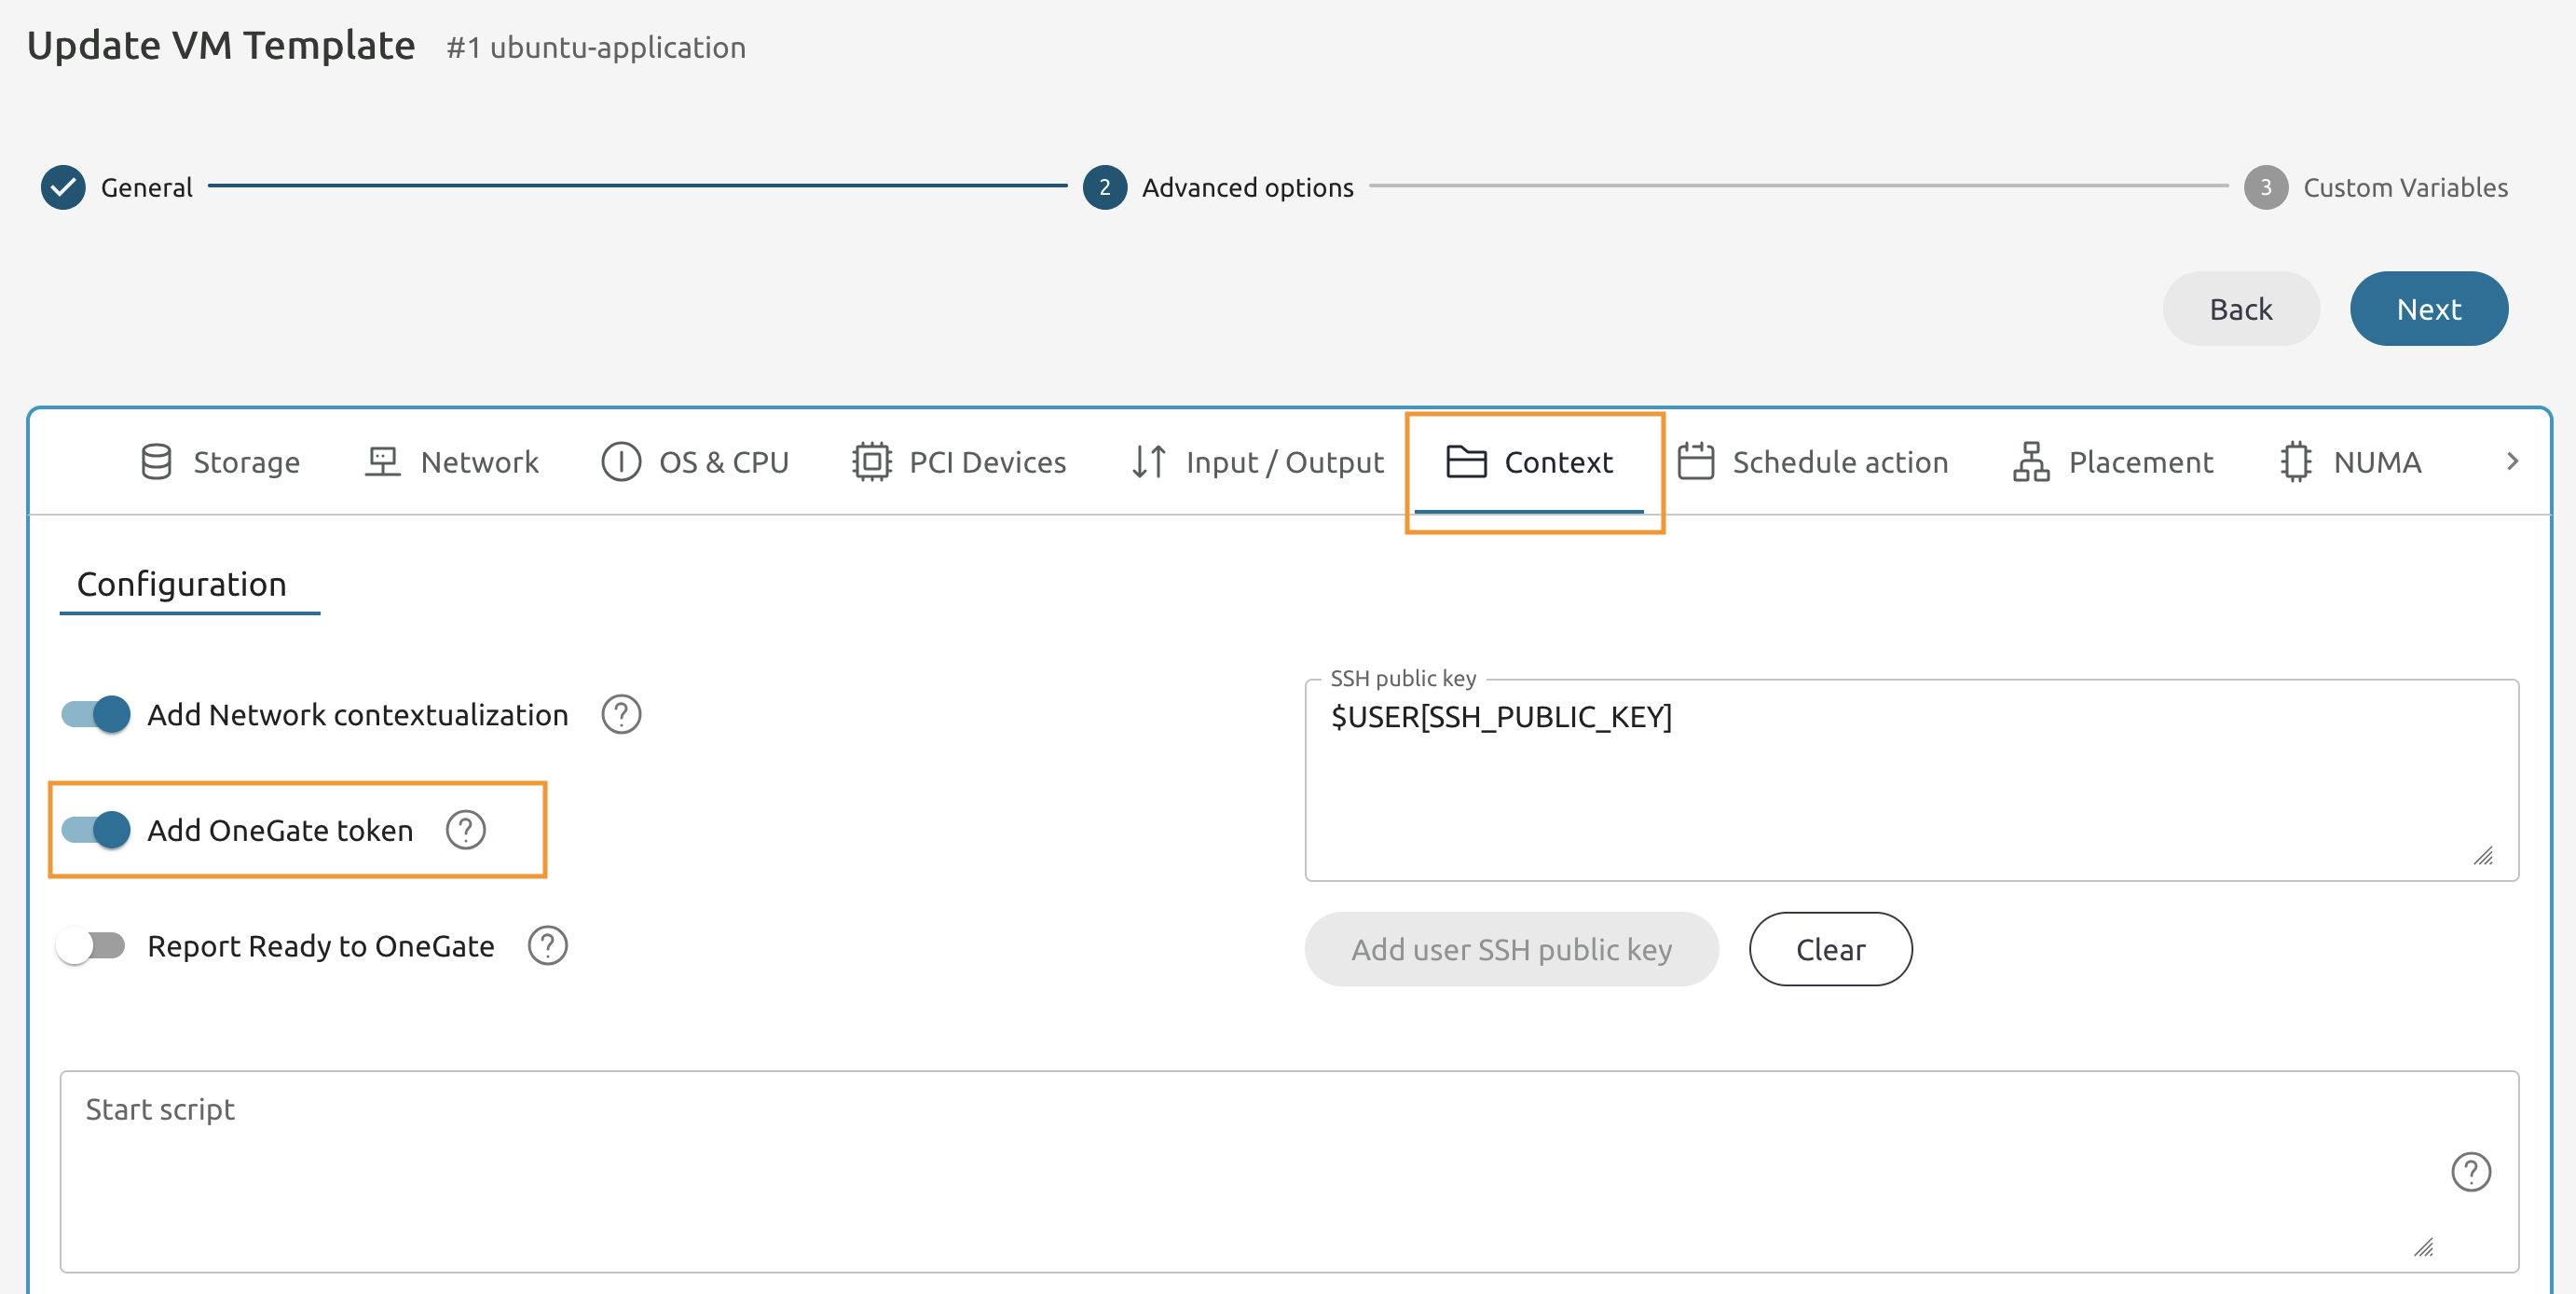
8.1.25
Switch to the Context tab and toggle the Add OneGate token.
8.1.26
Update the Start script section.
8.1.27
Add the following code to the Start script field.
source /root/bin/activate
cd /root/app
python3 -u app.py &
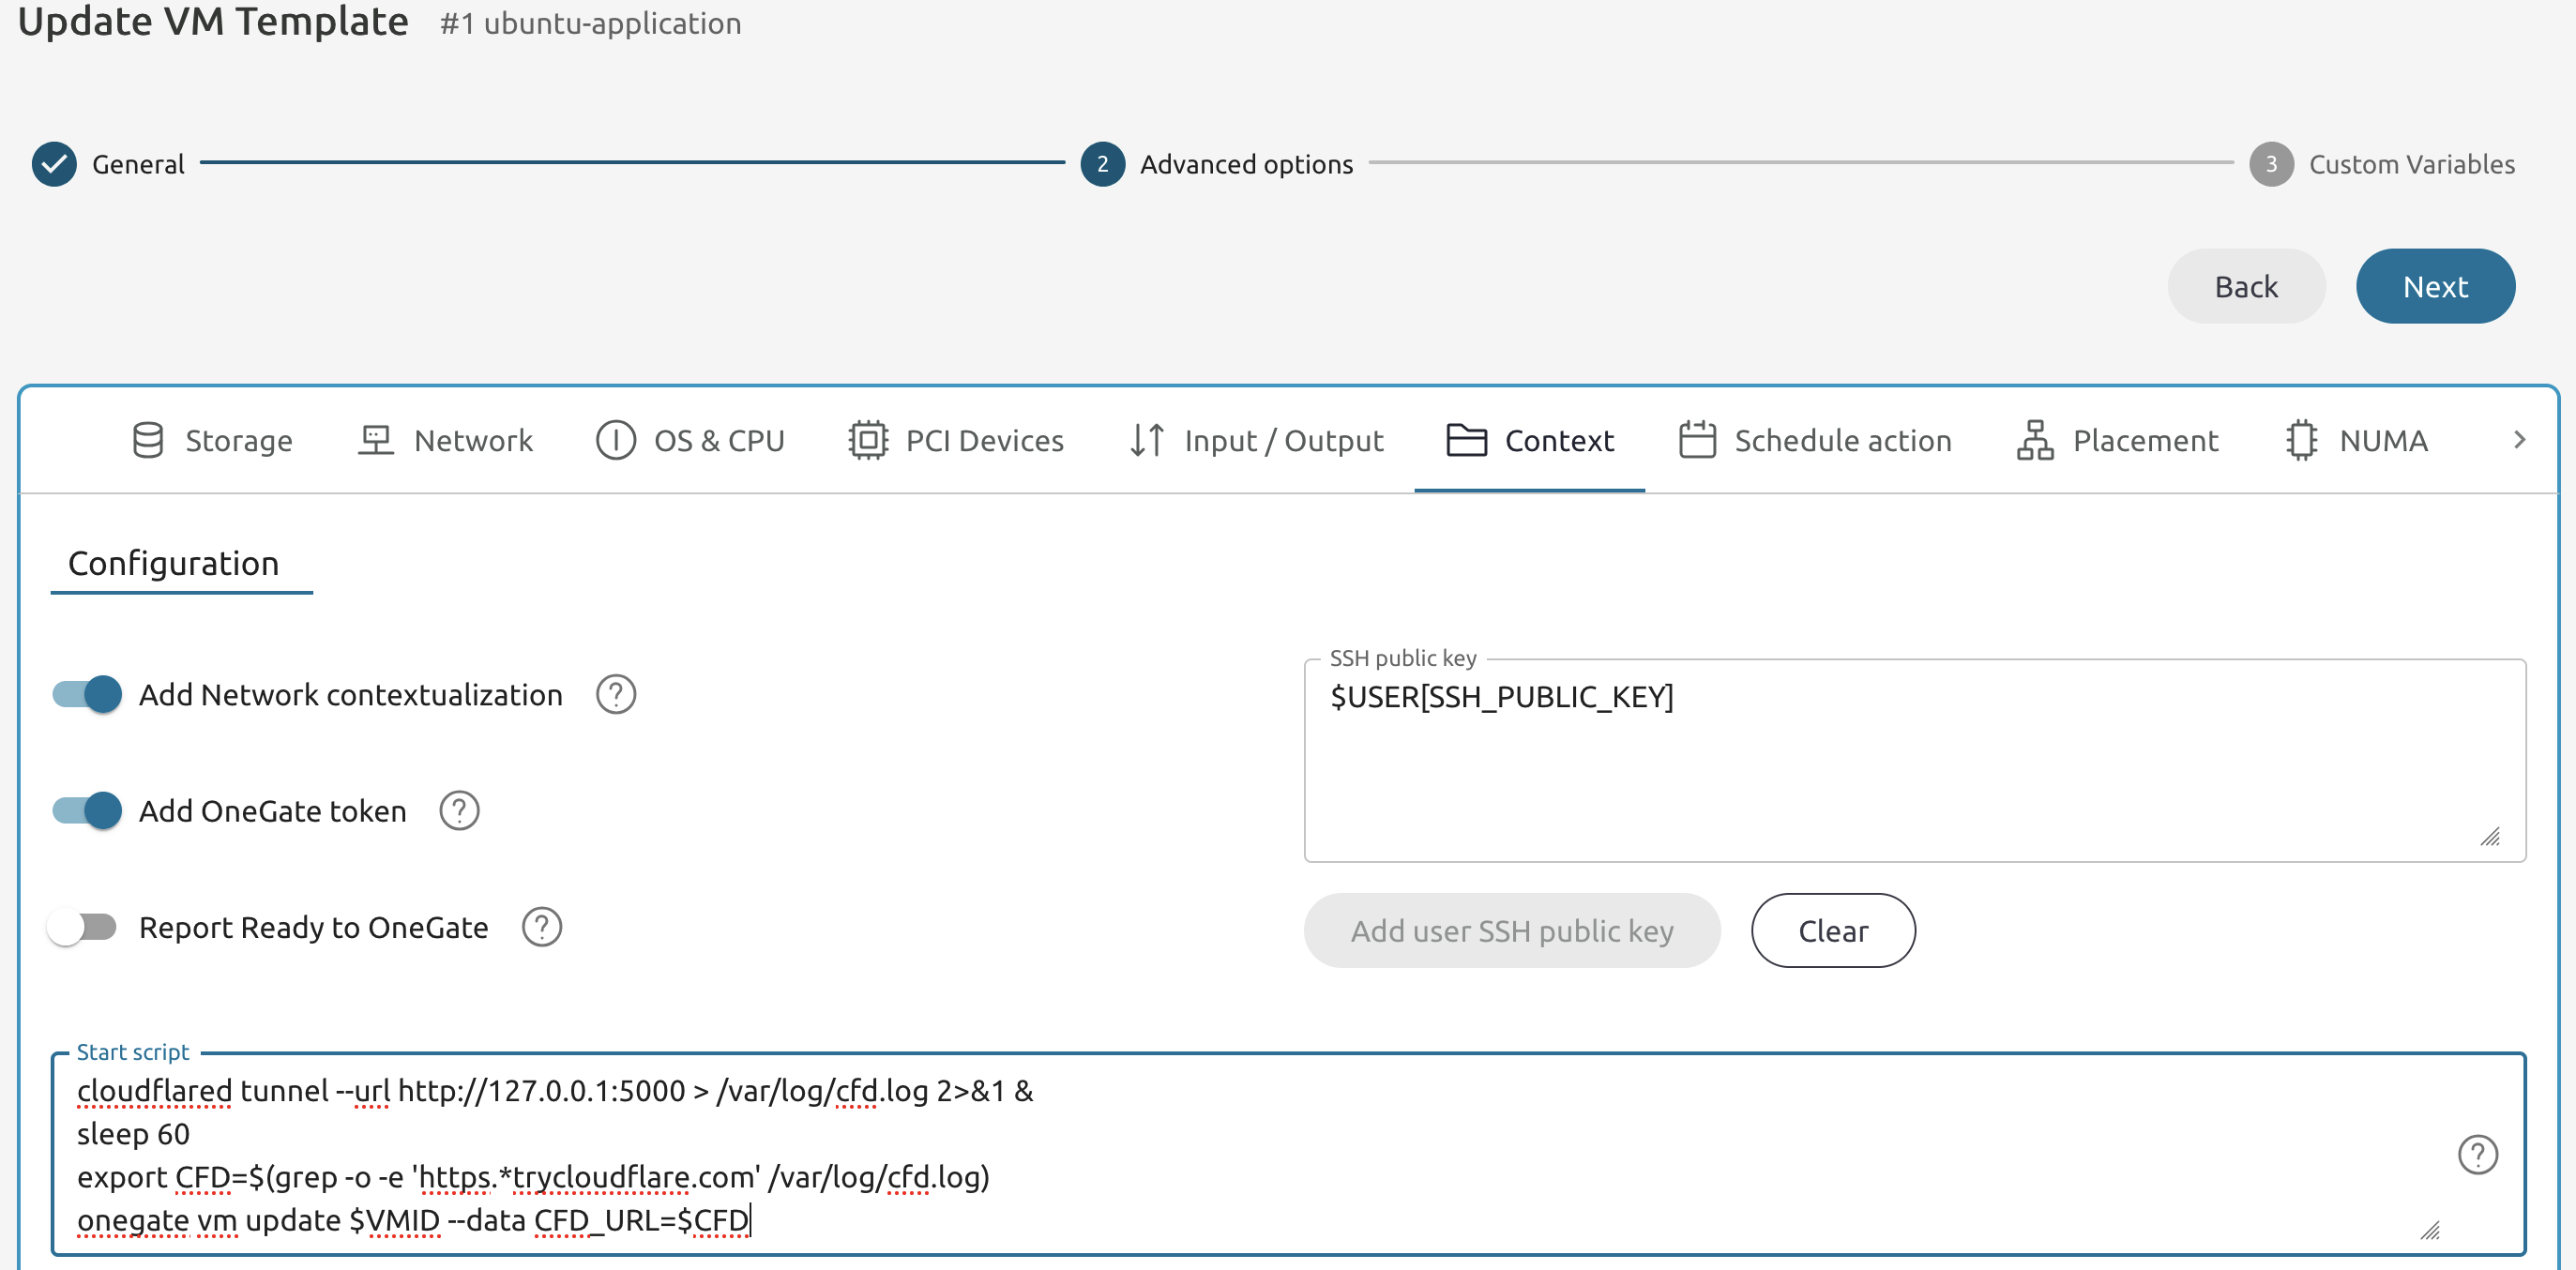
cloudflared tunnel --url http://127.0.0.1:5000 > /var/log/cfd.log 2>&1 &
sleep 60
export CFD=$(grep -o -e 'https.*trycloudflare.com' /var/log/cfd.log)
onegate vm update $VMID --data CFD_URL=$CFD
8.1.28
Your Start script field must look like the one on the picture below.
8.1.29
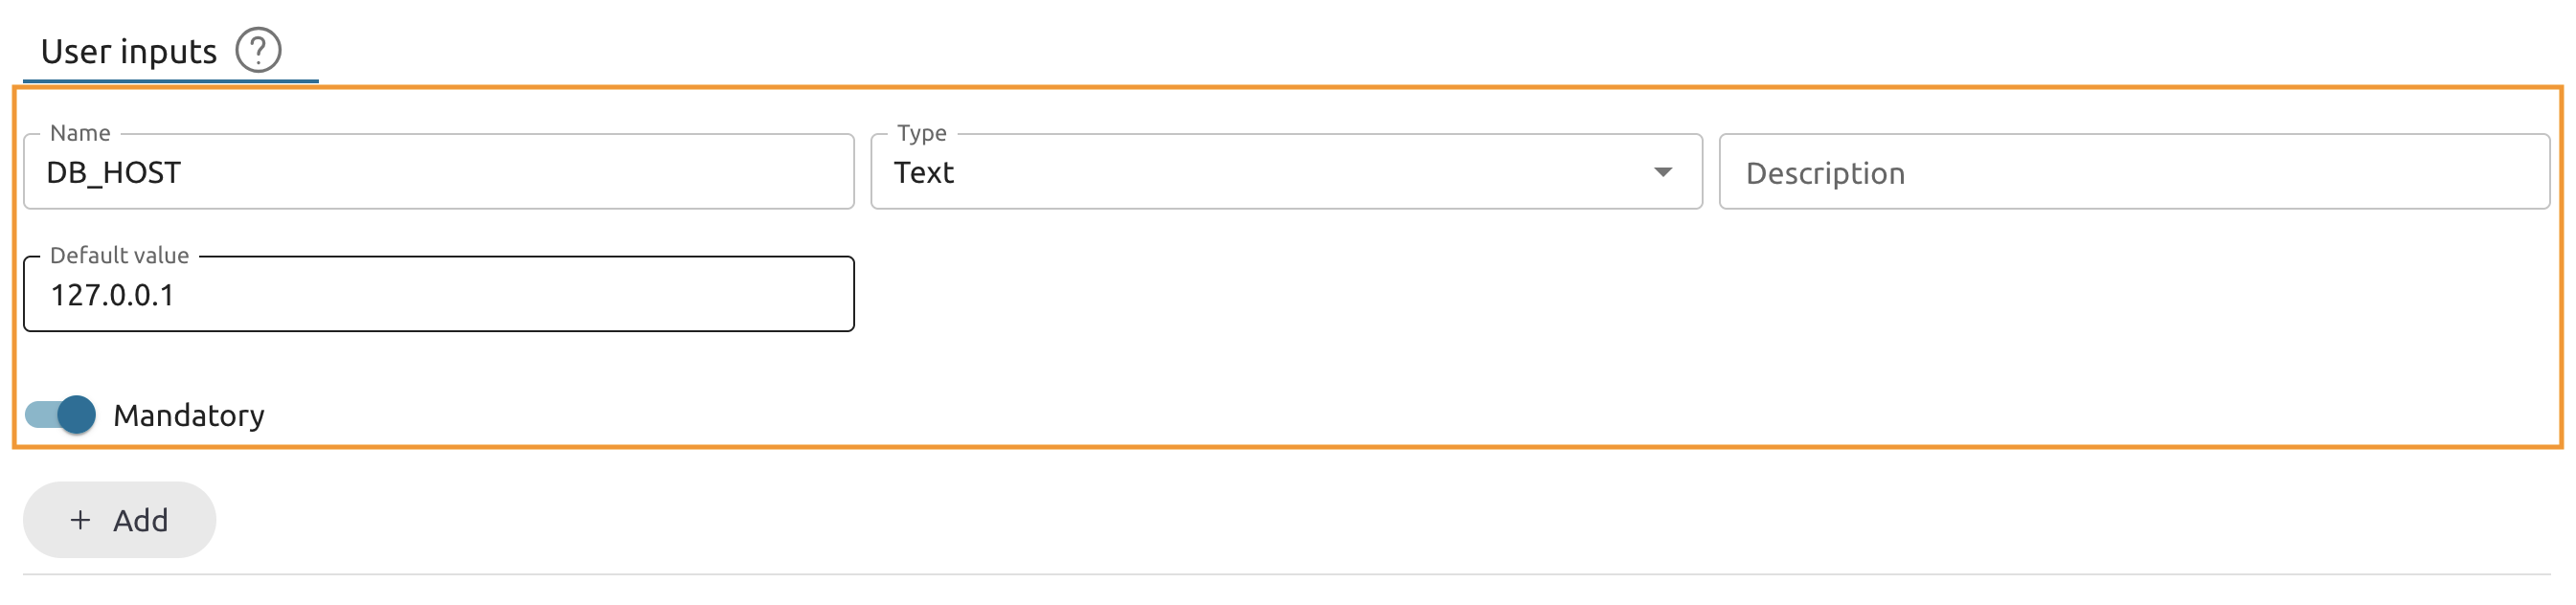
Scroll down to the User inputs section and create a new input.
Name: DB_HOST
Type: Text
Either keep “Description” empty or anything you like.
Set the default value to 127.0.0.1
Toggle the Mandatory switch.
Press + Add
8.1.30
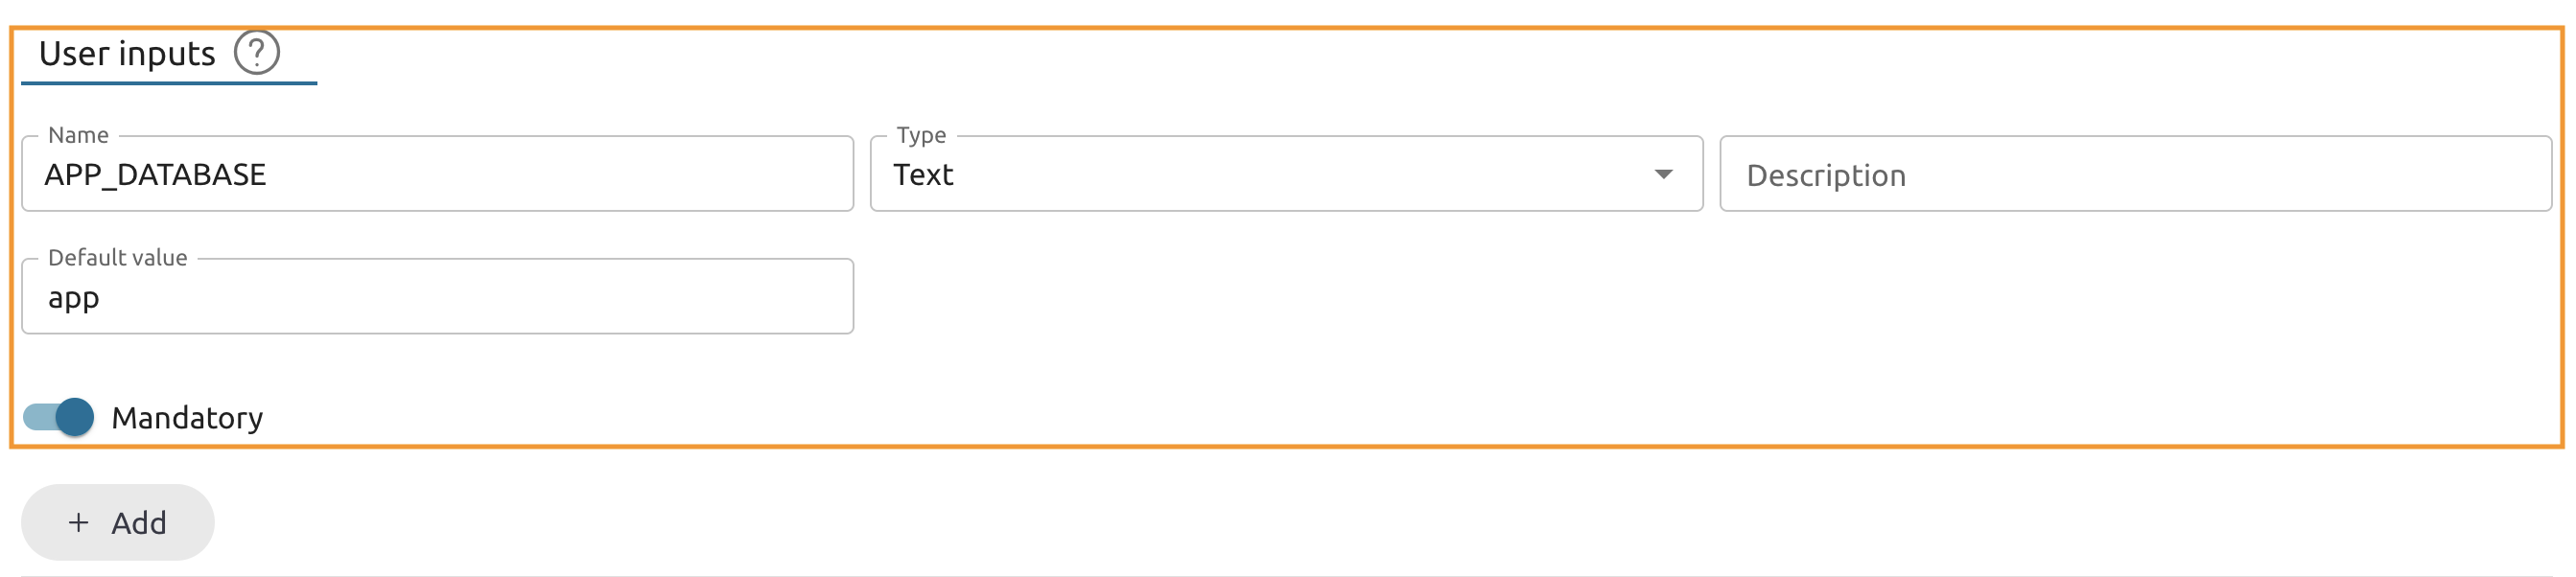
Add another one
Name: APP_DATABASE
Type: Text
Either keep “Description” empty or anything you like.
Default value: app
Toggle the Mandatory switch.
Press + Add
8.1.31
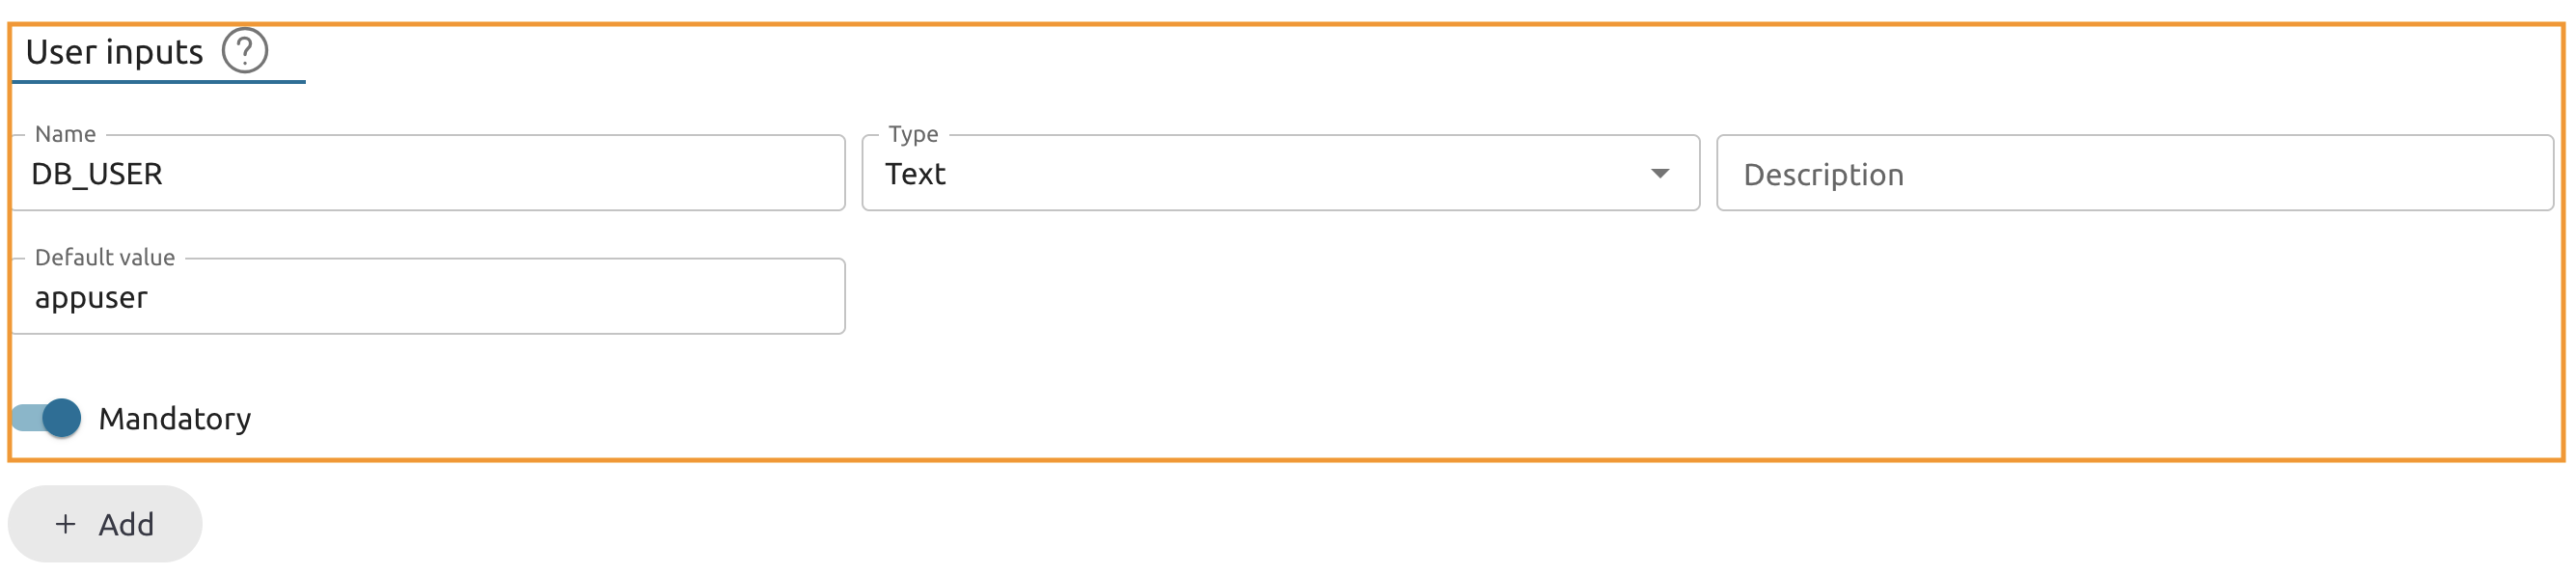
Add another one
Name: DB_USER
Type: Text
Either keep “Description” empty or anything you like.
Default value: appuser
Toggle the Mandatory switch.
Press + Add
8.1.32
Add another one
Name: DB_USER_PASSWORD
Type: Password
Either keep “Description” empty or anything you like.
Toggle the Mandatory switch.
Press + Add

8.1.33
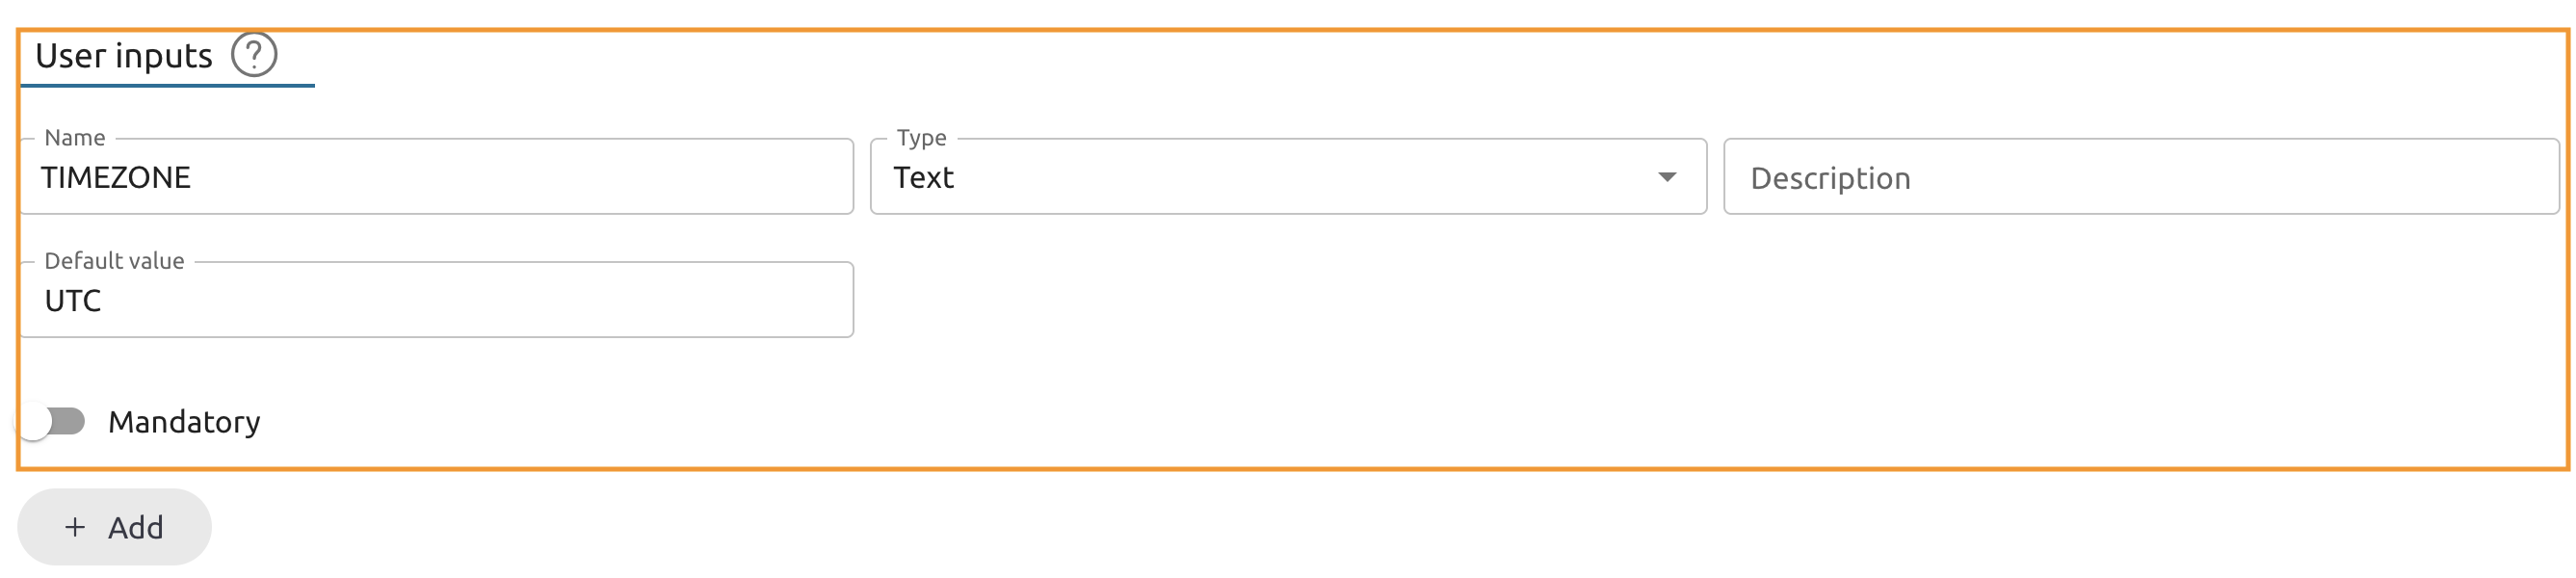
Finally add the optional TIMEZONE input.
Name: TIMEZONE
Type: Text
Either keep “Description” empty or anything you like.
Default value: UTC
Keep Mandatory switch un-toggled.
Press + Add
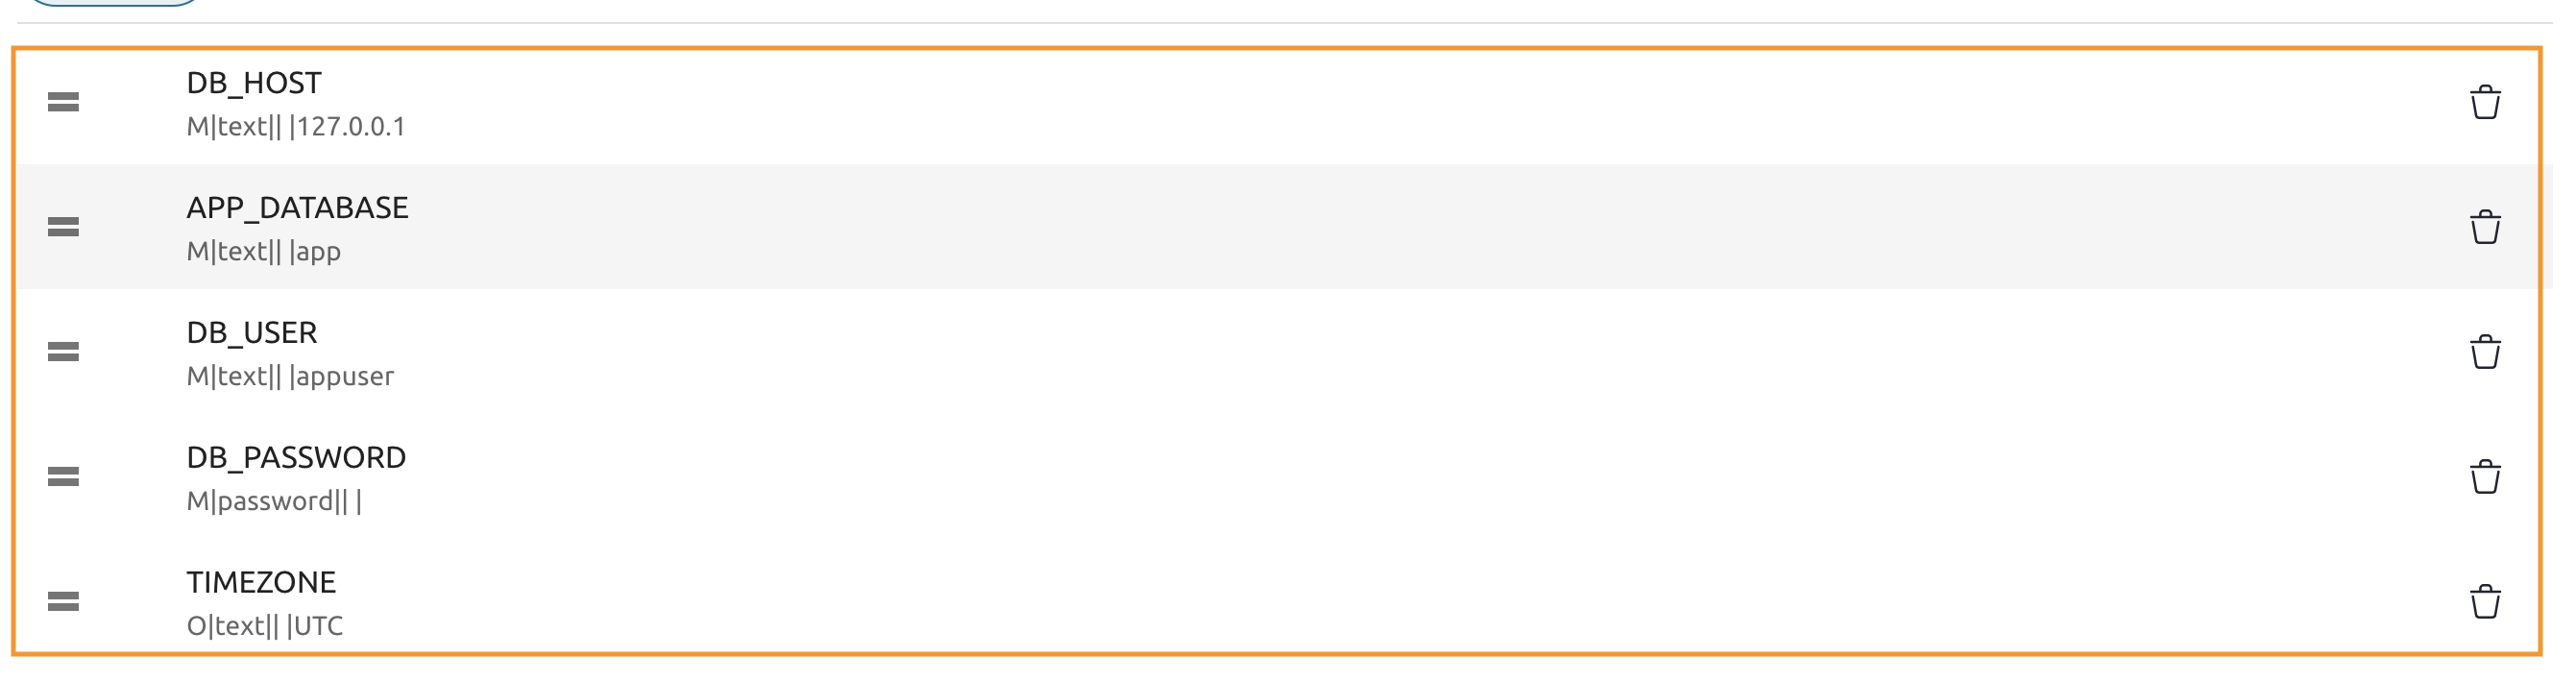
8.1.34
You should have 5 variables in the list.
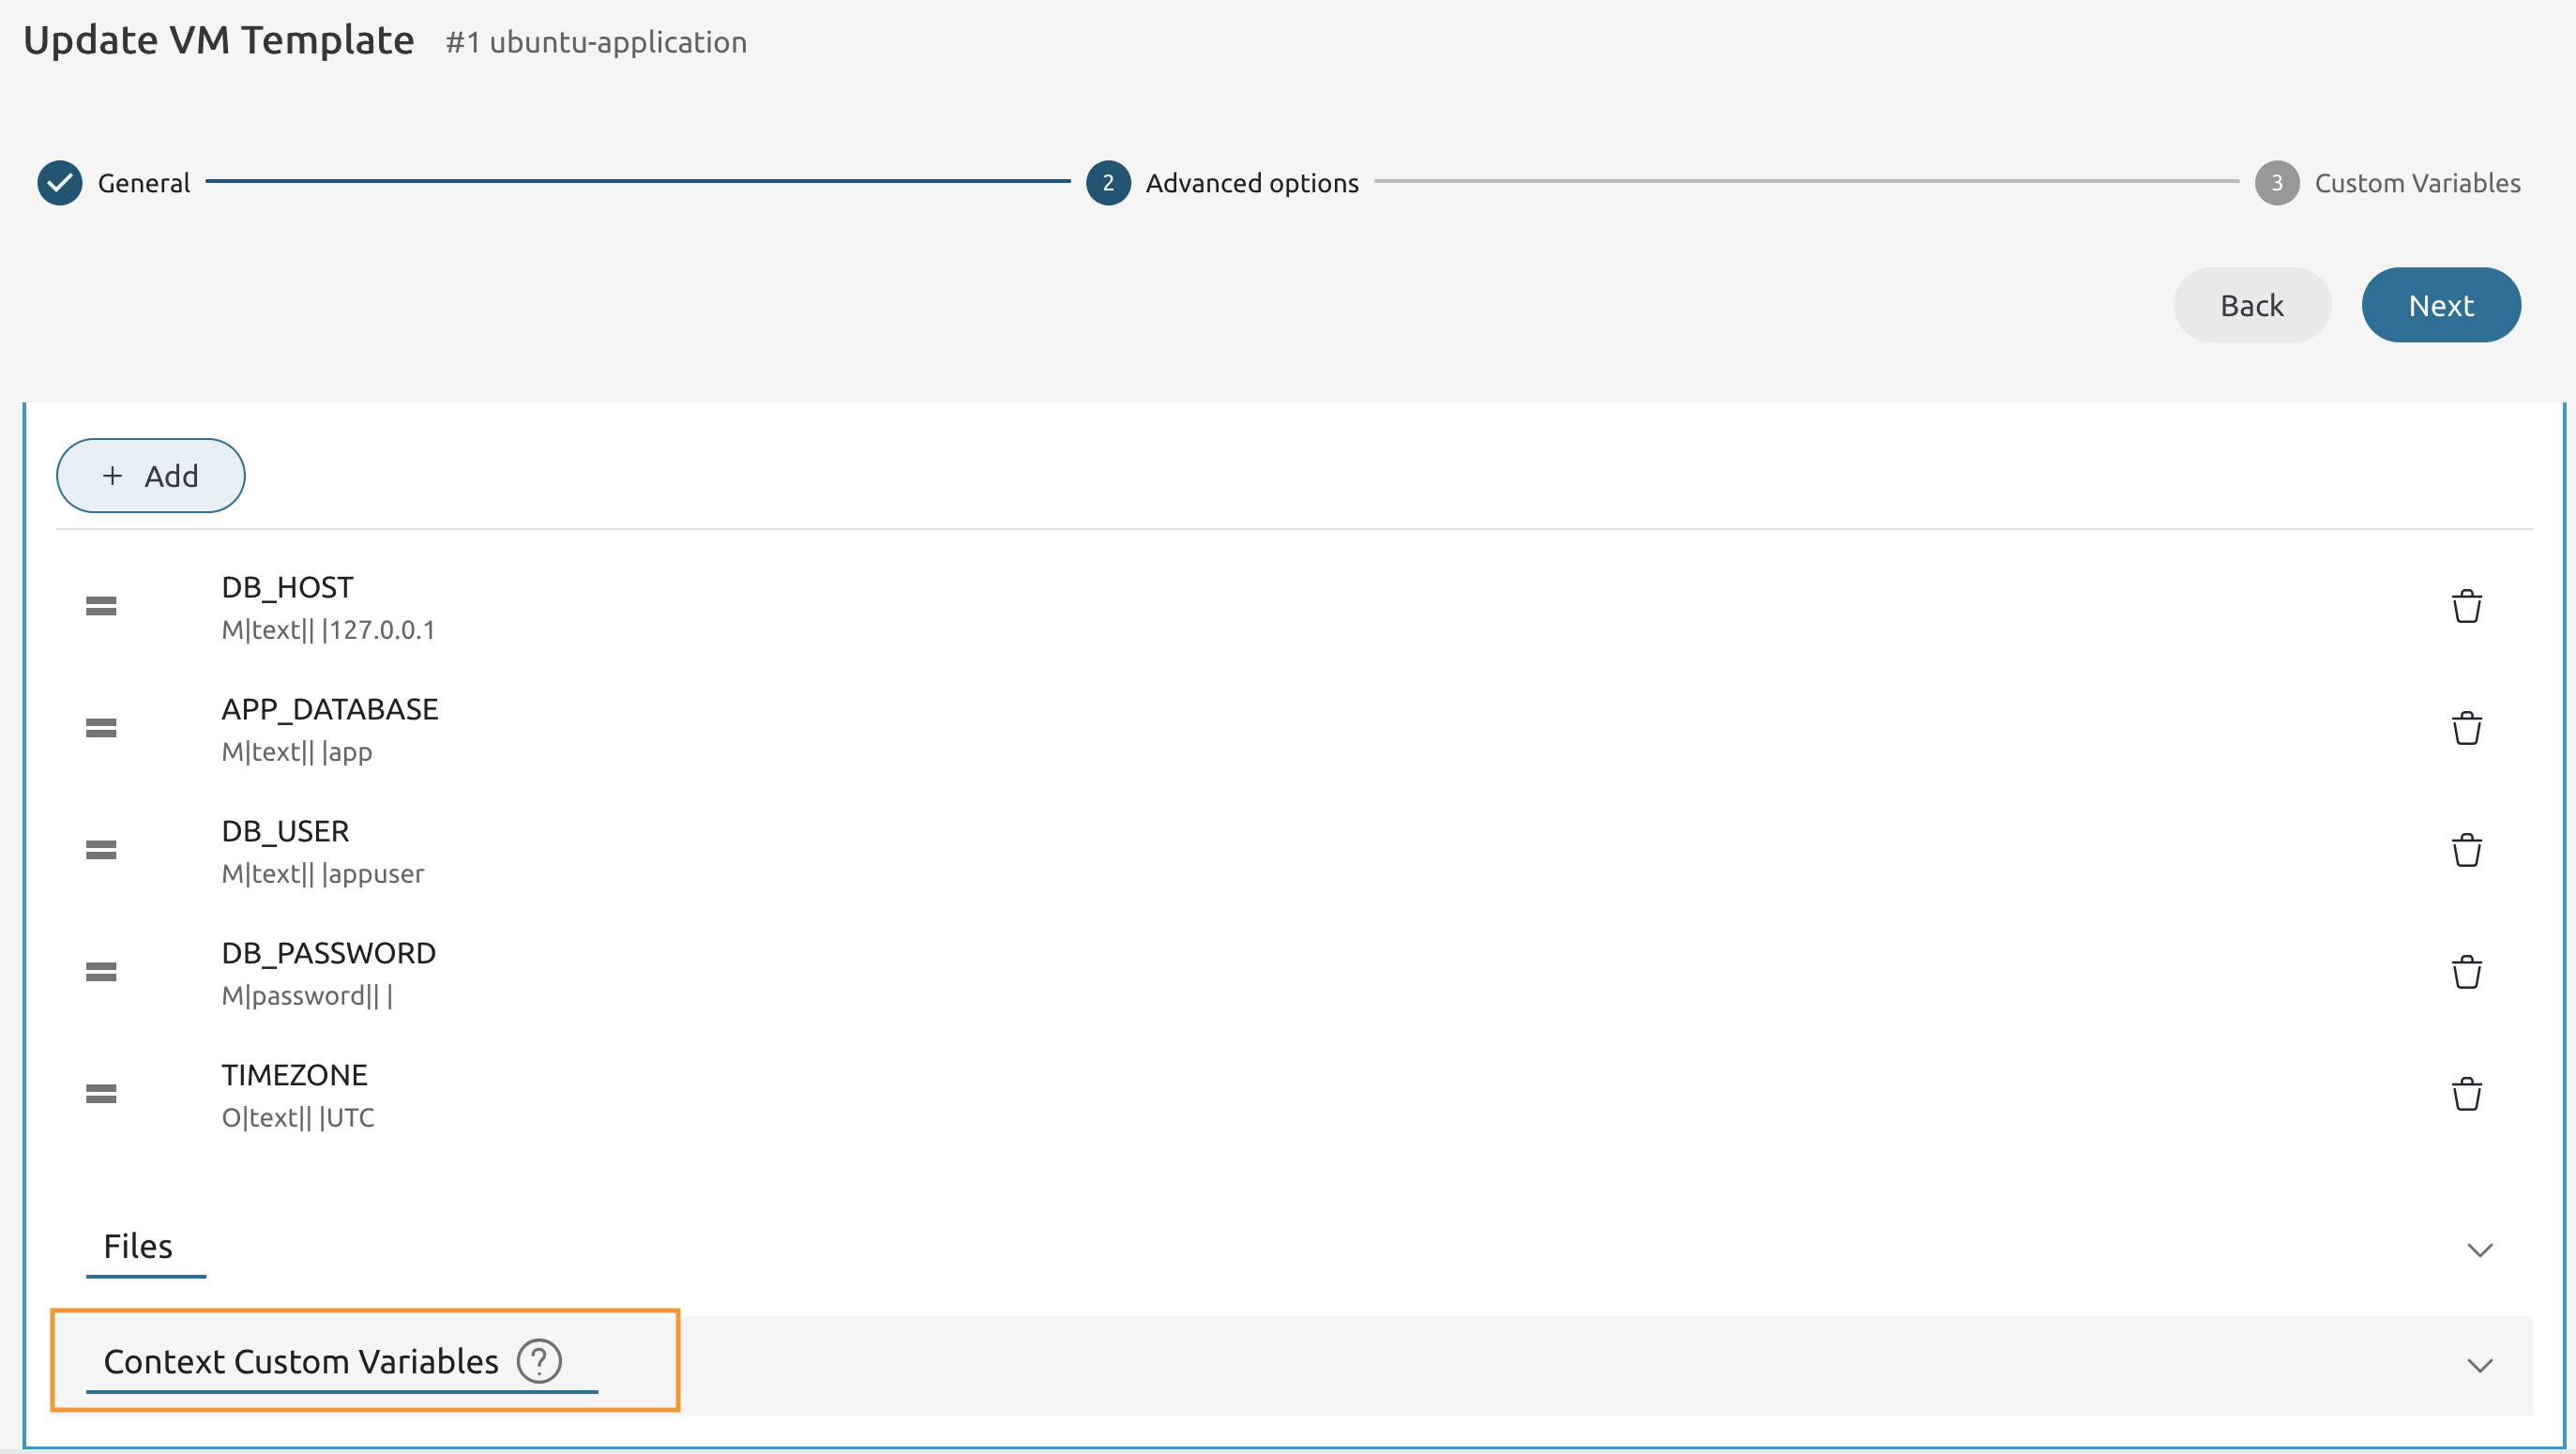
8.1.35
Navigate further down and expand the Context Custom Variables section.
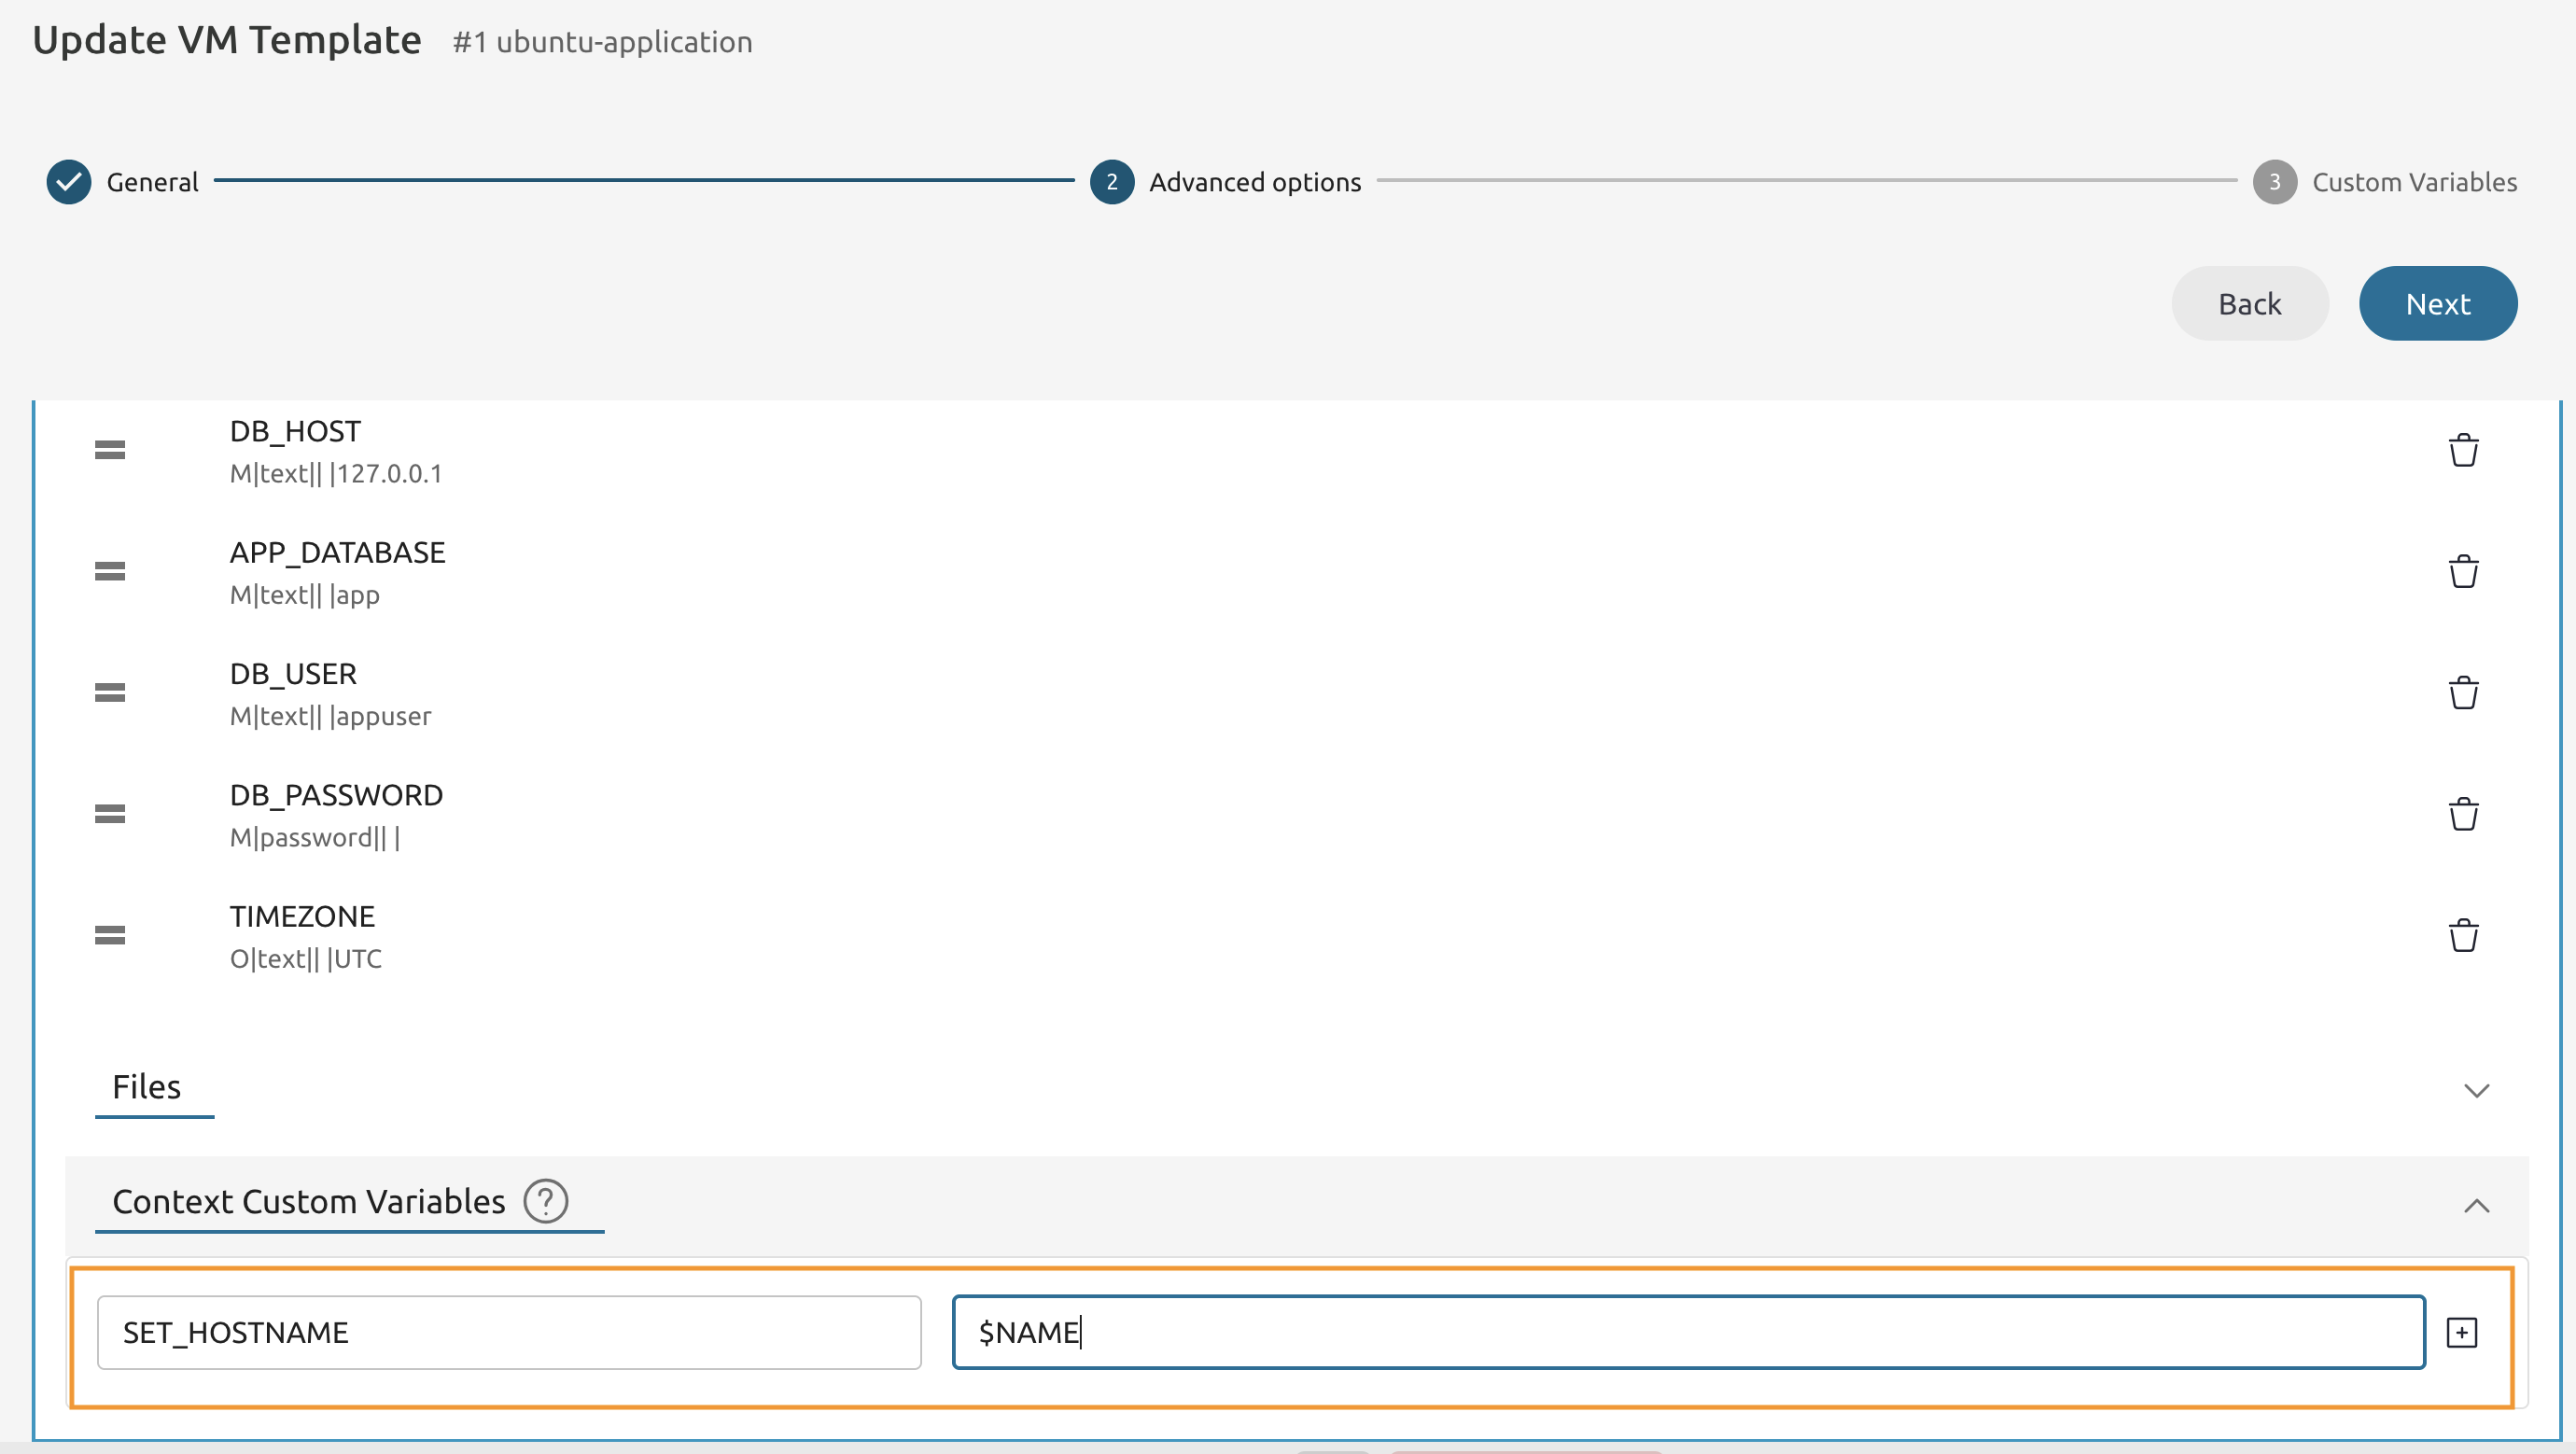
8.1.36
Set the Variable name SET_HOSTNAME and map it to the $NAME value.
Adjust Permissions for VM Templates and Images.
8.1.37
Go to Node 1’s Command Line and execute the onetemplate command.
onetemplate list
Write down the IDs of all VM Templates you have and execute the onetemplate one more time to share them with others.
onetemplate chmod <LOWEST ID>...<HIGHEST ID> 644
8.1.38
Use the oneimage command to list all images.
oneimage list
Write down the IDs of all Images you have and execute the oneimage one more time to share them with others.
oneimage chmod <LOWEST ID>...<HIGHEST ID> 644
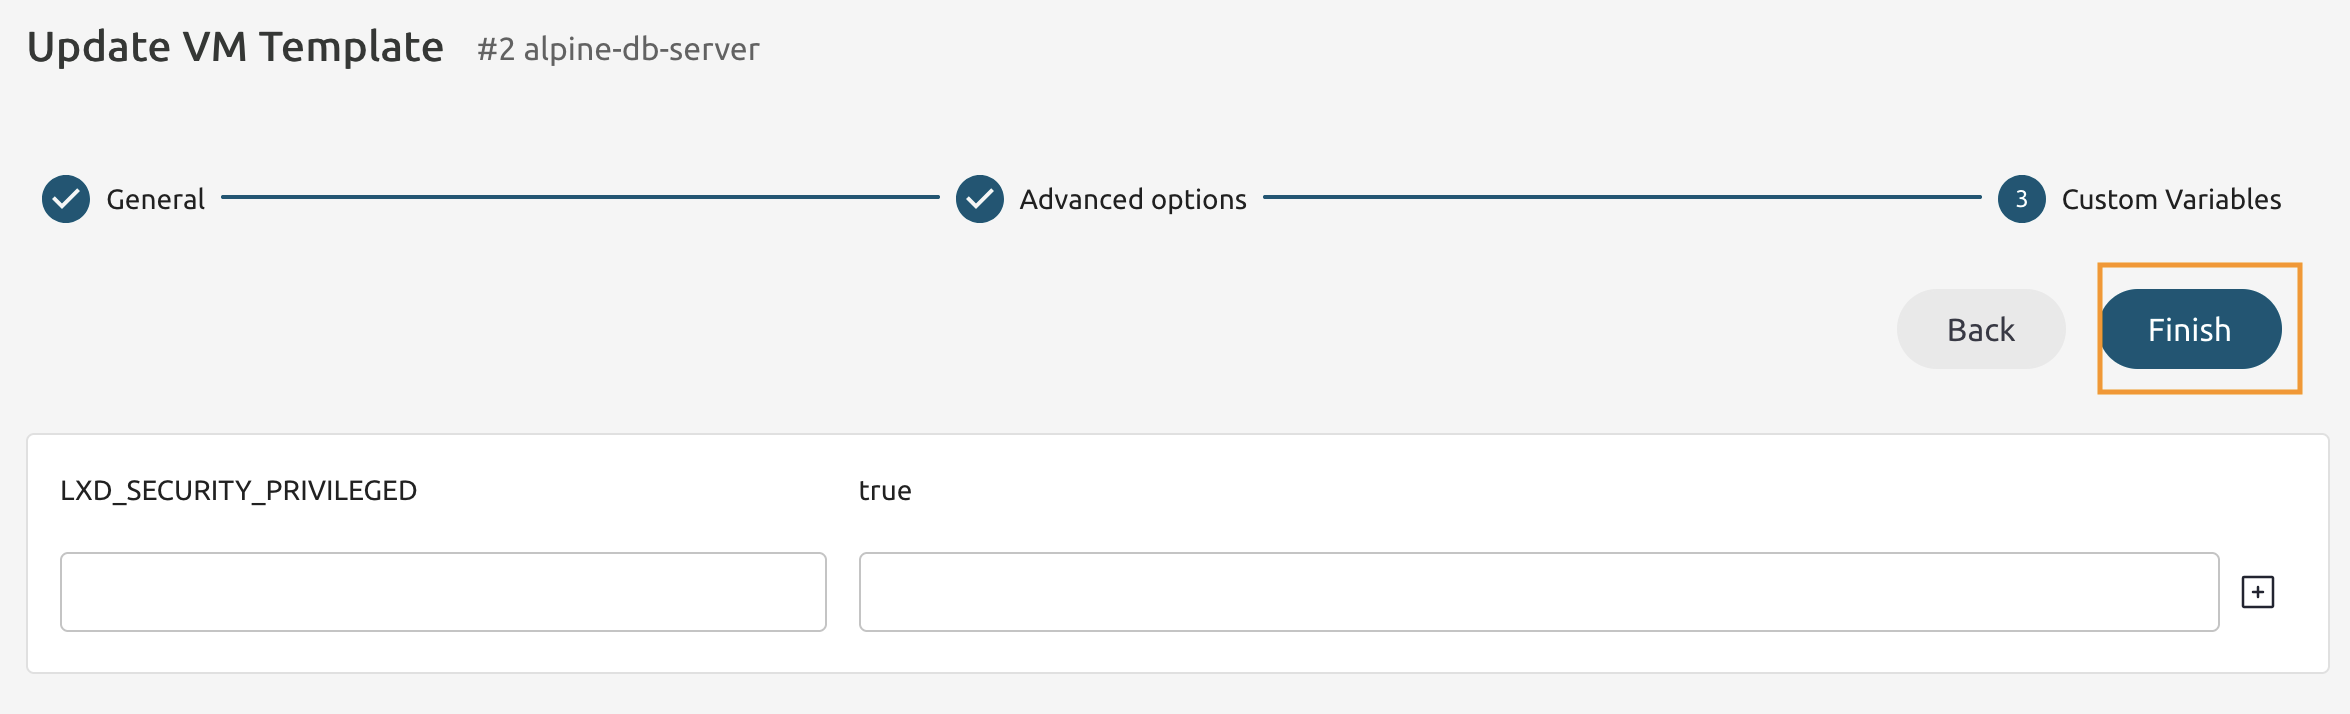
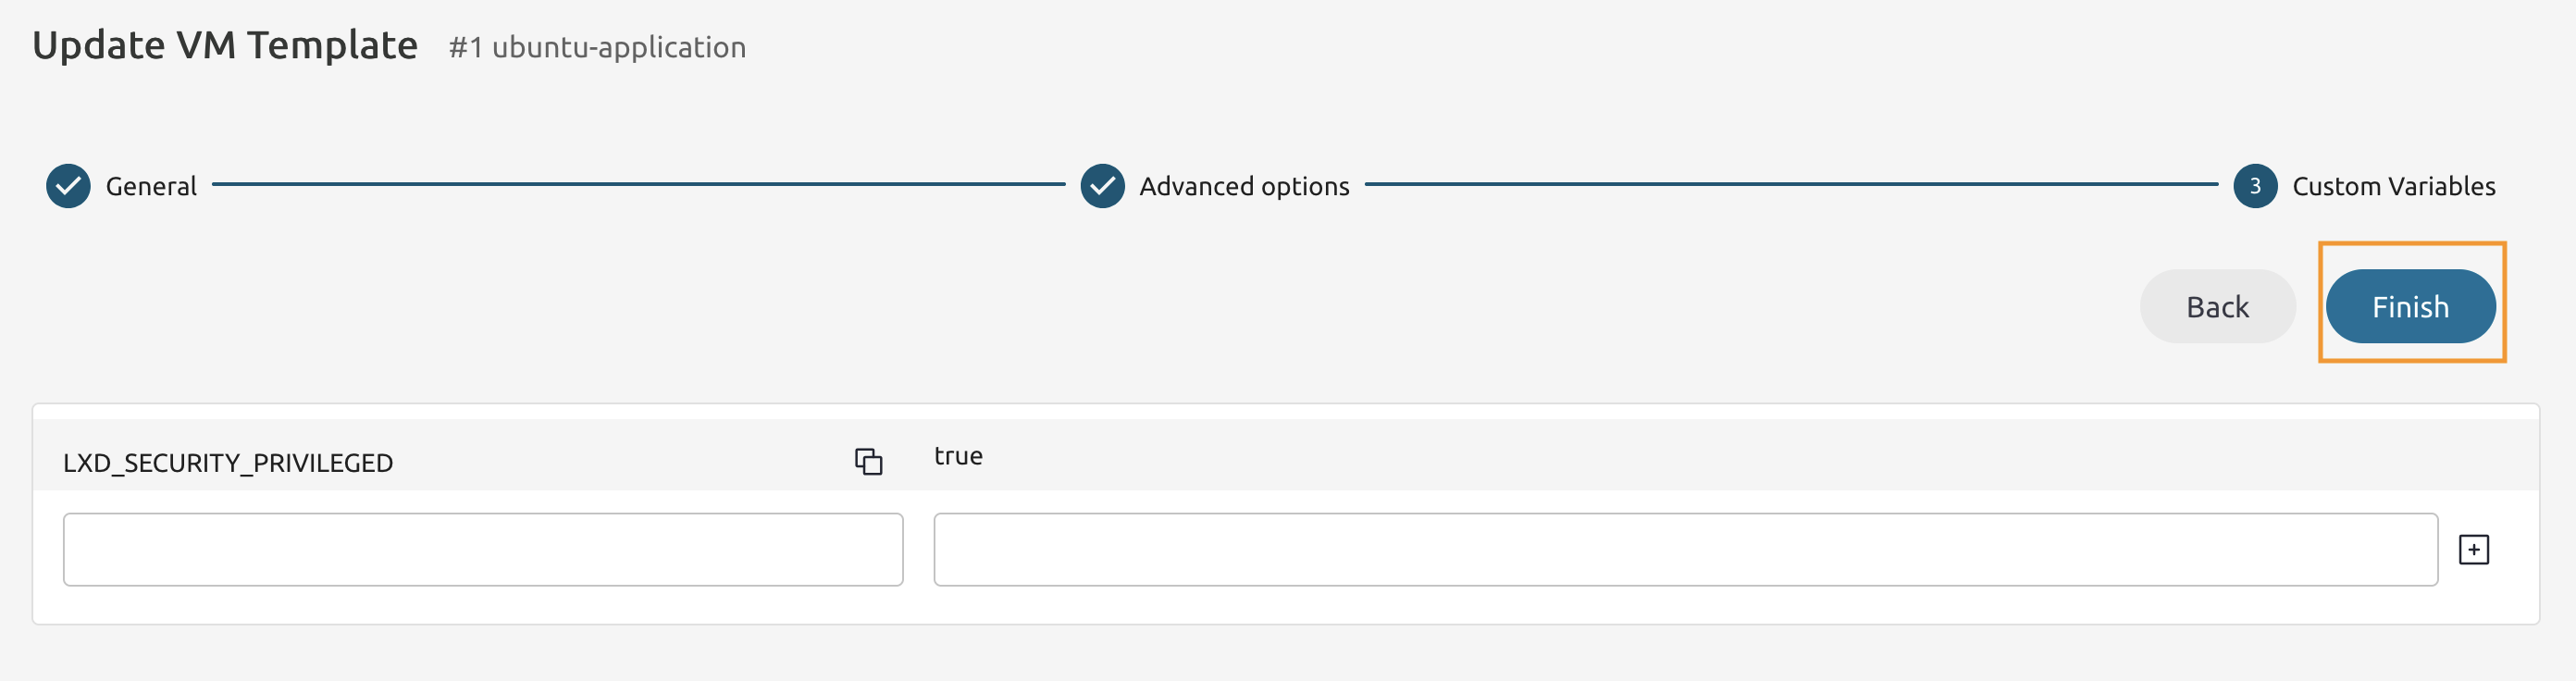
8.1.39
Navigate to the Custom Variables page and press the Finish button.
Congratulations, you’ve completed the assignment!
{. no_toc}